Archive | Windlass

Bringing New Life Back to an Older 112’ Westport Yacht

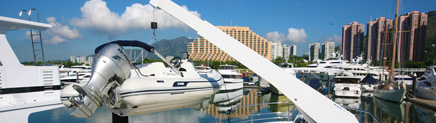
We are seeing a growing number of new owners of older 112’ Westports. This “Made in America” production boat has a lot to offer but many of these vessels are purchased without a solid maintenance history. Nevertheless, their new owners/Captains still want to bring them back to life.  In order to do that, sometimes a total refit of the vessel is required.

One of these new owner refits spent a few months at LMC getting a full paint job, mechanical upgrades, interior work and hydraulic systems overhaul and refurbishing. Our capable team of hydraulic technicians was tapped to handle all the hydraulic projects.

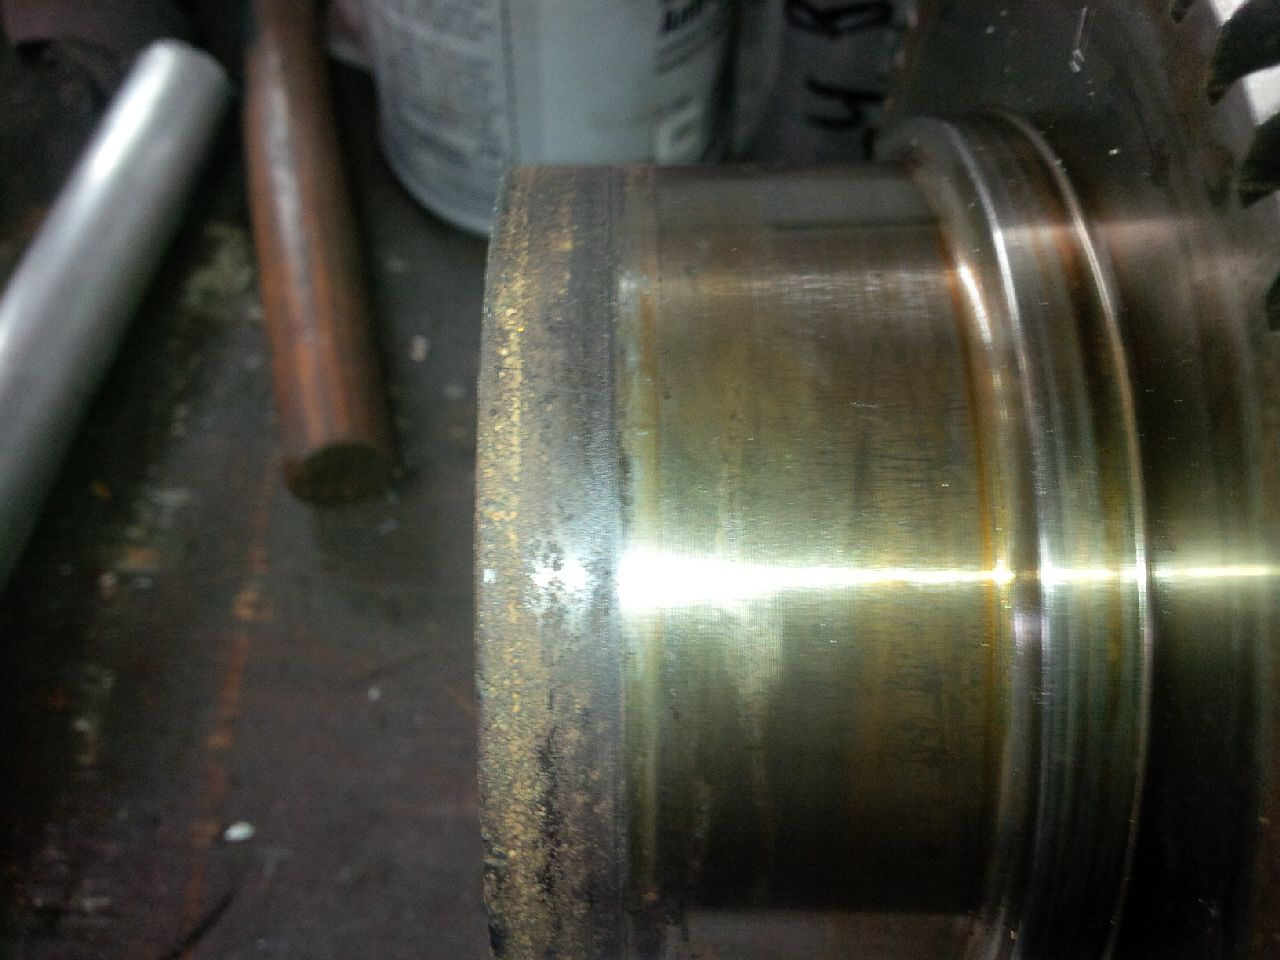
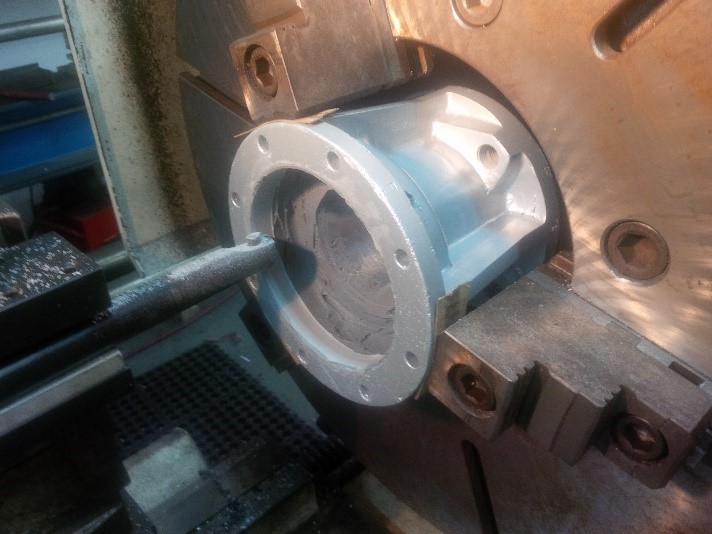
Starting with the Naiad stabilizer system, we did a full rebuild including removing the shafts and bearings.  The entire stabilizer actuator system was also rebuilt back to new.  The stabilizer shaft had some corrosion in the lip seal area from sitting too long in salt water so our on-site machine shop, Straight Line Marine, performed a cladding repair.

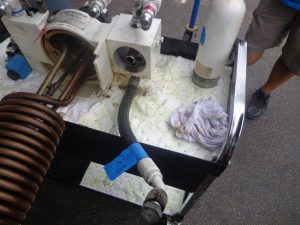
We then moved on to work on the entire hydraulic central system where we performed a full hydraulic fluid flush, cleaned and pressure tested the heat exchangers and changed all the filters.

In the engine room, we found that we needed to change a large number of the hydraulic hoses.  Hydraulic hoses have a 10-year life and can cause huge problems when they fail on the high-pressure side so it is very important to inspect and replace them during routine service.

We also did a little work on the bow thruster, installing new seals in the lower leg, adding fresh gear oil and testing the hydraulic motor.

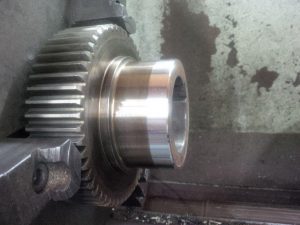
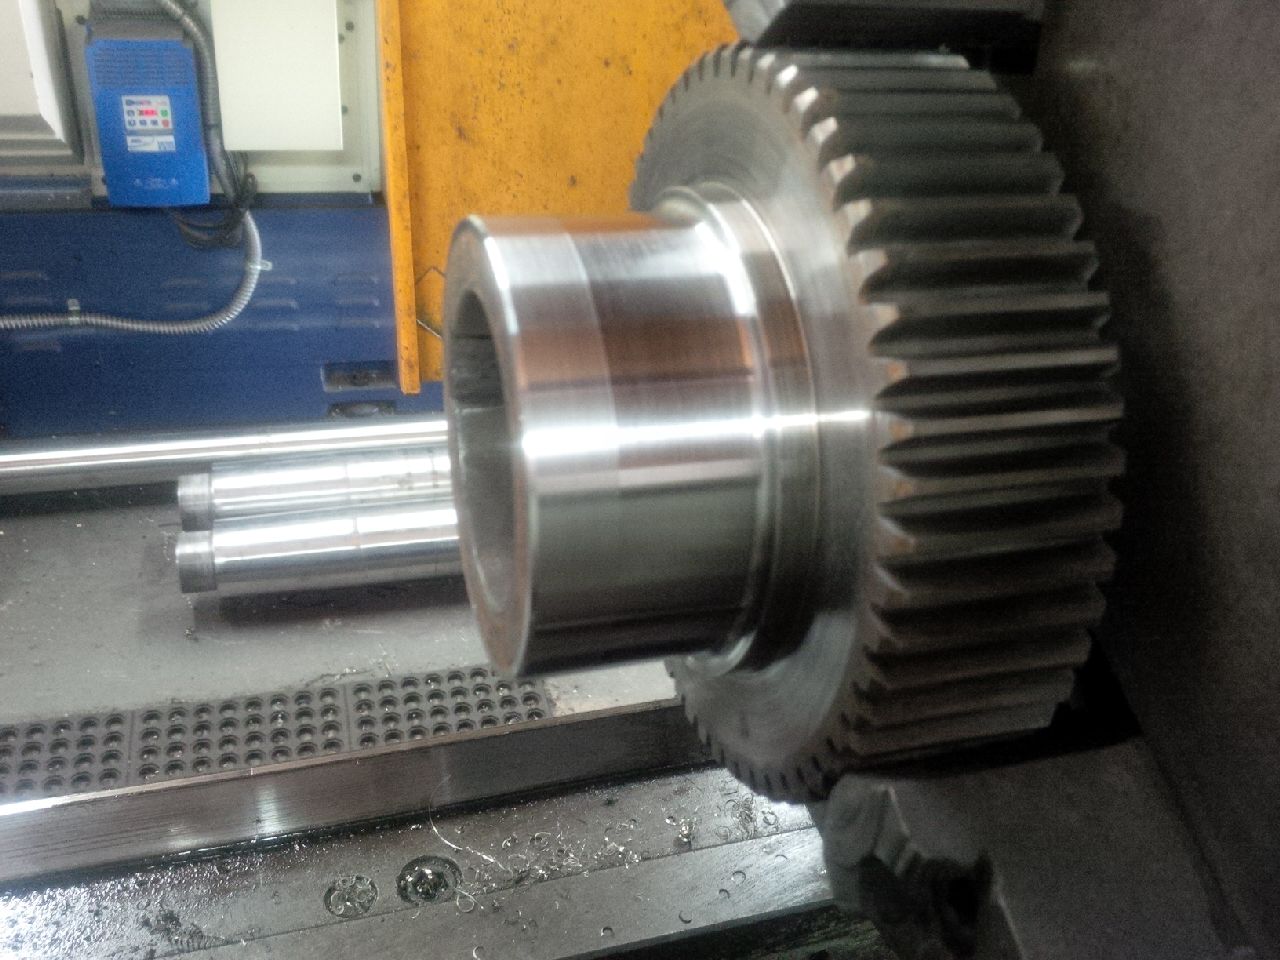
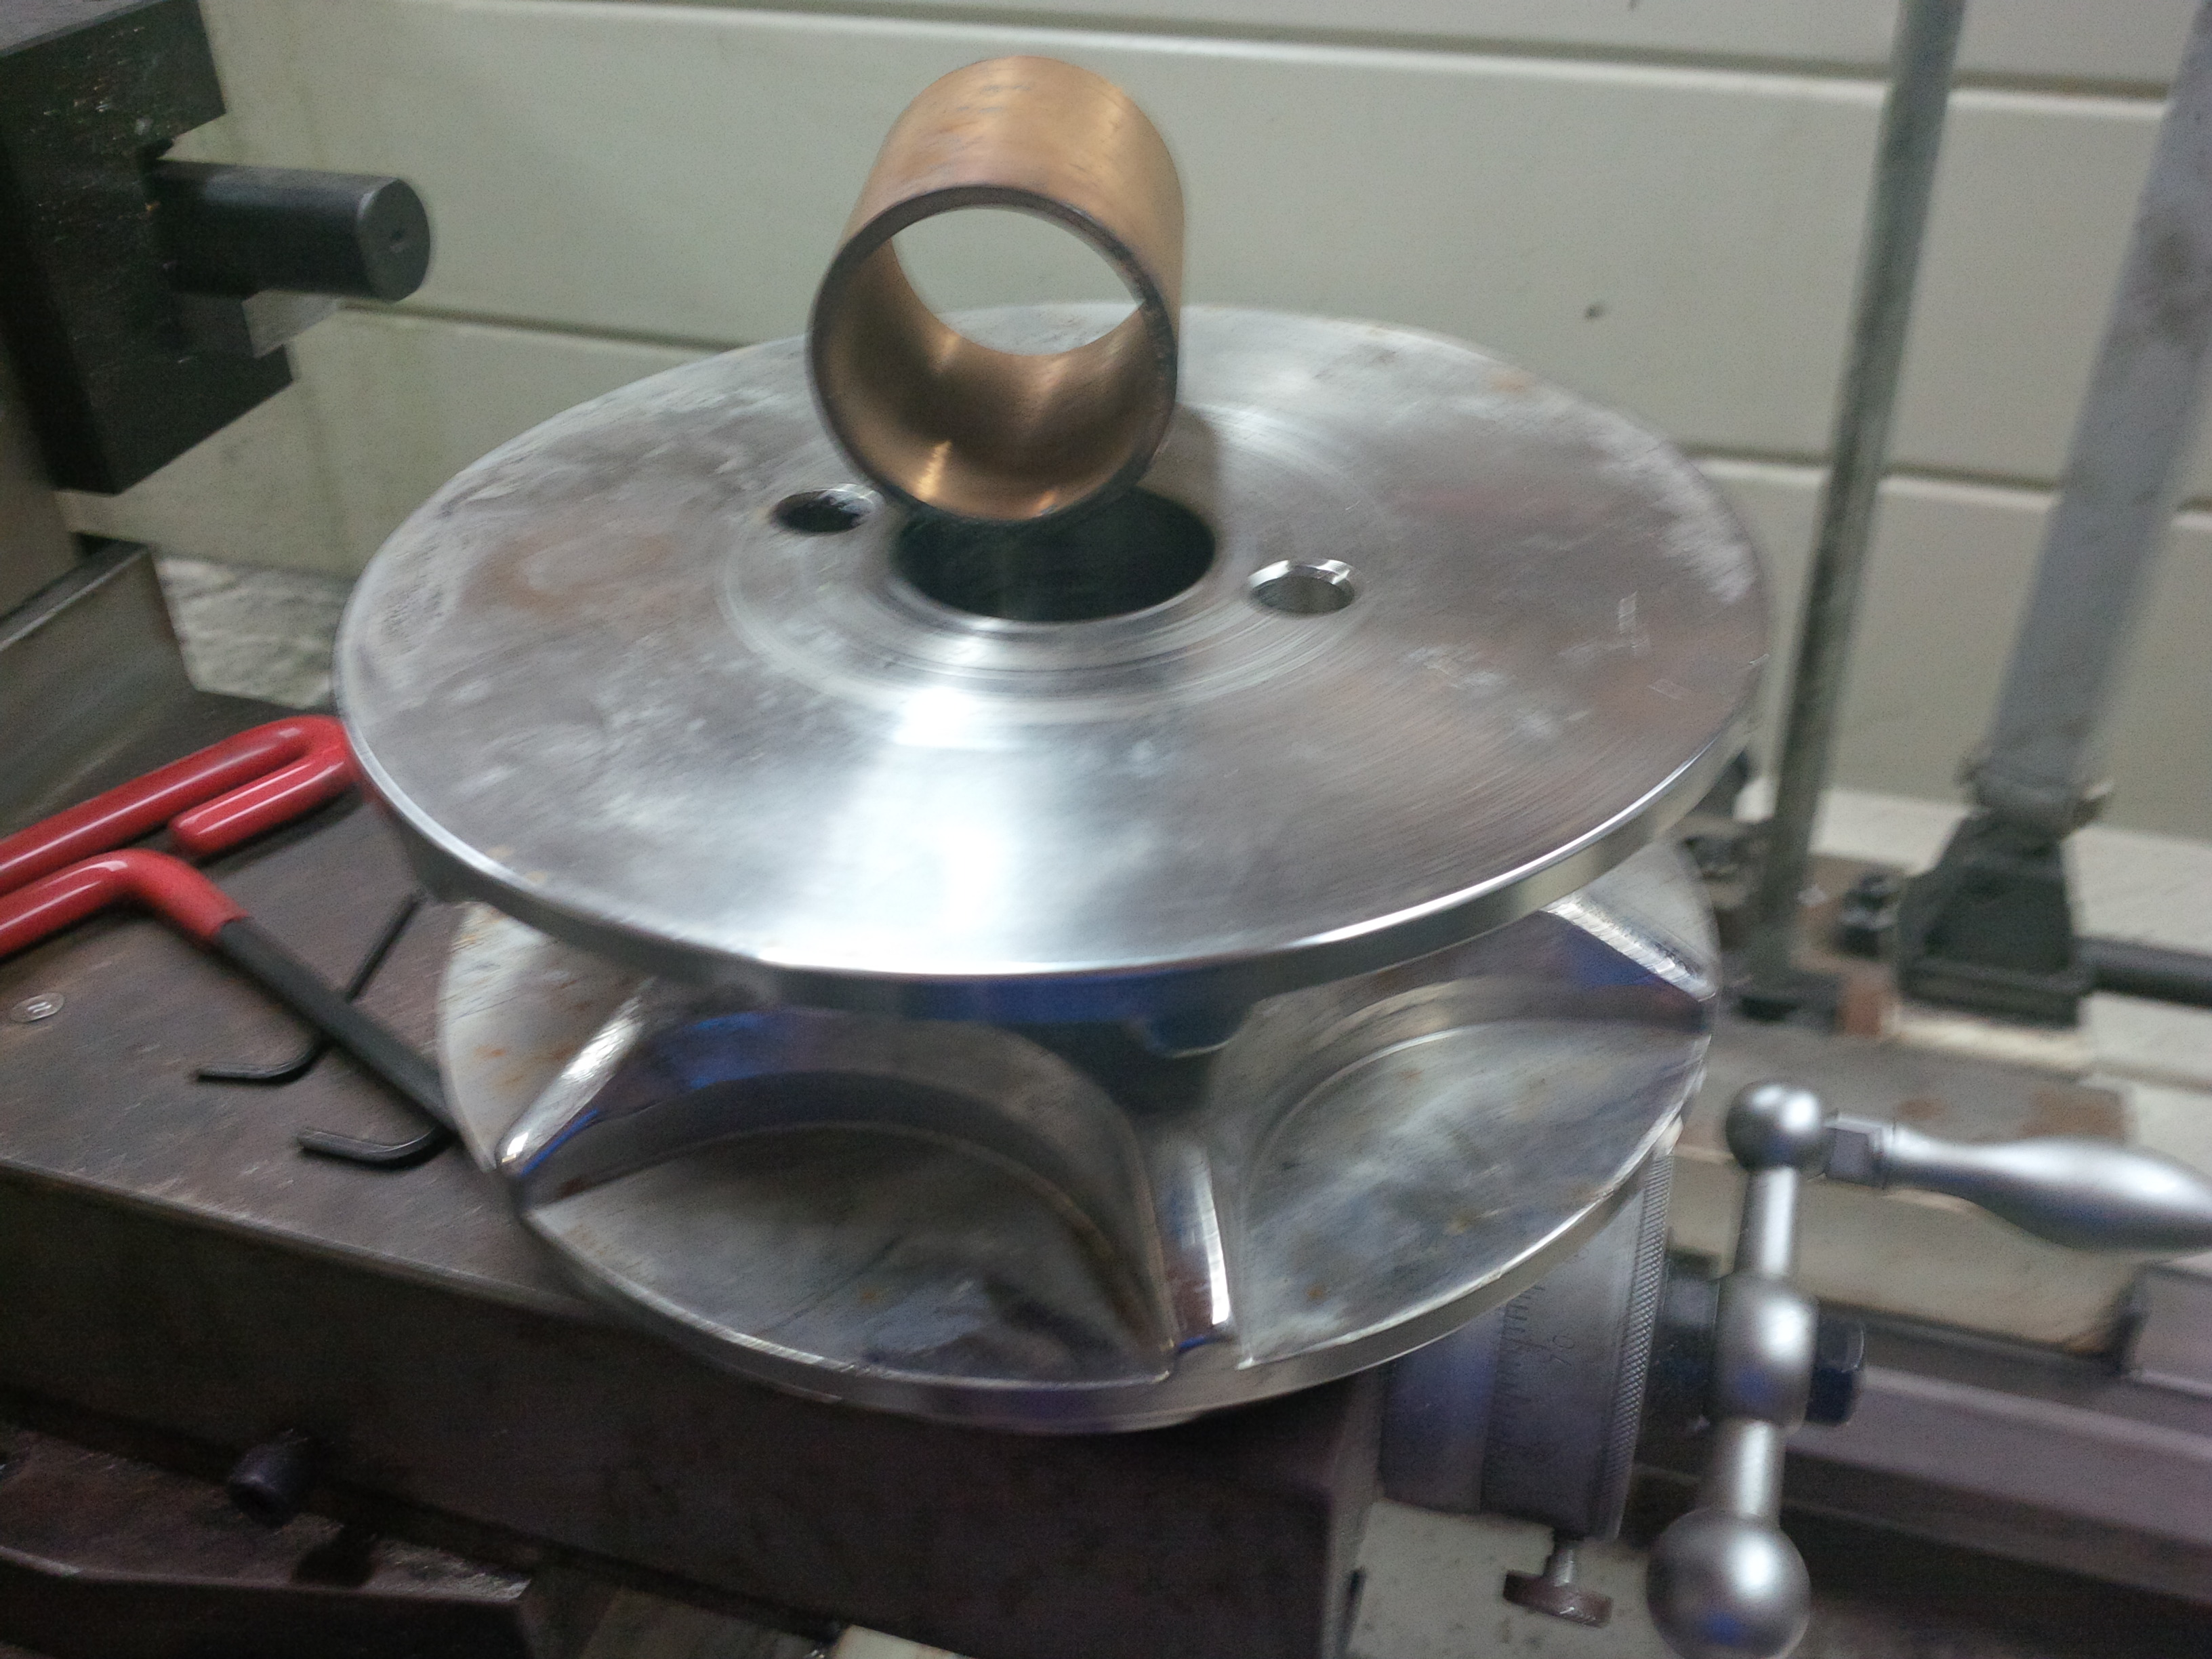
Stainless steel ring on main gear

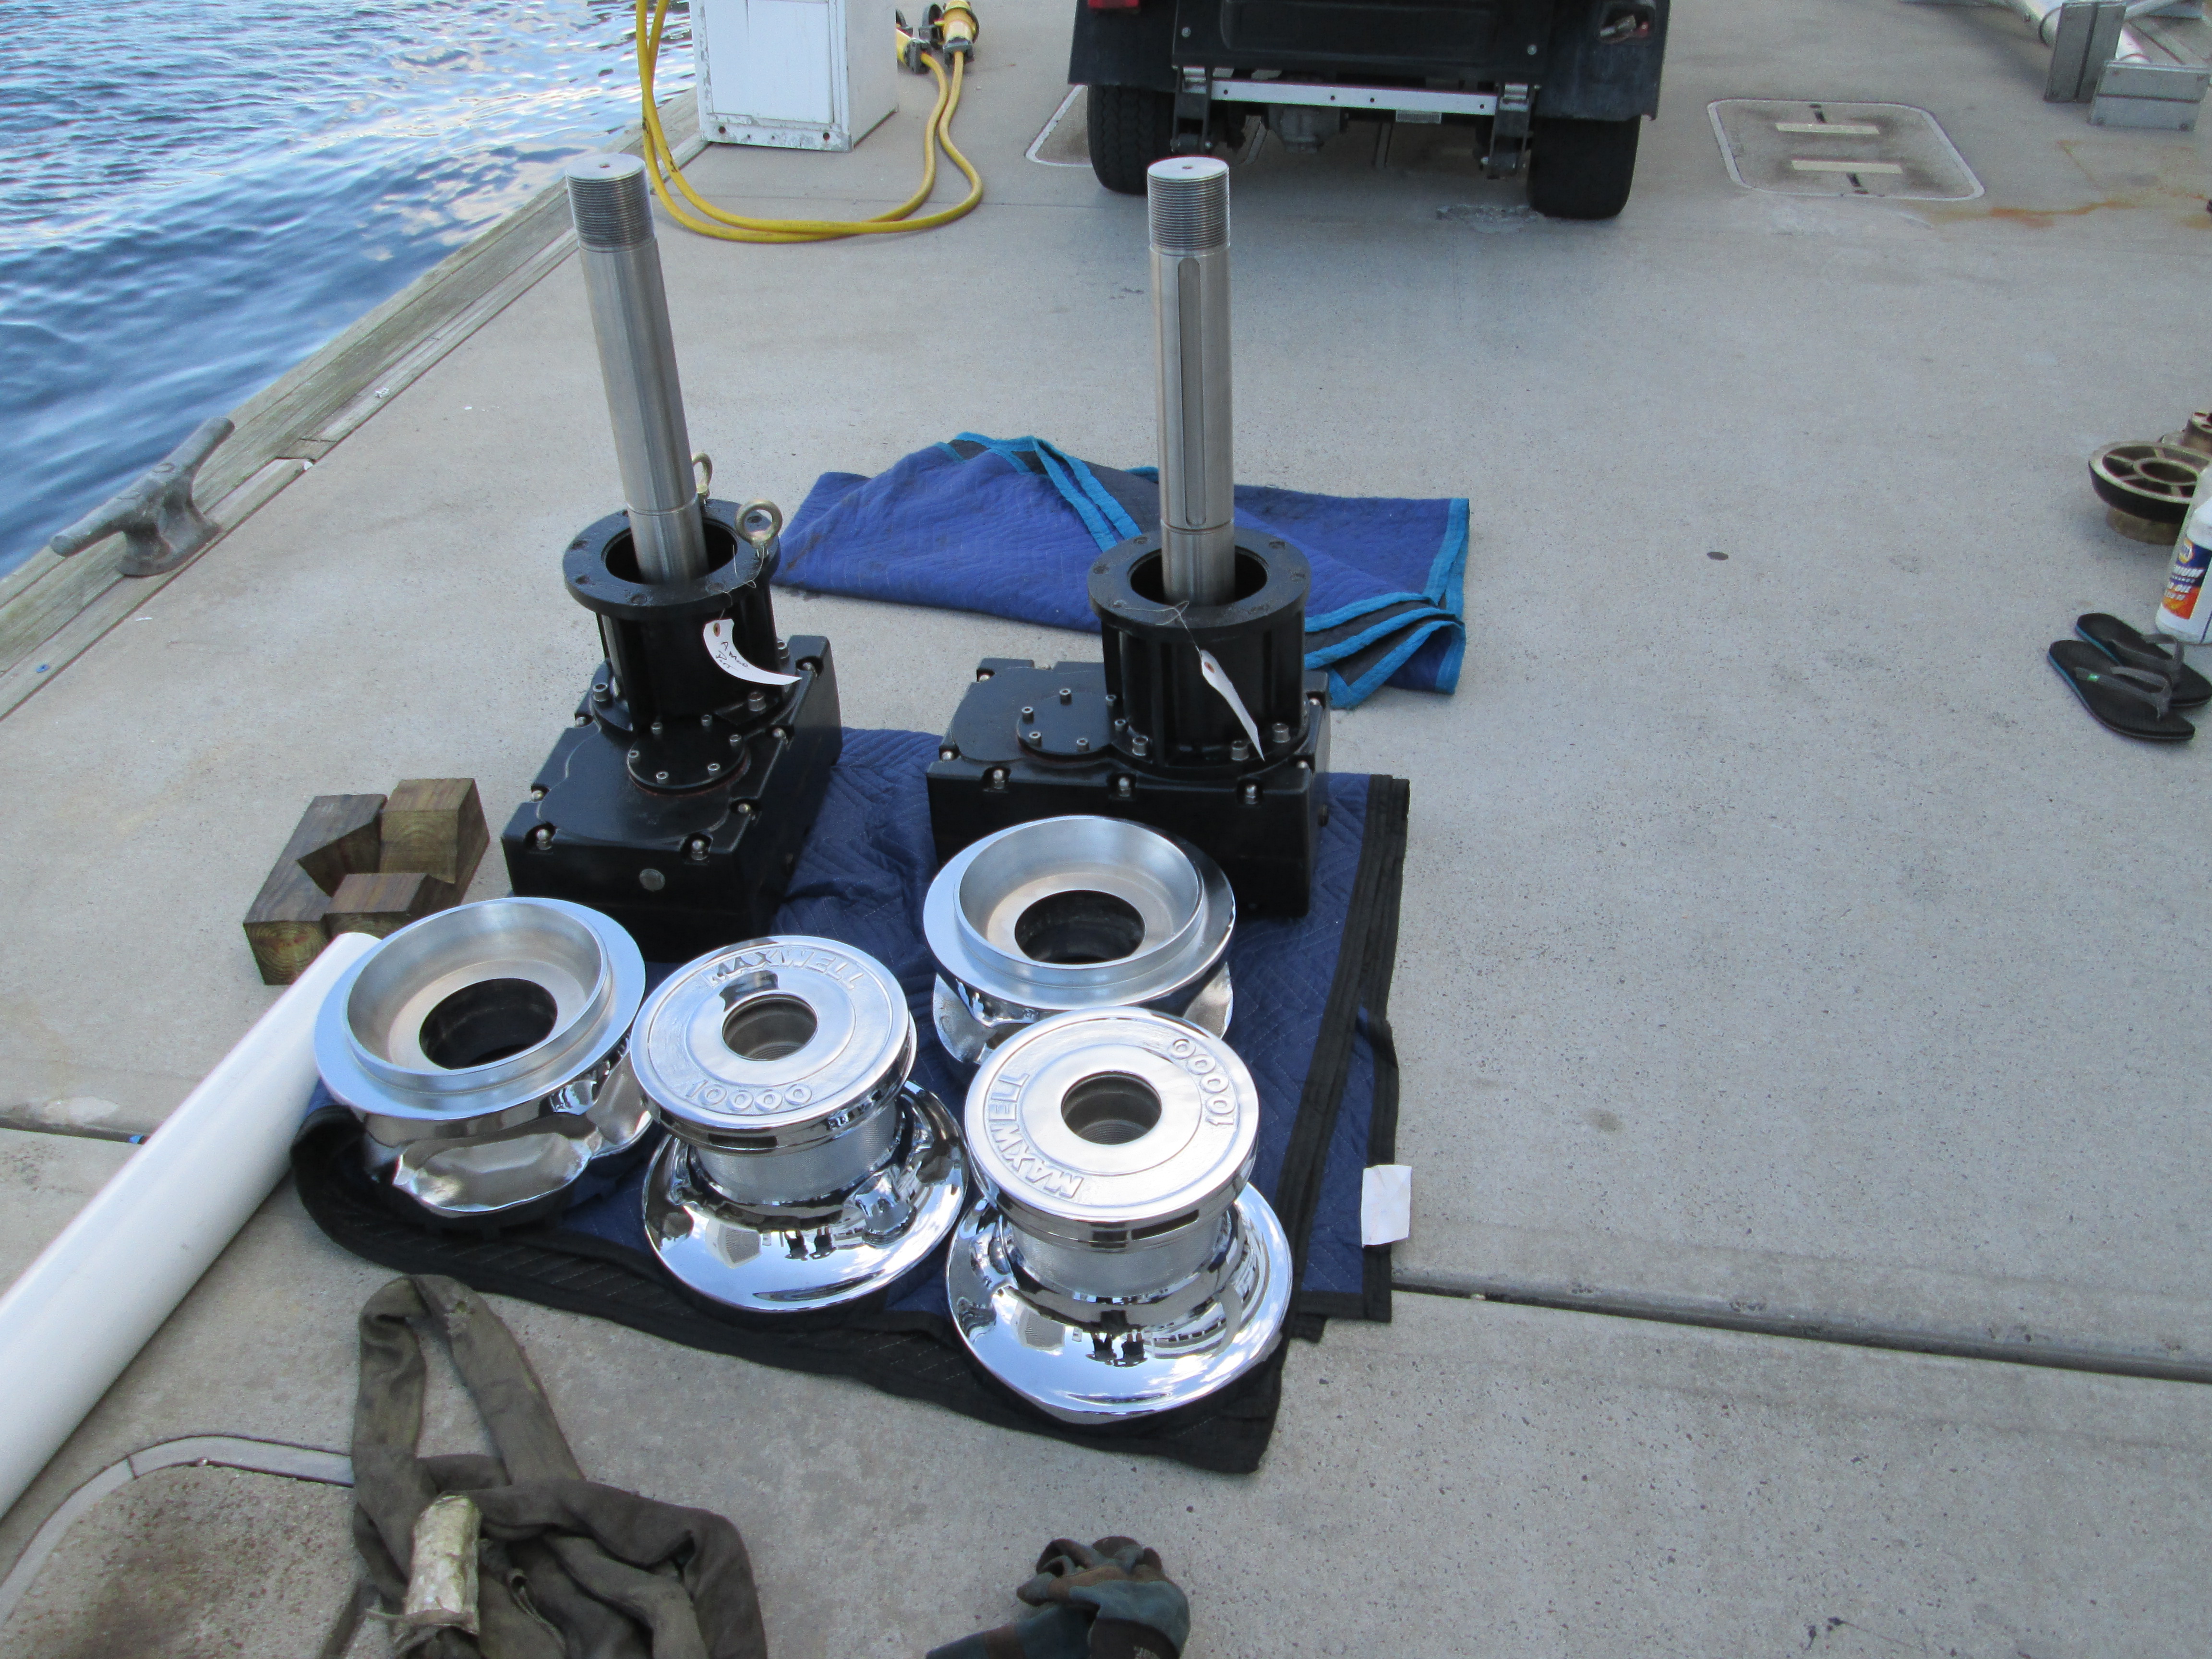
Our team did a full rebuild on the single Maxwell 4500 windlass on the bow, down to the gear box including installing new seals and bearings.  As part of the rebuild, Straight Line Marine also fabricated new stainless steel rings for the main gears to help prevent future gear oil leaks around the lip seals. We also replaced the small Maxwell 2500 capstans in the stern with new electric units due to the cost of installing new versus re-building these smaller units.

We found the steering system to be in good shape.  There were no leaks on the cylinders so these were left alone.  We did, however, replaced a few hoses and upgraded some of the ball valves to stainless steel to help prevent future corrosion.  Finally, we changed the fluid and filters.

This was a big job from start to finish but our talented hydraulic technicians, supported by our in-house machine shop, were more than capable of tackling every hydraulic system from bow to stern and everything in between.

Need Running Gear and Hydraulic Work Done on your Yacht – Work with Us

A 106’ Westport yacht was recently hauled at Lauderdale Marine Center for a variety routine maintenance projects including shaft work, bearing replacements and an overhaul on several hydraulic systems. To streamline the process and help the captain and crew better manage the project, they contracted with both High Seas Yacht Service for the running gear portion and High Seas Hydraulics to handle the hydraulics work.

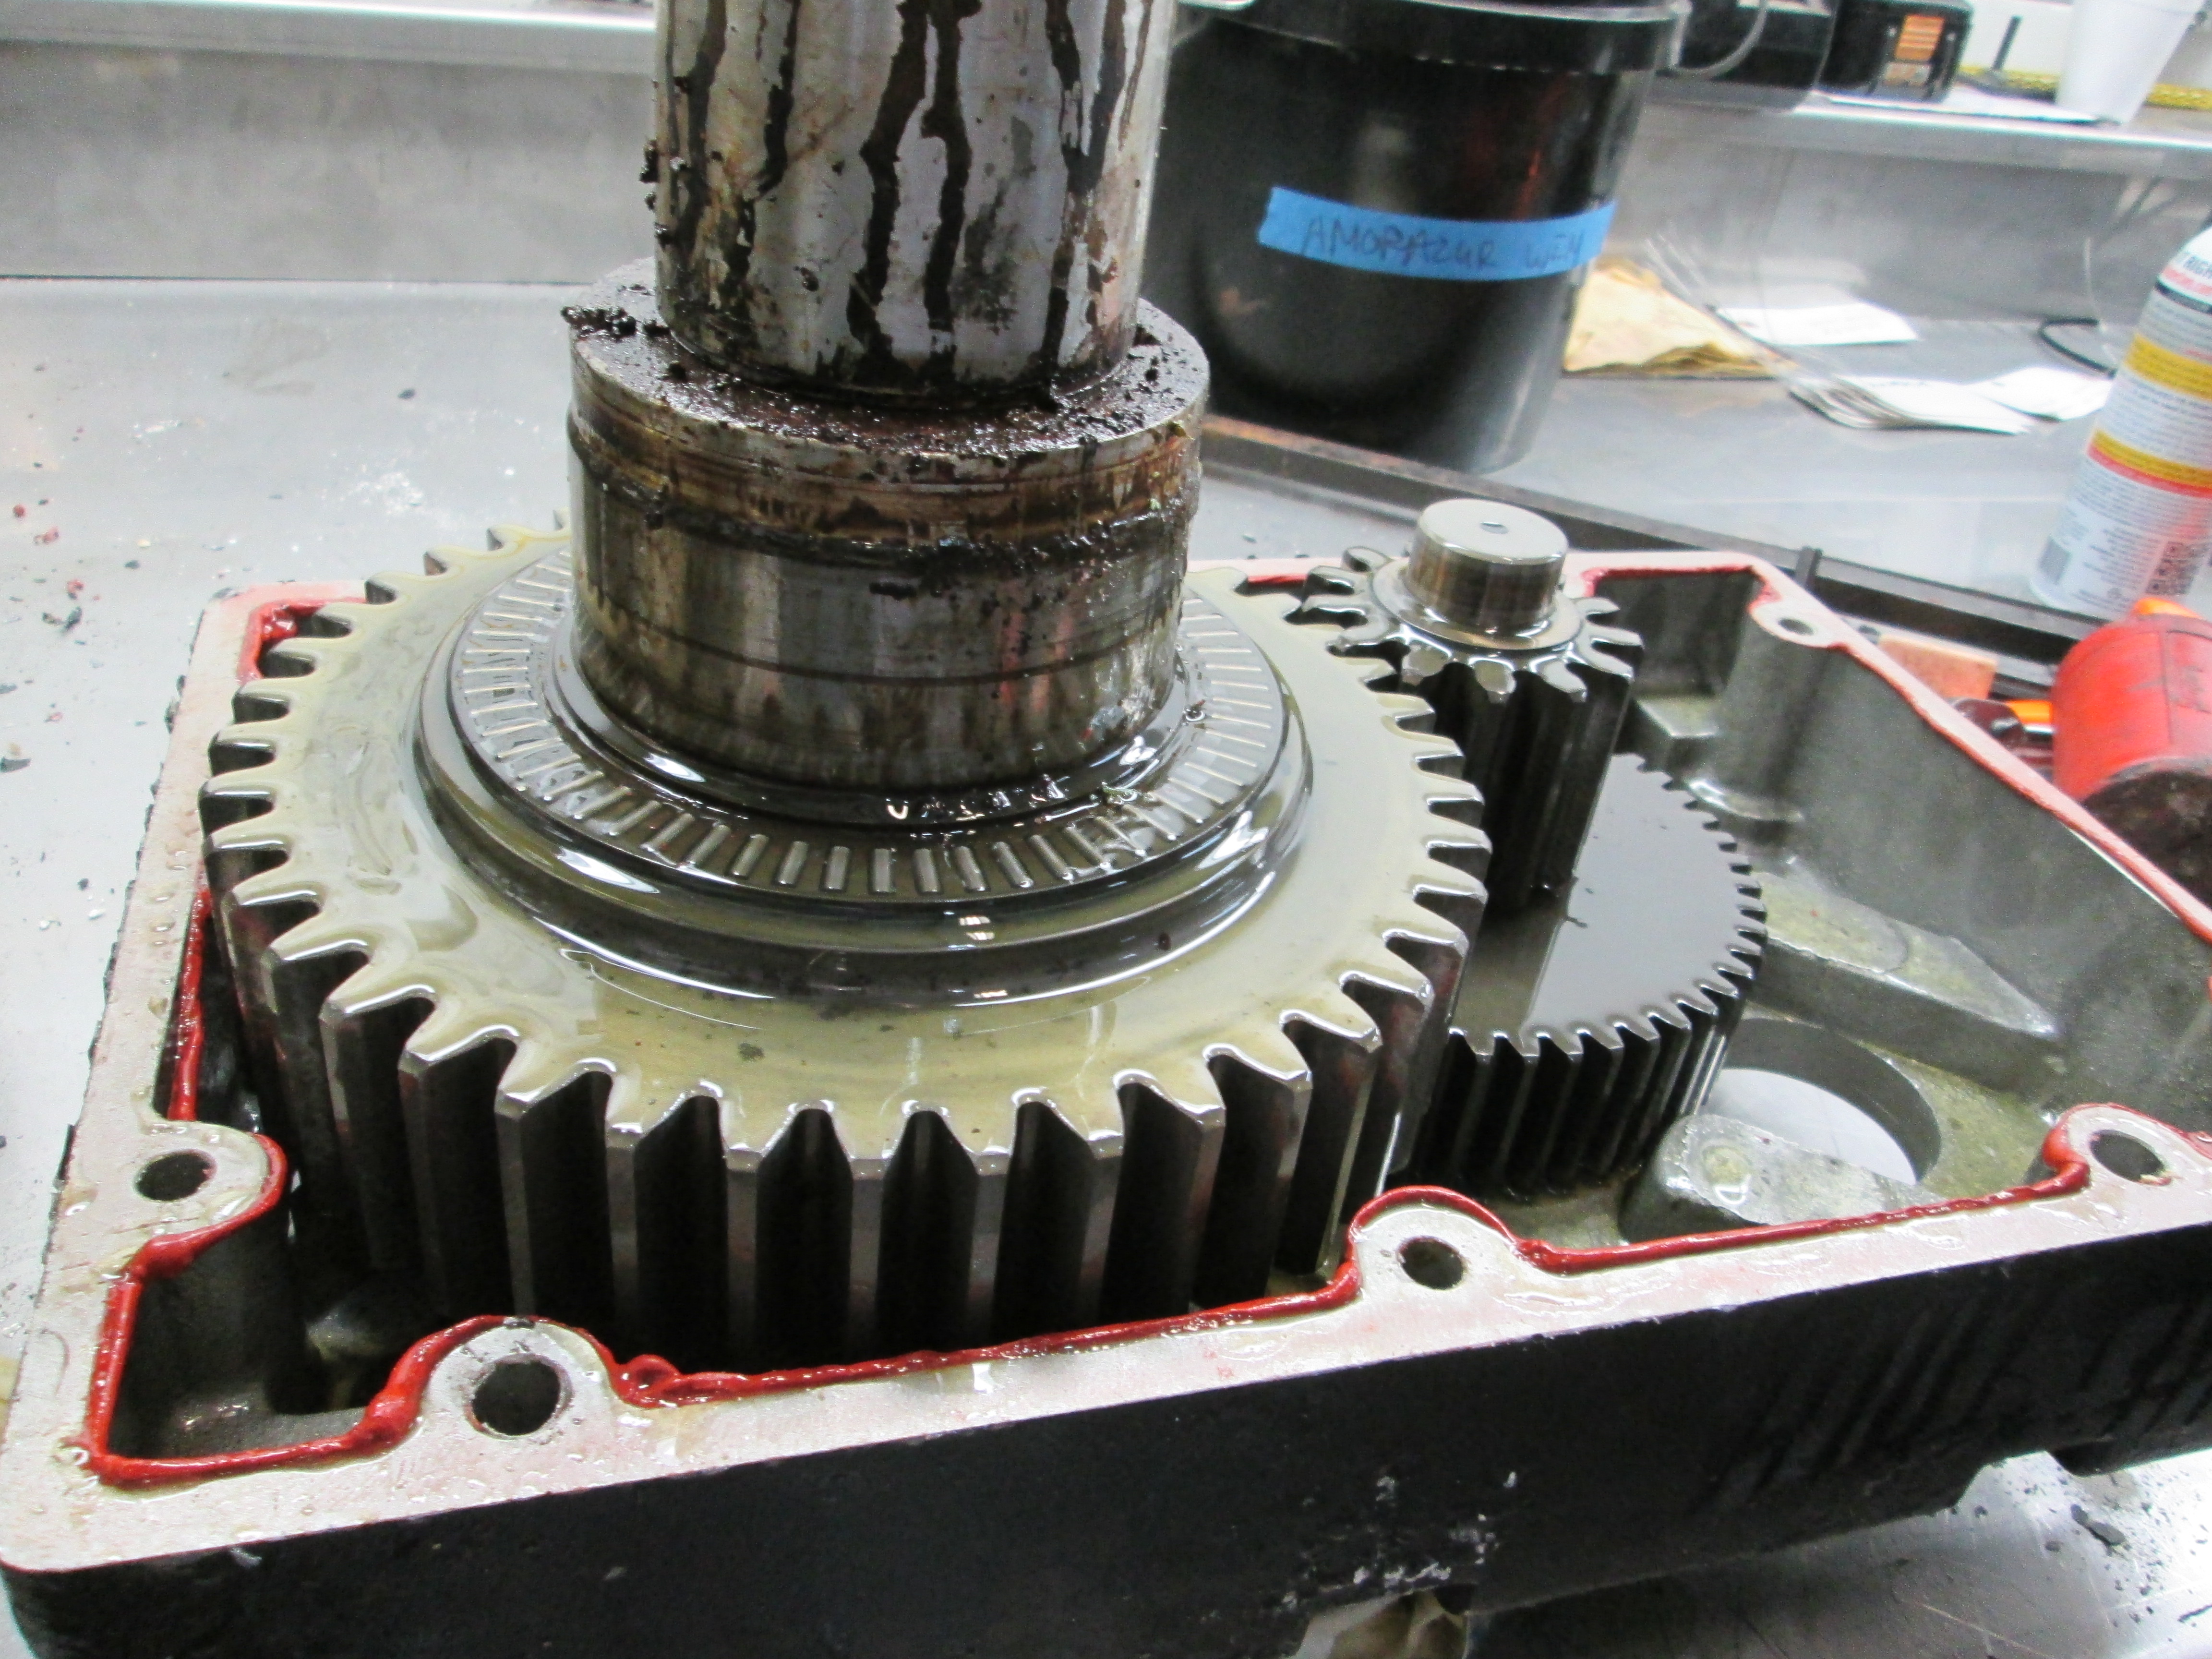
Our running gear mechanics inspected the shafts to ensure they were straight and aligned and replaced the bearings and seals. Normal wear and tear associated with running the vessel and prolonged exposure to salt water makes this task a necessary evil for properly maintaining the boat. As seen in the adjacent photo, there was a visible gap where the cutlass bearing adjoined to the shaft.

We were also commissioned to replace the seals on the lower stabilizer fins. ABT Trac, one of the more popular brands, 
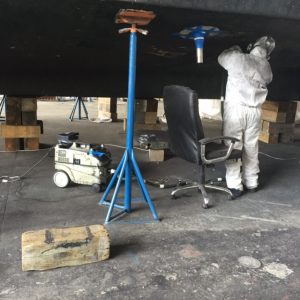
recommends changing the lower stabilizer fin seals every couple of years but at least every six years depending on use. The components on the stabilizer are constantly working except is absolute calm seas, so the wear and tear can be considerable. After dropping the fins, we proceeded to change out the old lower stabilizer fin seals with new ones, check the hoses and cylinders, then reassembling the units.

In addition to the routine maintenance on the stabilizer systems, we flushed the entire hydraulic system using the simple drain, filter, fill approach commonly referred to in our shop as a DFF. This type of flush is more of an “oil change” and is part of routine maintenance. It is not appropriate where a more serious condition such as water, metal particles or other contaminants are found in the oil. The process calls for draining the hydraulic tank, changing out the filters and refilling the tank with hydraulic fluid.

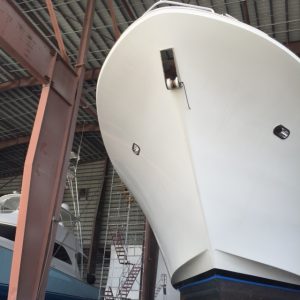
To round out the work on this Westport, we did an overhaul on the bow thruster, single Maxwell windlass, the boat’s heat exchangers and the hydraulic steering system which was slow to respond.

From running gear to hydraulics, our teams at High Seas Yacht Service and High Seas Hydraulics, make easy work of maintaining the systems that make your vessel safe and operating smoothly.

Whether you need hydraulic repairs, running gear work or shafts straightened – High Seas Family of Companies is here to serve

It’s not unusual for mega yachts to haul out at Lauderdale Marine Center requiring extensive work on multiple parts of the boat. That was the case for a 135 foot Broward yacht when she came into the yard. The Captain of the yacht approached High Seas with a laundry list of requirements that included hydraulics and running gear jobs. High Seas is unique in the sense that we have the expertise to work on both areas, providing a central point of contact that can help to design the most efficient work flow through coordinated schedules.

For this yacht, we were hired to:

  • Perform a full NAIAD 505 service with shafts out and new bearings
  • Do a full rebuild on the Hydraulic Steering System including removing the HPU and replacing hoses
  • Reinstall PTOs on new generators with new hoses
  • Refurbish the steering cylinders
  • Remove rudders for a bearing inspection and repack stuffing boxes
  • Remove shafts for new bearings, packing and alignment
  • Complete removal and rebuild of Maxwell 11000 windlasses

In coming posts, we will walk through the steps we took to make this yacht ship shape again.

Maxwell Windlass Rebuild

About every 10 years, it is a good idea to remove your windlass for a full rebuild.  Some windlasses get a full-time work-out while others sit idle and are rarely used.  Either way, time and salt water will take a toll.


A typical full rebuild includes full removal of the unit, sending the motor (electric or hydraulic) out for testing, draining the oil and splitting the gear case, replacing thrust bearings, seals and plastic plugs with O-rings, sending the parts out for powder coating or paint, test load checks and replace if needed, and replacing break springs and plungers.


Windlass before repair

Windlass before repair

Since the shaft driving the capstan and gypsy (or wildcat) sits vertically, it is inevitable that water gets through the deck seal and sits on top of the lip seal on the gear case.  This causes corrosion of the gear surface where the lip seal runs.  Corrosion on that surface eventually fails the seal and lets water in – gear oil out.  We see this on 50% of our rebuilds or more.  The two lip seals ride on the main gear’s top and bottom.


The remedy, order a new main gear from the supplier at a understandably high cost and long lead time or perform a machine shop repair.  In our machine shop, Straight Line Marine, we put the gear in a lathe and machine away the corroded area 1” down.  We then machine a 0.0125” thick ring out of stainless steel.   The ID of the ring is slightly undersized requiring heat for a fit.  Once fit, it is final machined to the original gear OD and blended in.  A new lip seal surface is fabricated out of stainless steel.

Windlass after machining and polishing

Windlass after machining and polishing


The cost of the repair is only a fraction of the new gear and we can get this done in a day – keeping on track with the schedule and launching the vessel on time.


When performing any kind of maintenance on your vessel’s hydraulic components, make sure the company you select has resources to tackle all of the little things that can arise during a project.


Maxwell Windlass Repair using Belzona

Pitting and corrosion before repair

Pitting and corrosion before repair

Belzona applied over repair

Belzona applied over repair

While performing routine maintenance on a 110 foot Broward yacht’s Maxwell anchor windlass, we did a full tear-down and inspection. When we disassembled the Maxwell windlass, we found excess/severe pitting and corrosion in the cover body. Most marine aluminum equipment suffers from this type of corrosion over time. Unfortunately the part was so old that Maxwell did not have replacement parts readily available. The part was cast and very complicated so machining a replacement part was not feasible or economical.

In order to remedy the situation, we used a product call Belzona. It is a 2-part repair composite for metal repair and resurfacing based on solvent free epoxy resin reinforced with silicon steel alloy. This repair material will not corrode and resists a wide range of chemicals. It is easy to mix and apply without the need of specialist tools and can be machined using conventional tools.

The part was first sandblasted clean and prepped. We apply the Belzona to the repair area on the Maxwell windlass similar to applying frosting to a cake. Once it cures the material machines like aluminum.  We then put the unit in the lathe where the cutting tool cuts the ID (inside diameter) of the windlass part.  What we are showing in the accompanying pictures is the process half completed so what you are seeing is a smooth round surface under and to the left of the cutter and the frosting mix that is about to be cut to the right of the cutter.

Unit in the lathe where the cutting tool cuts the ID (inside diameter)

Unit in the lathe where the cutting tool cuts the ID (inside diameter)

The final step in the process is powder coating before re-installation back onto the vessel. With this type of repair, the owner should expect many more years of use of this Maxwell windlass.


Muir Windlass – repairing the Wildcat – Gypsy – Chainwheel

Repairing the Muir Wildcat Gypsy Chainwheel

Removing the galled Muir gypsy

Another good customer with an 87′ Oceanfast had a unique problem with his Muir anchor windlass. Many years ago there was a mismatch between the metric sized chain and the imperial sized gypsy chainwheel (also known as a Wildcat in North America).   The solution at the time, due to time constraints, was replacing the gypsy with an after-market gypsy (not Muir) that fit the existing chain. Unfortunately, the stainless steel gypsy was machined to fit the stainless steel Muir anchor windlass shaft without a bushing.

Within a short period of time the gypsy galled and seized to the shaft.  We were able to pull the seized unit using hydraulics and pullers from our running gear shop.

Machined and pressed  bronze bushing for Muir Windlass

Muir Windlass gypsy in the machine shop for bronze bushing installation

The final repair was an easy solution for our machine shop, Straight Line Marine, to machine and press in a bronze bushing. Good-to-go.

0

Muir Windlasses for Super Yachts

Muir Windlass in the Anchor Room

Muir Windlass in the Anchor Room

Muir Windlass

Muir Windlass

We have the pleasure of working on a brand new 65 meter (213’) Palmer Johnson with a pair of Muir windlasses.  The project required the removal of the Muir windlasses for additional metal work and paint in the anchor room.

Muir has a broad line of windlasses for small pleasure yachts up to super yachts and commercial vessels.  They are built in Tasmania with a relatively simple design concept – removal and installation is fairly straight forward.  Our hydraulics’ team is ready to help with any of your windlass needs whether it is Muir, Maxwell or Steen.

0

Maxwell 10000 Windlass Rebuild

Maxwell 10000 Windlass missing top shim

Maxwell 10000 Windlass missing top shim

A good customer with a 150’ Palmer Johnson had a problem with his old Maxwell Windlass units.  The system was running slowly and it appeared that it would not pull the full 300’ of chain.  After troubleshooting the hydraulics – flow and pressure – it was determined that the windlass was binding and needed a rebuild.

Everything was stripped from the bow for rebuild.  The winch and wildcat were sent out to be re-plated with chrome.  The gear box and external components were sandblasted and powder coated. During the tear-down, we discovered one of the shims for the thrust bearings was missing.  This caused the entire gear and shaft to shift up and bind on the top of the aluminum case.  New bearing and seals were ordered from Maxwell and the aluminum case was repaired in our machine shop.

One last detail – the area on the shaft where the lip seals run had worn with time.  New shafts from Maxwell on the 10000 unit (no longer in production) are a 6 week lead time.  Fortunately, our skilled machine shop cut the seal area down from 95mm to 90mm and a smaller seal was ordered – problem solved and good-to-go for many years to come.

Refurbished, re-plated and powder coated Maxwell 10000 Windlass

Refurbished, re-plated and powder coated Maxwell 10000 Windlass

0