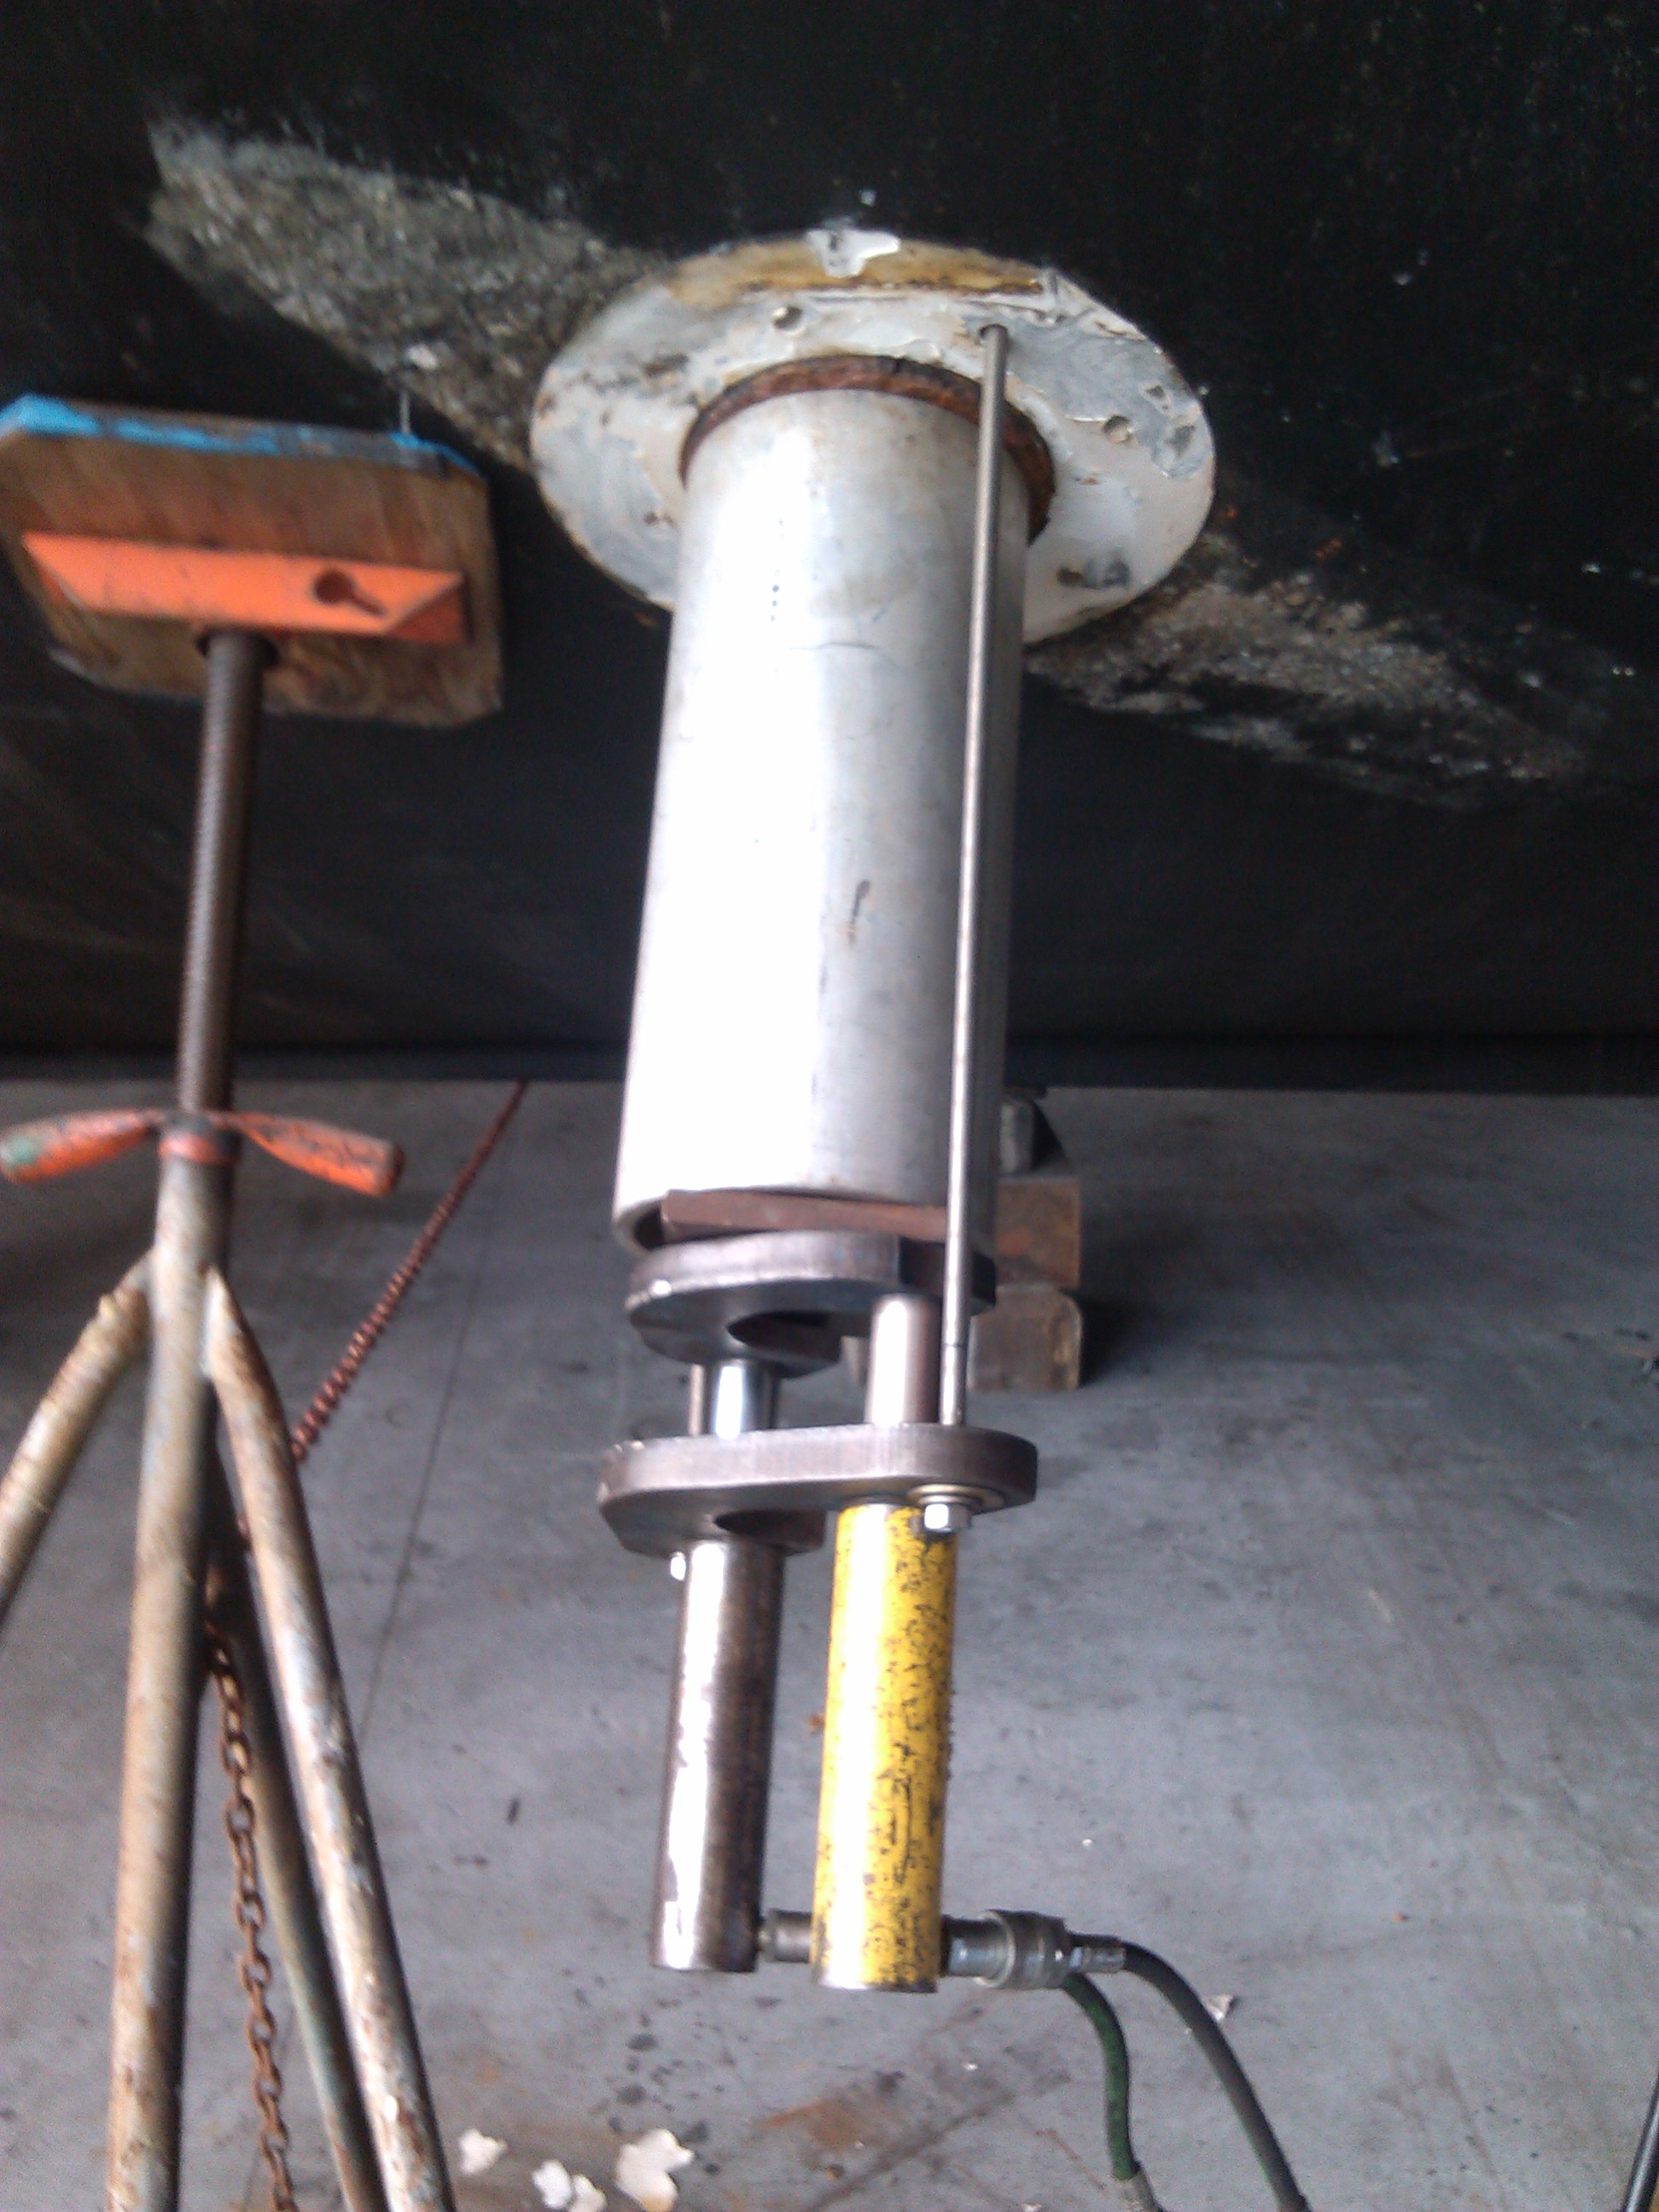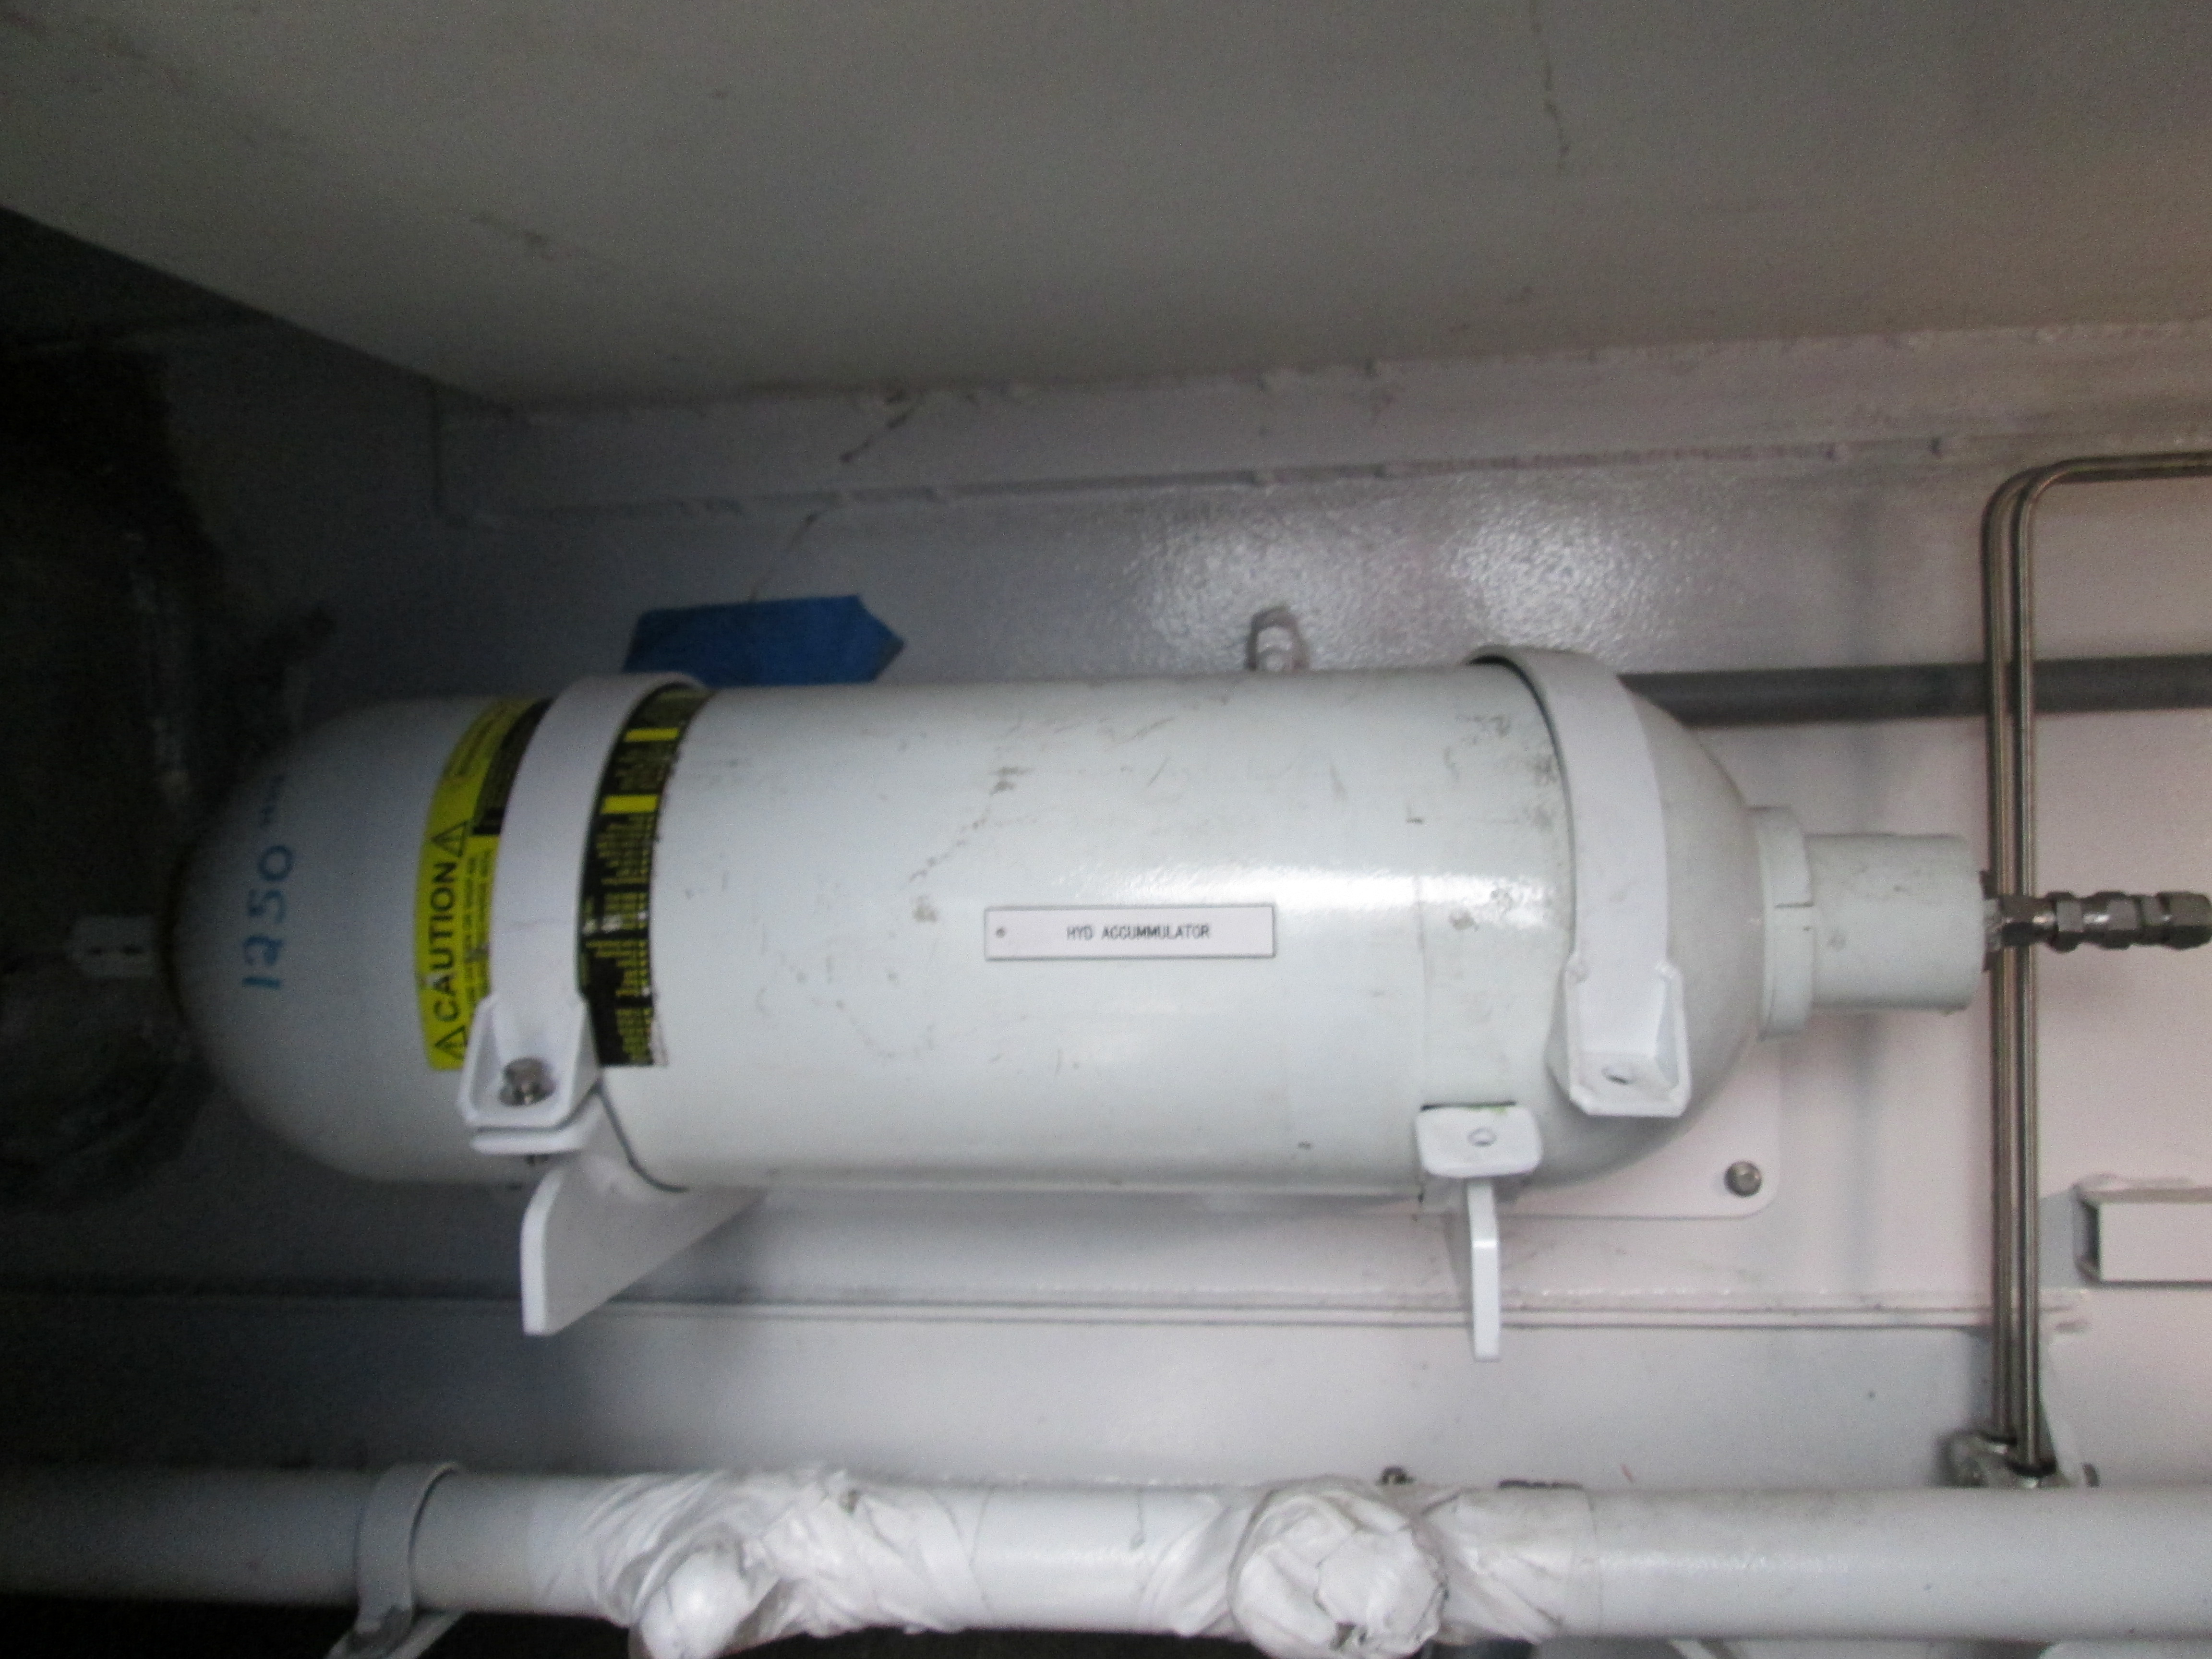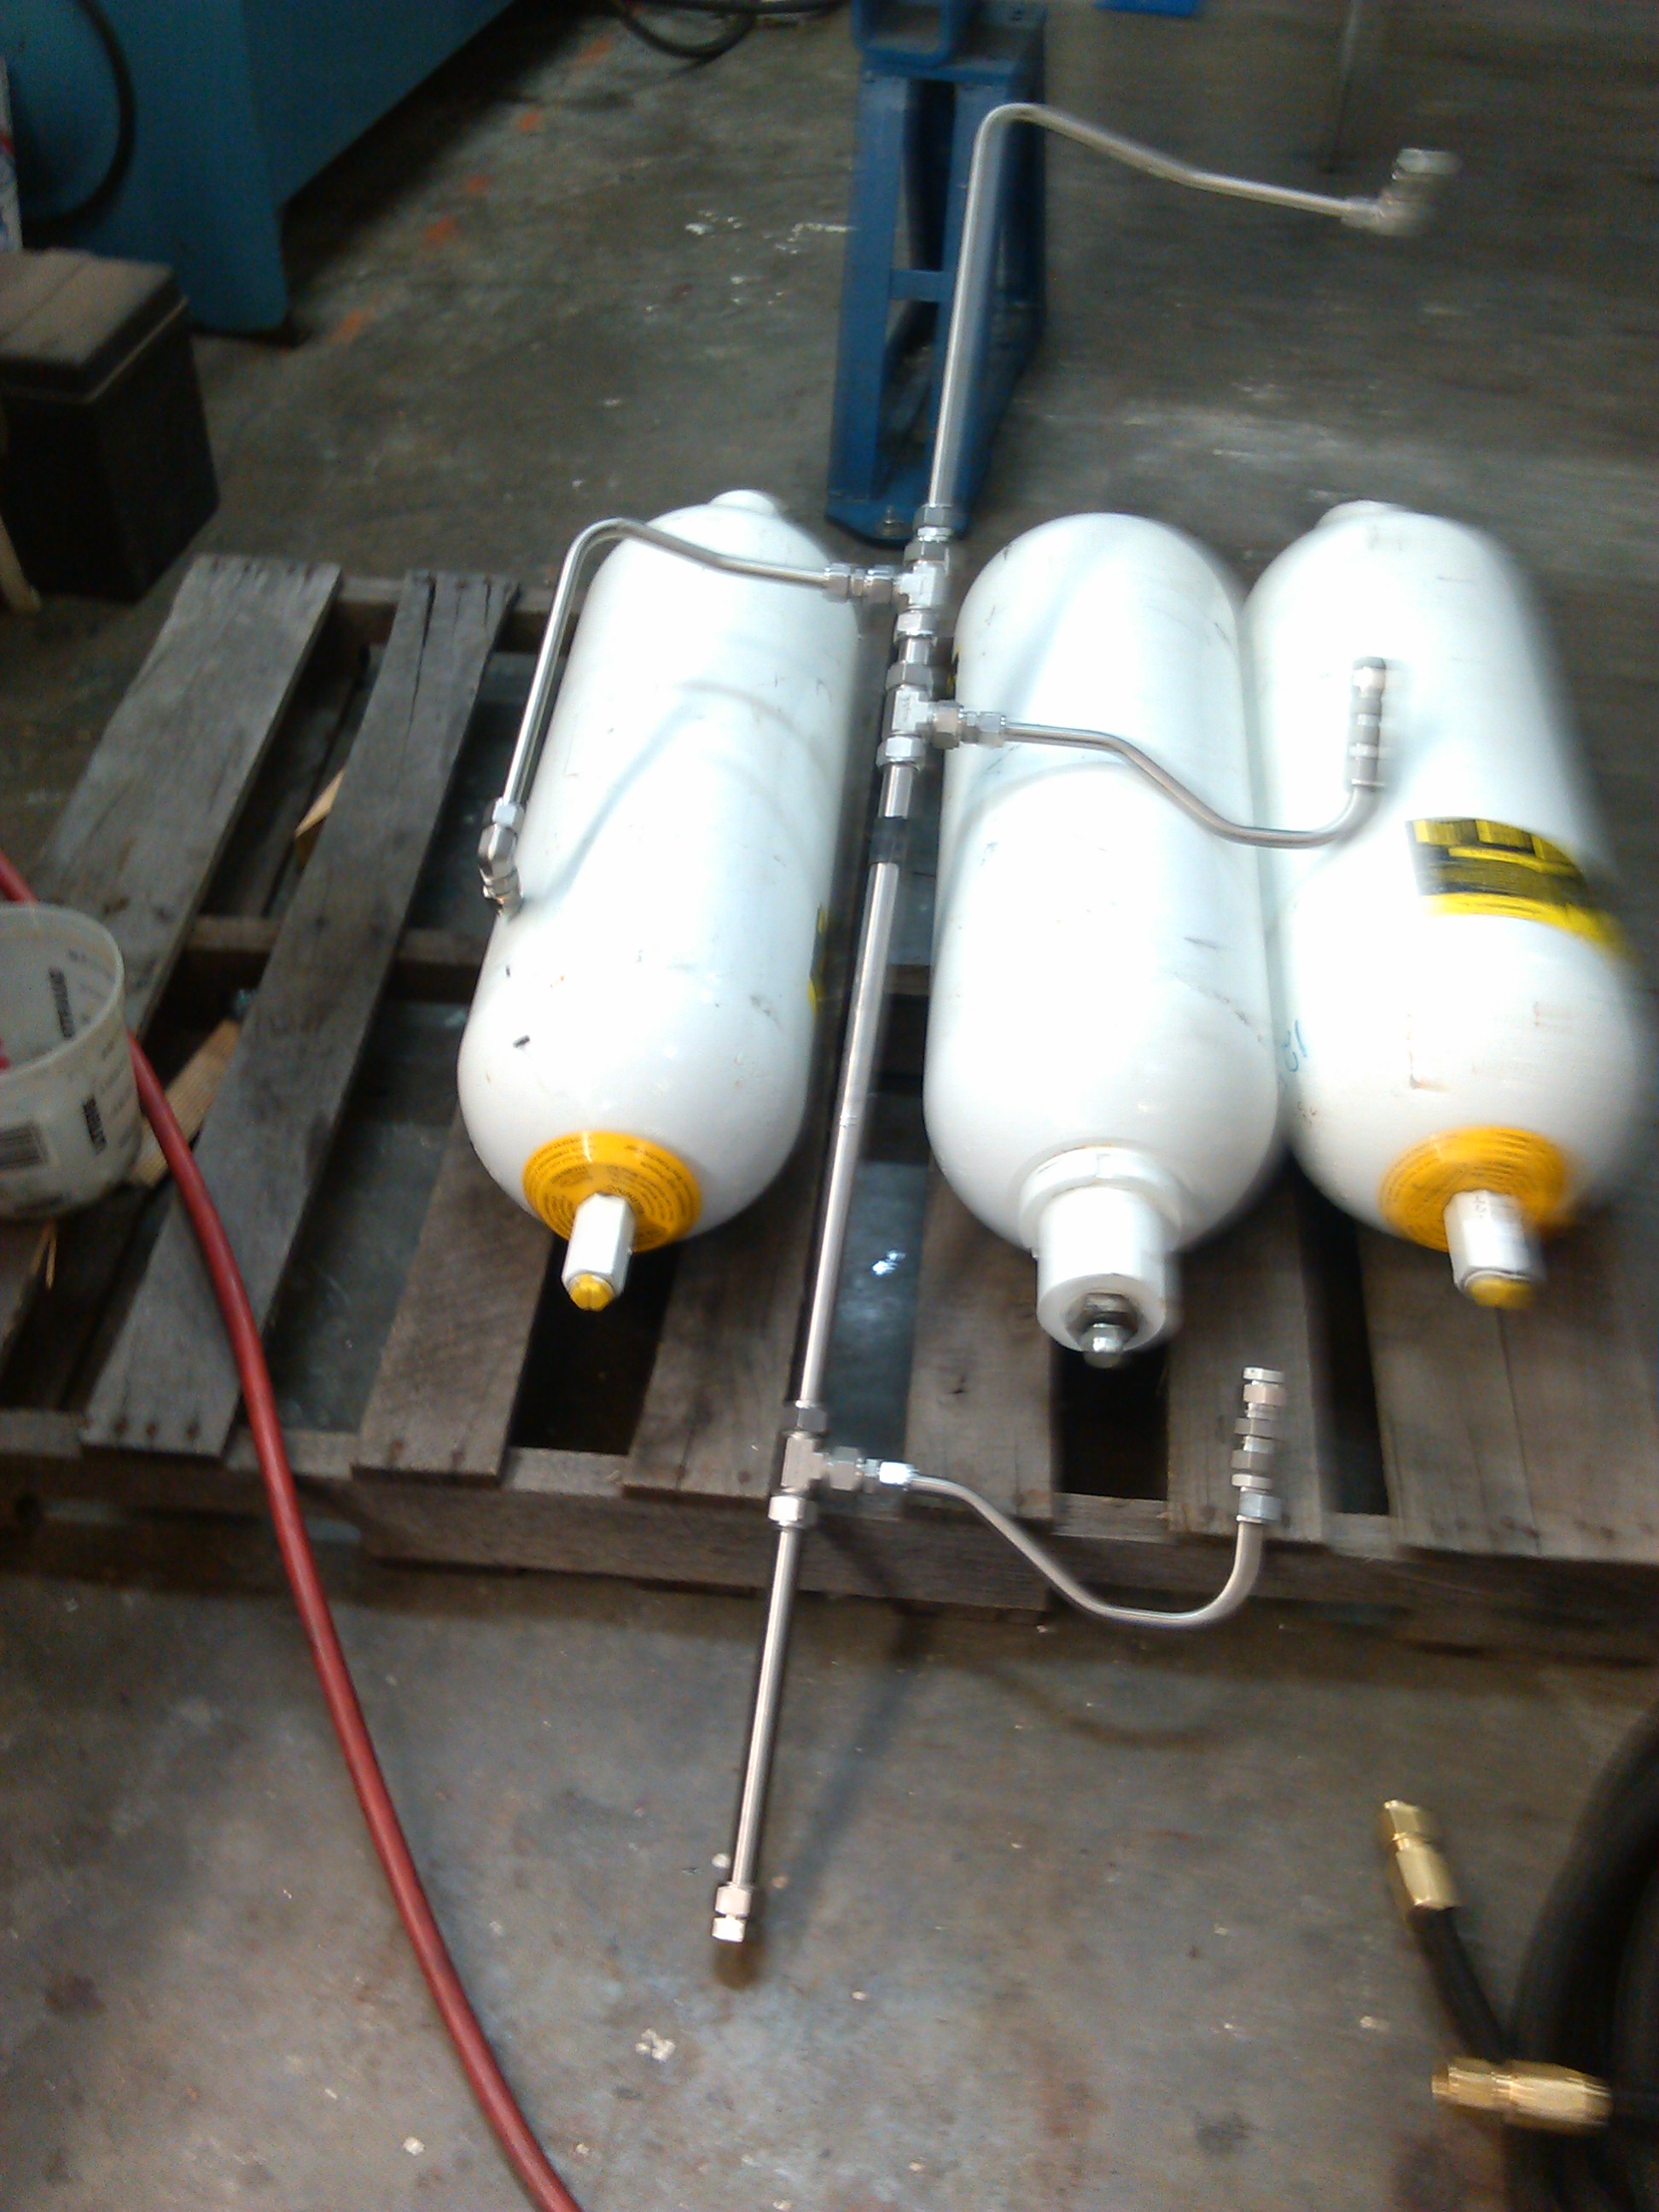
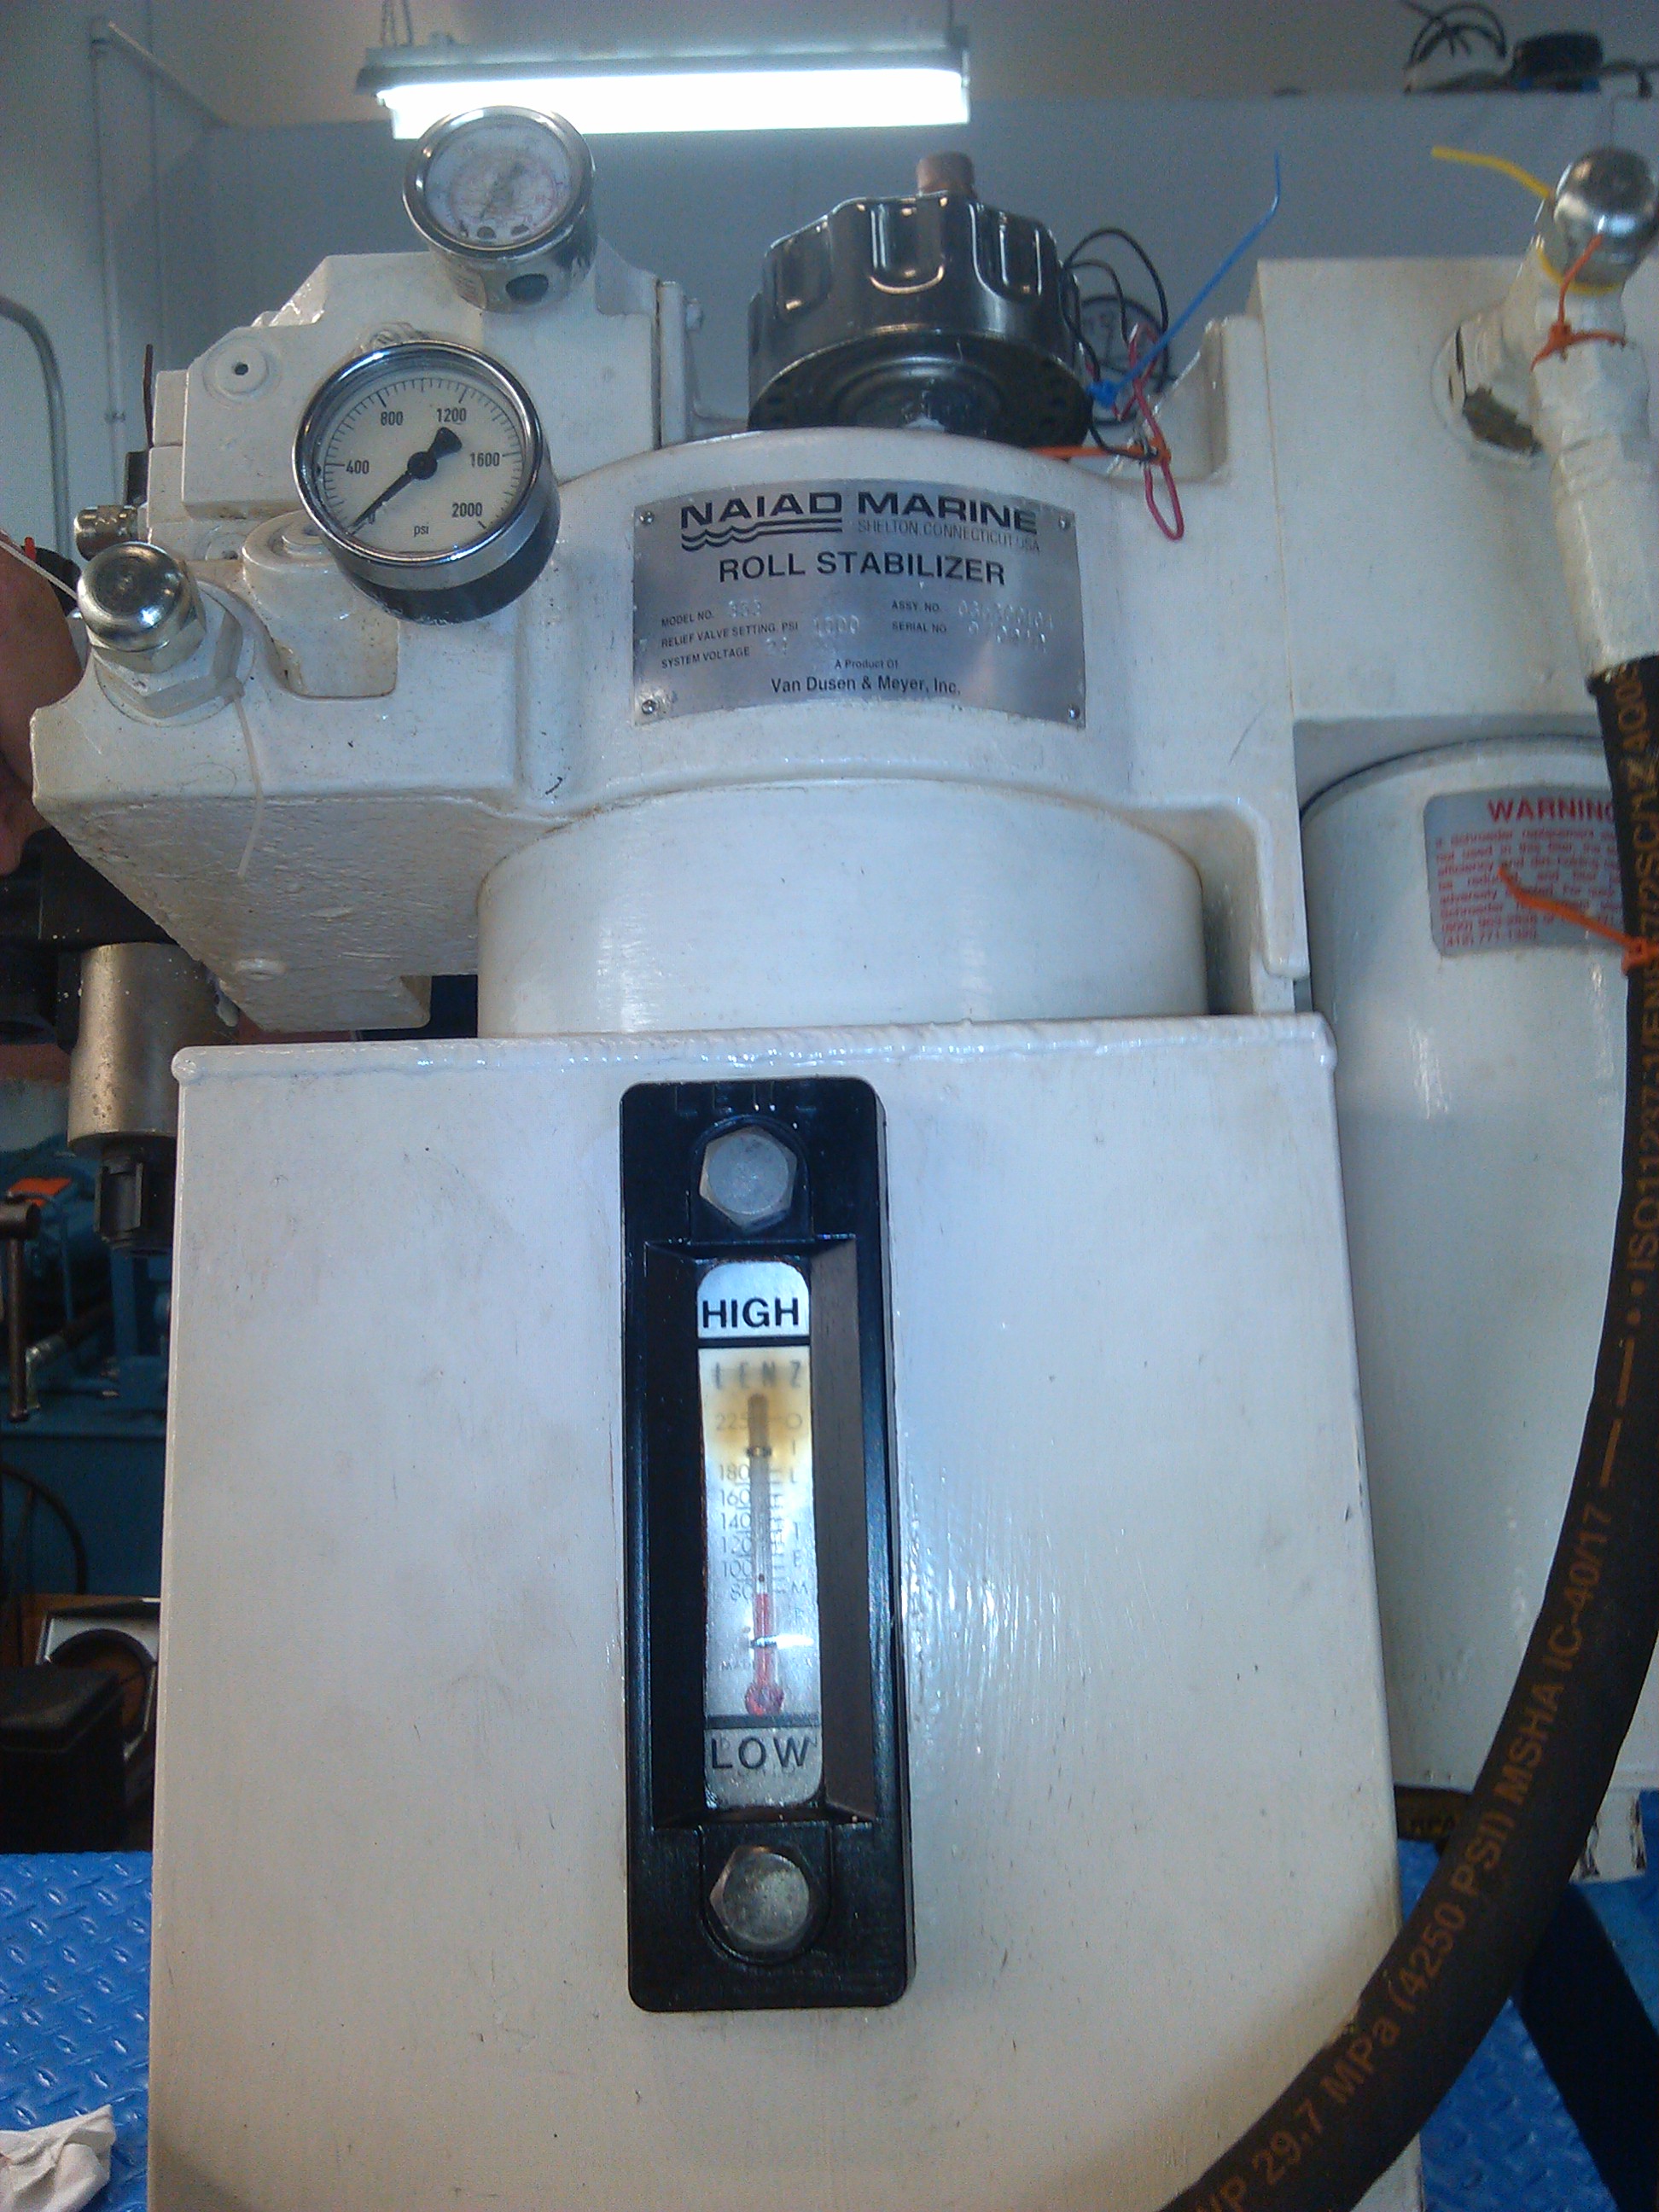
NAIAD Stabilizer Hydraulic Tank from the engine room
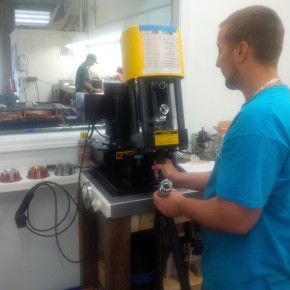
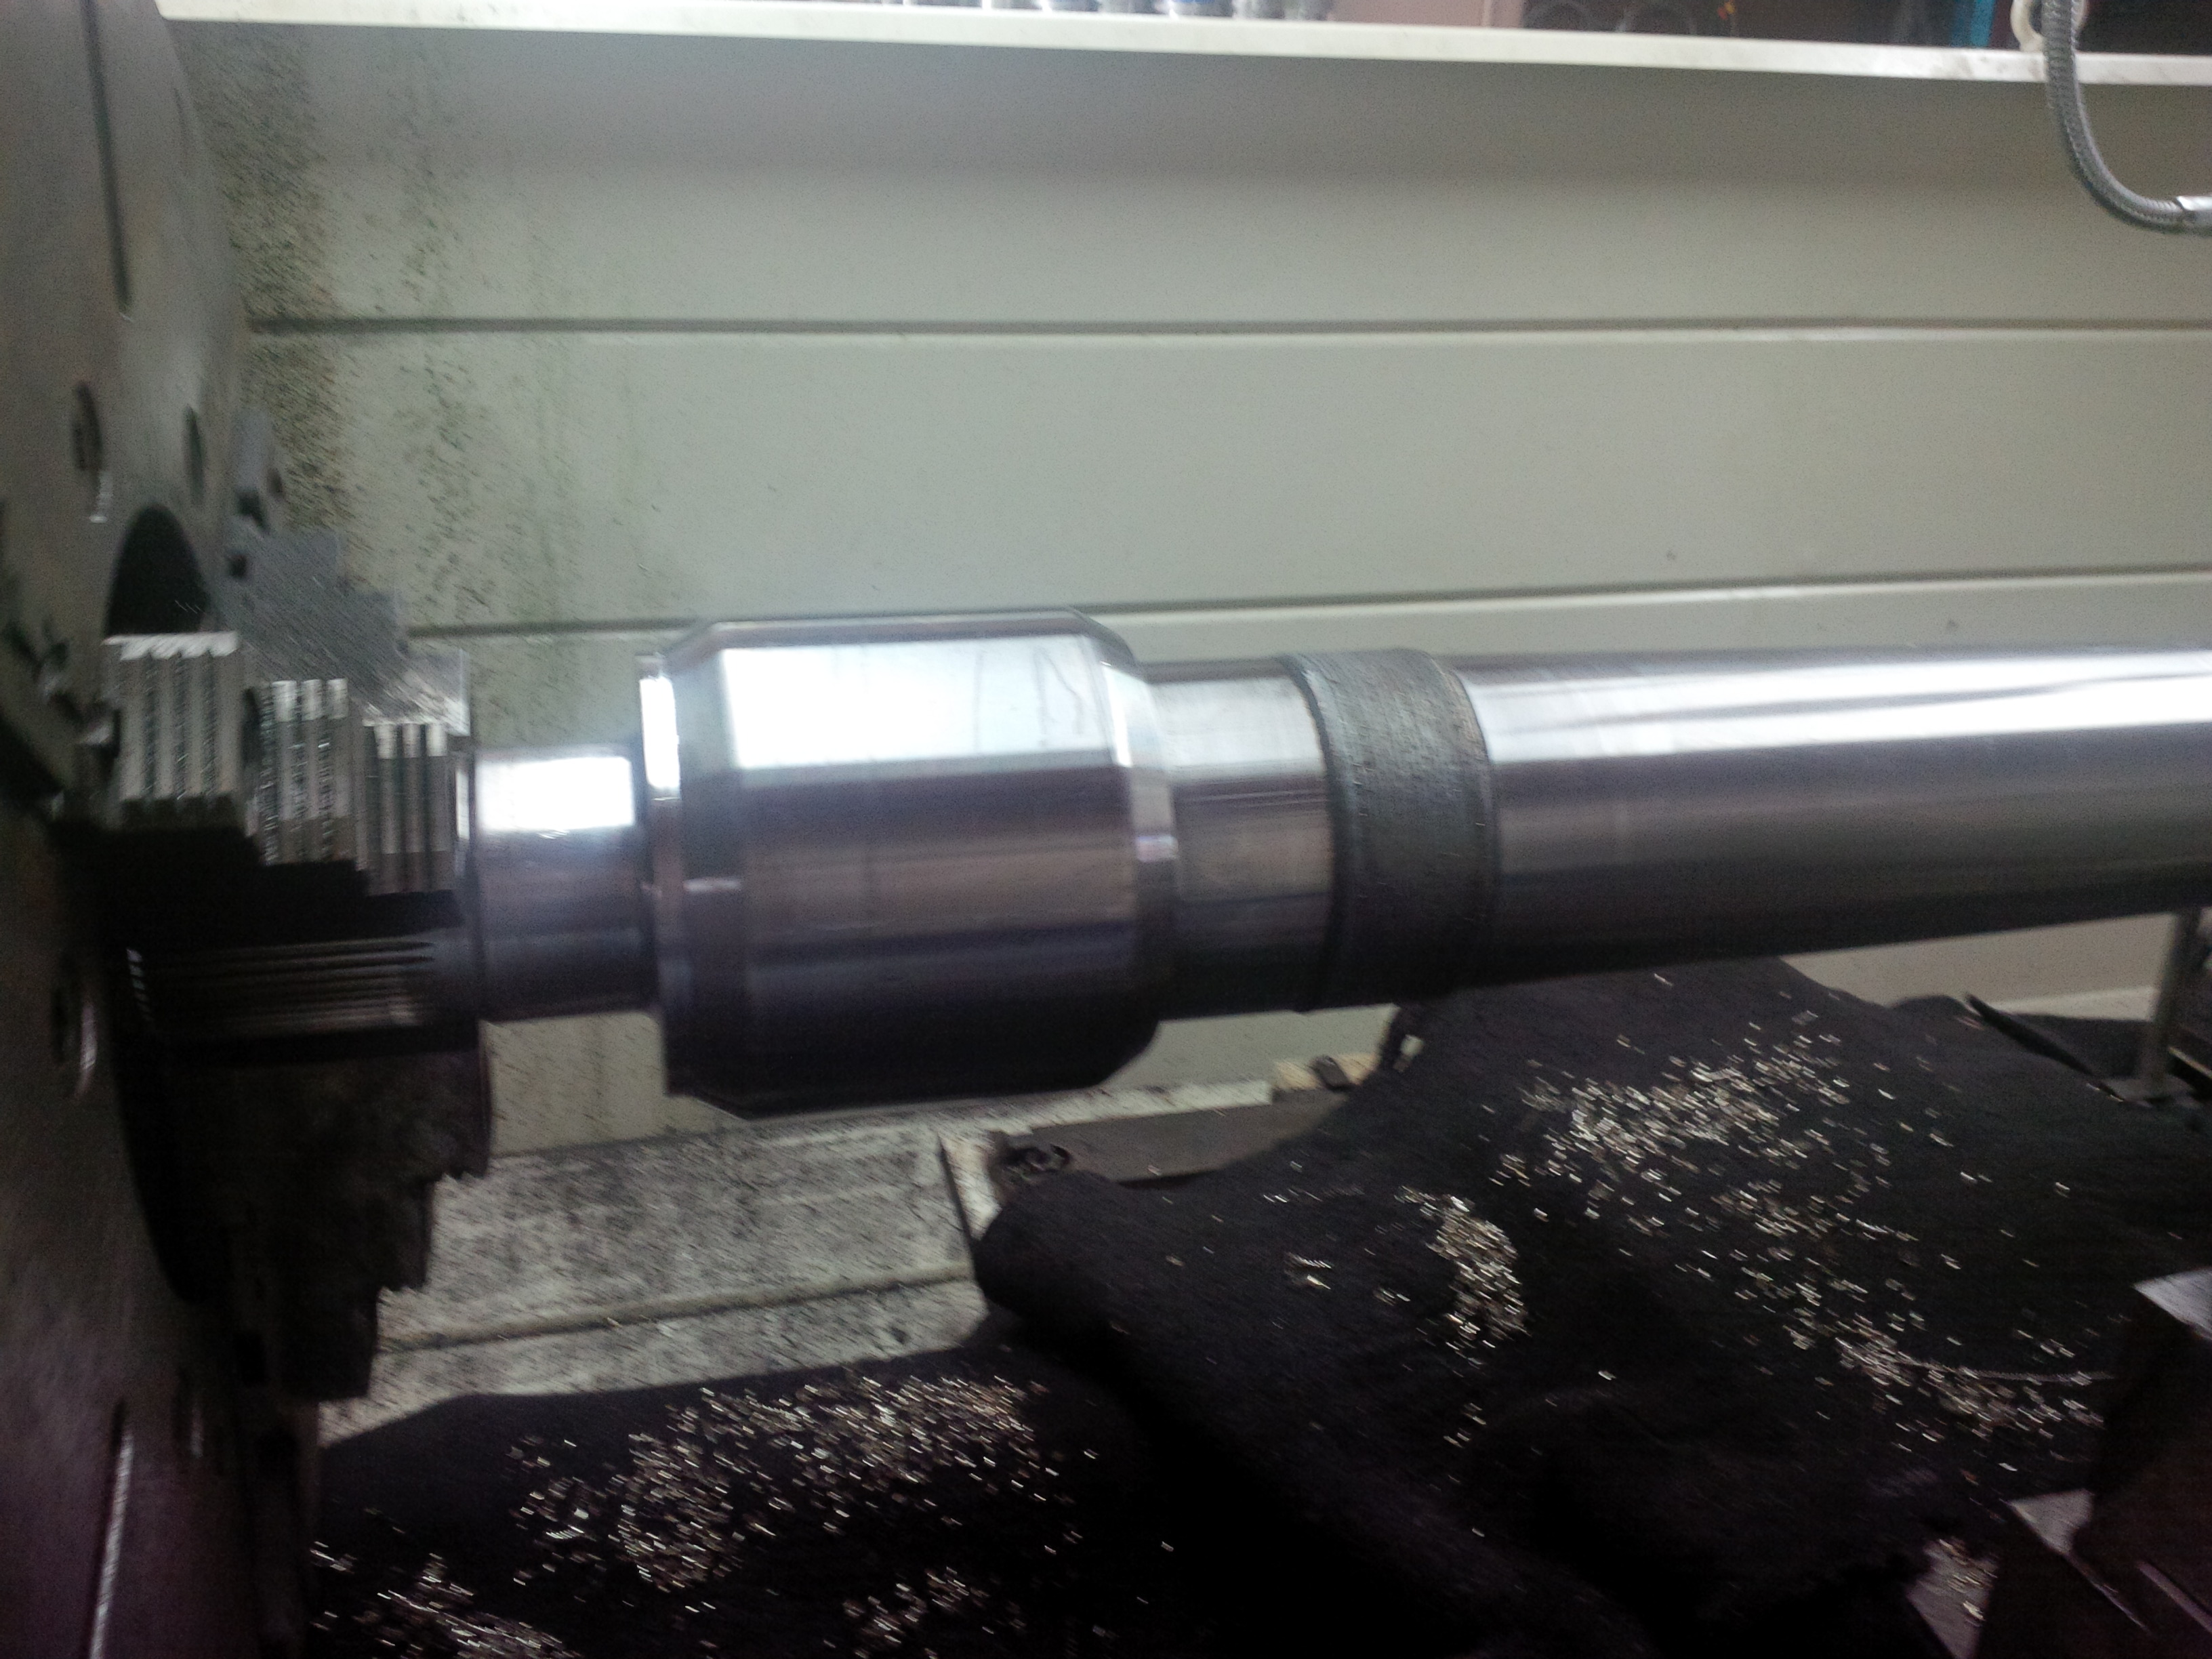
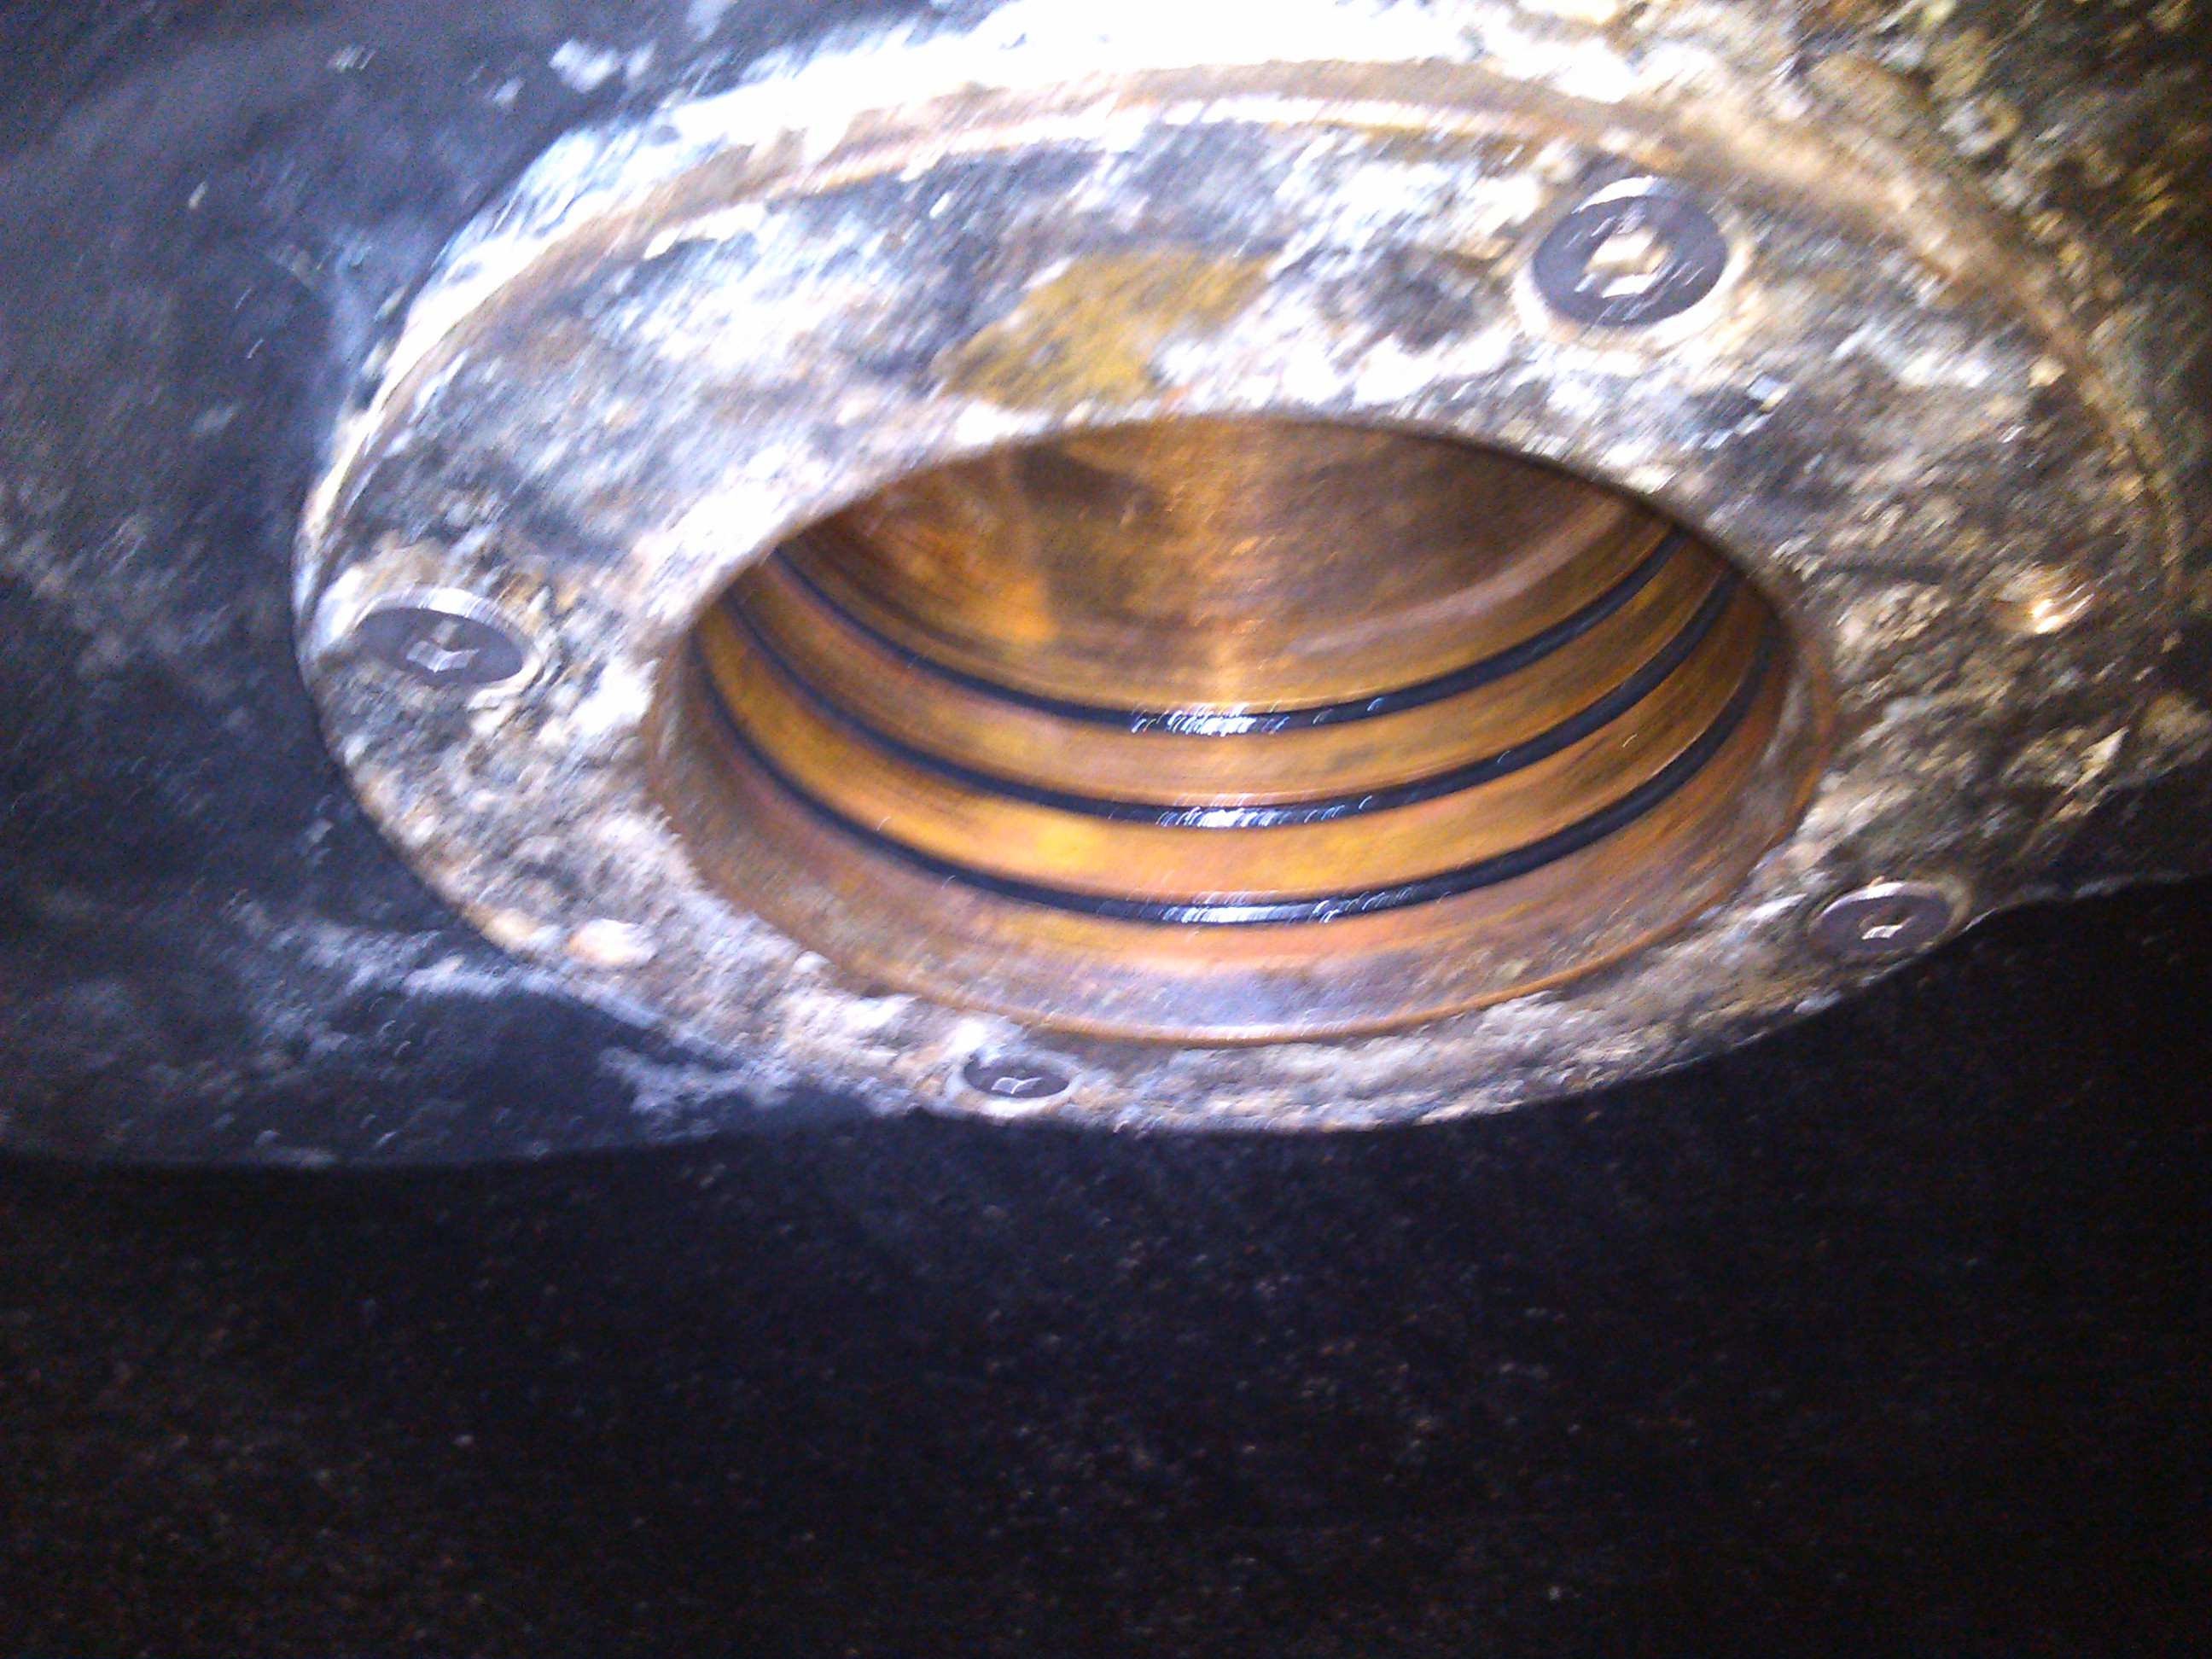
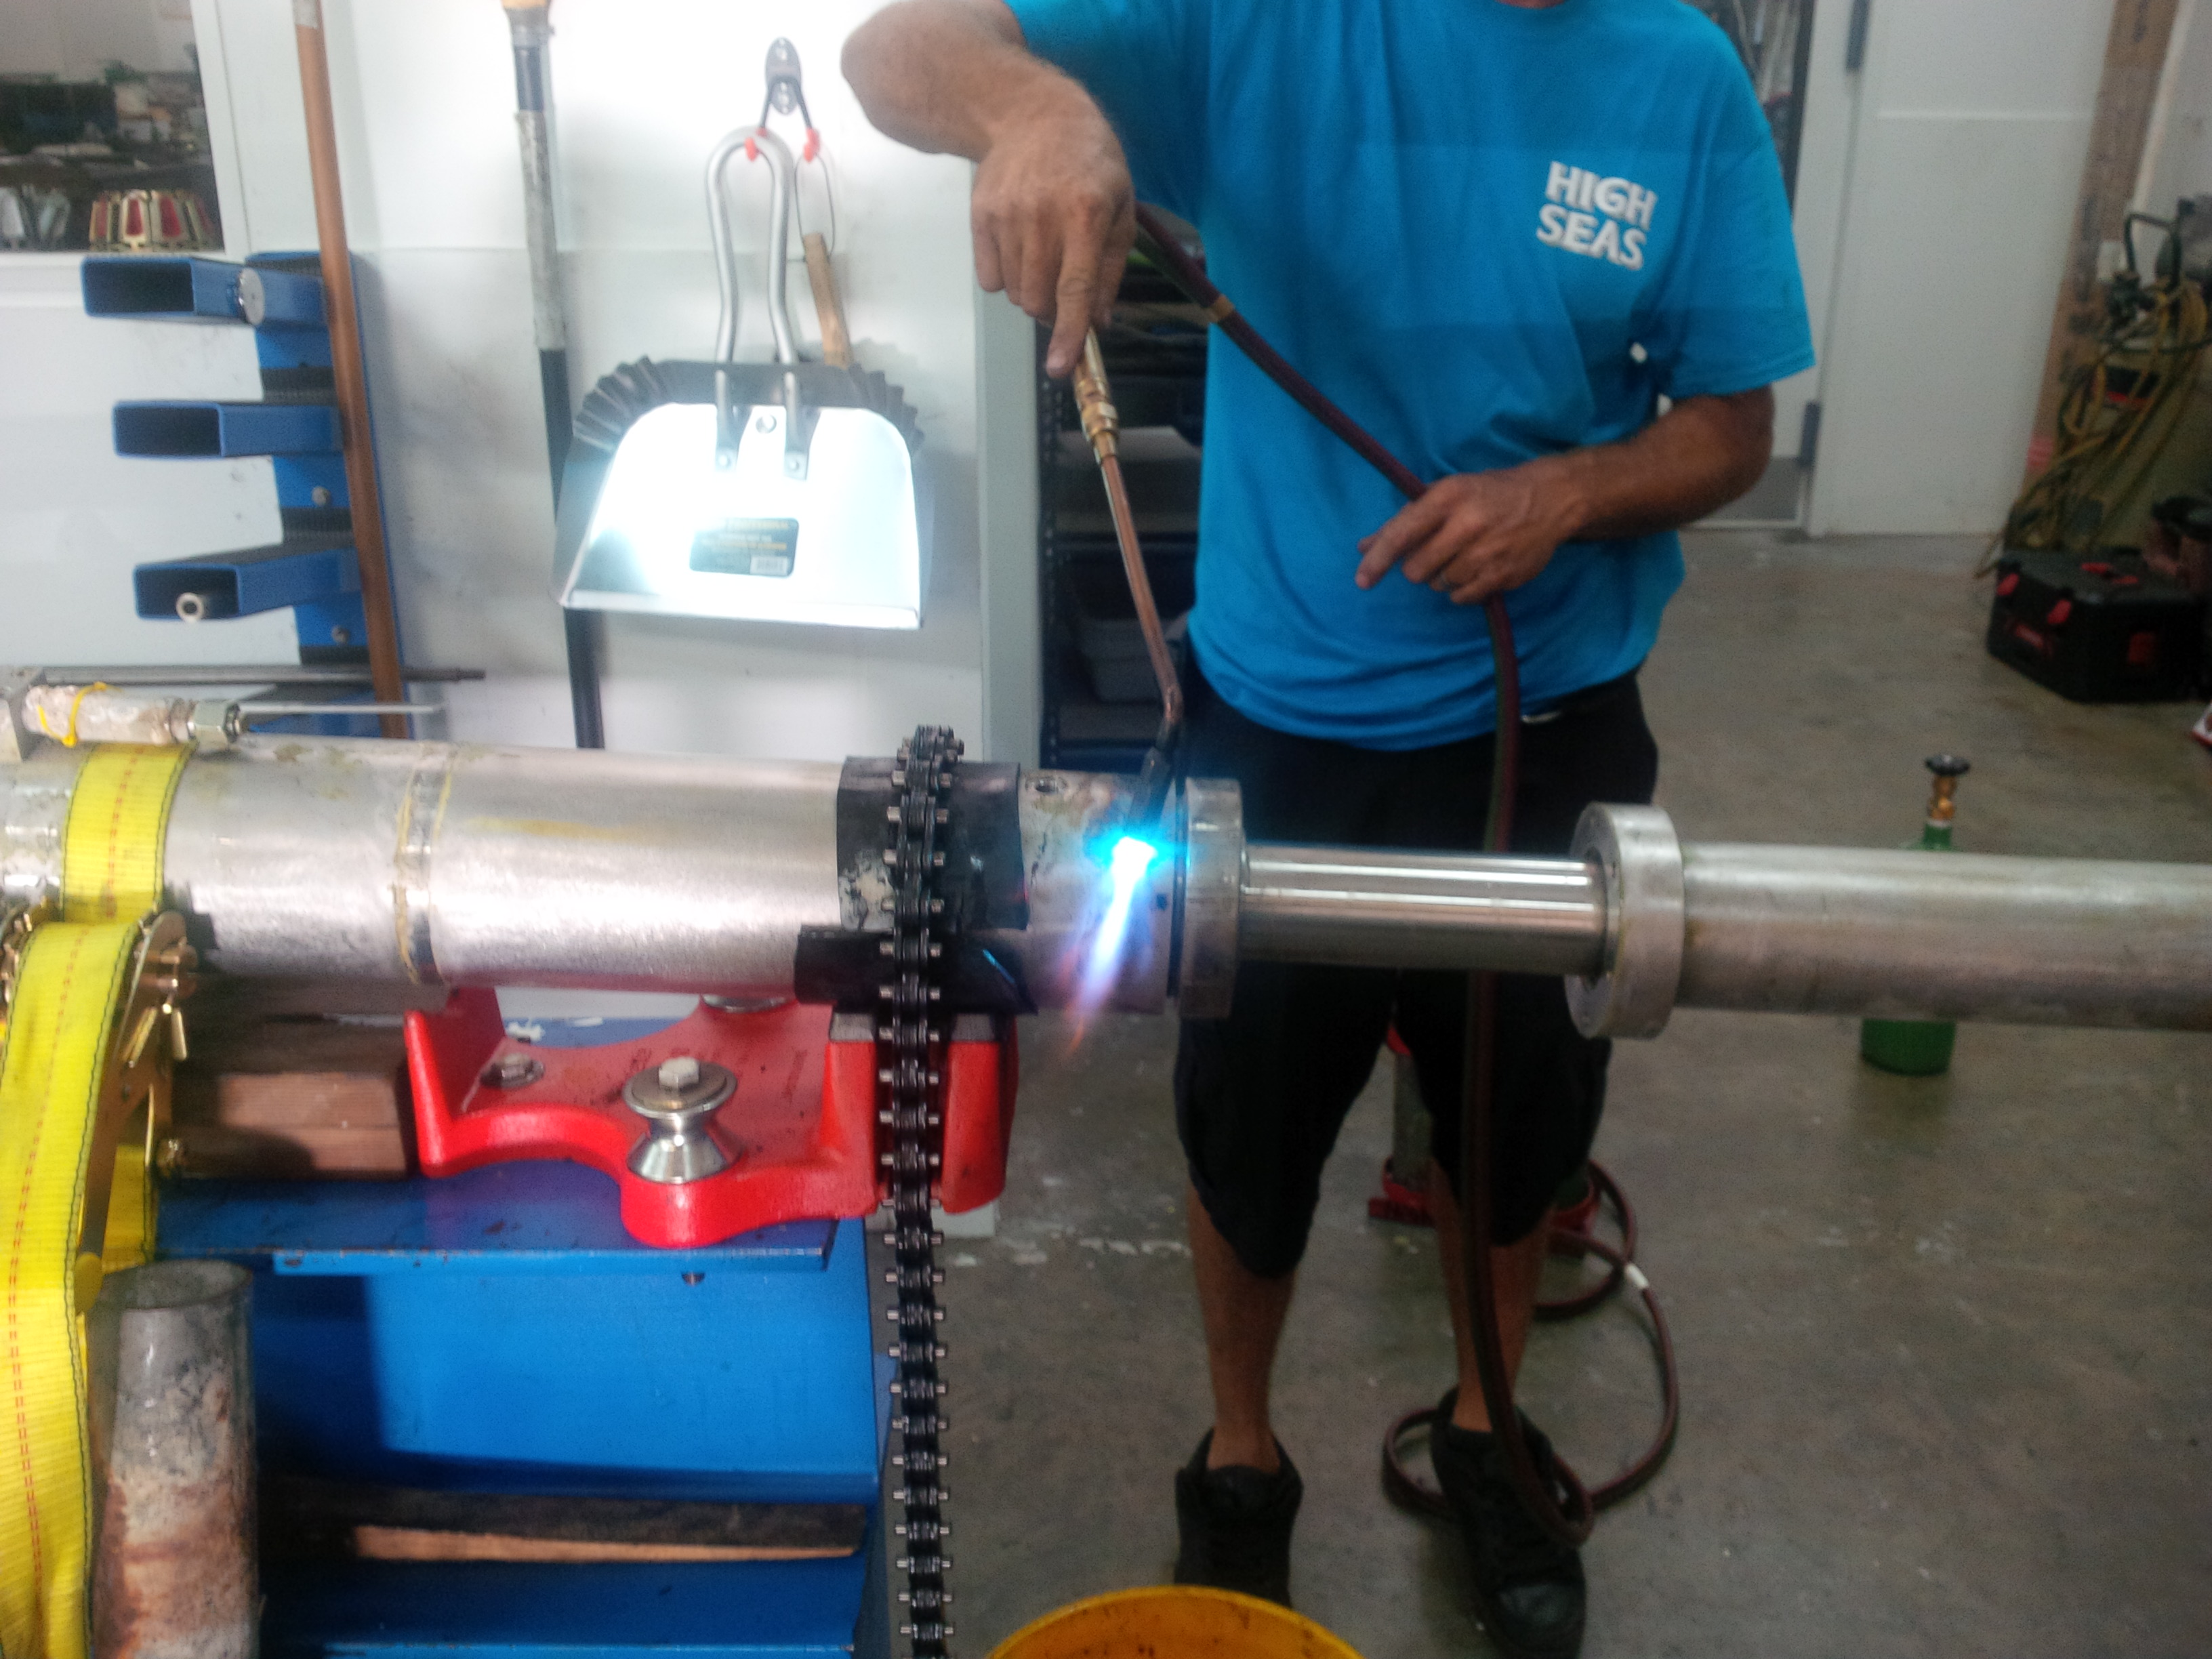
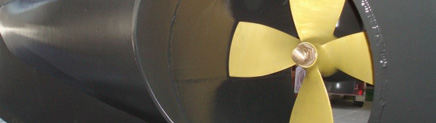
We have repaired, rebuilt or replaced NAIAD stabilizers on boats of all sizes. On the fin side we mainly concentrate on checking hydraulic cylinders for leaks, removing fins &shafts, inspecting bearings and replacing the lip seal. But there is also servicing required on the hydraulic tank in the engine room.
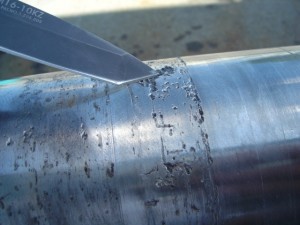
This was the case on a 100 foot Azimut that was in our yard. The hydraulic fluid was a burnt orange color as visible in the site glass. The hydraulic tanks for the NAIAD Stabilizer system uses salt water pumped through a heat exchanger to cool the hydraulic fluid. Over time, the heat exchangers in the units have a build-up of materials including limescale, barnacles and other marine encrustations that need to be flushed out.
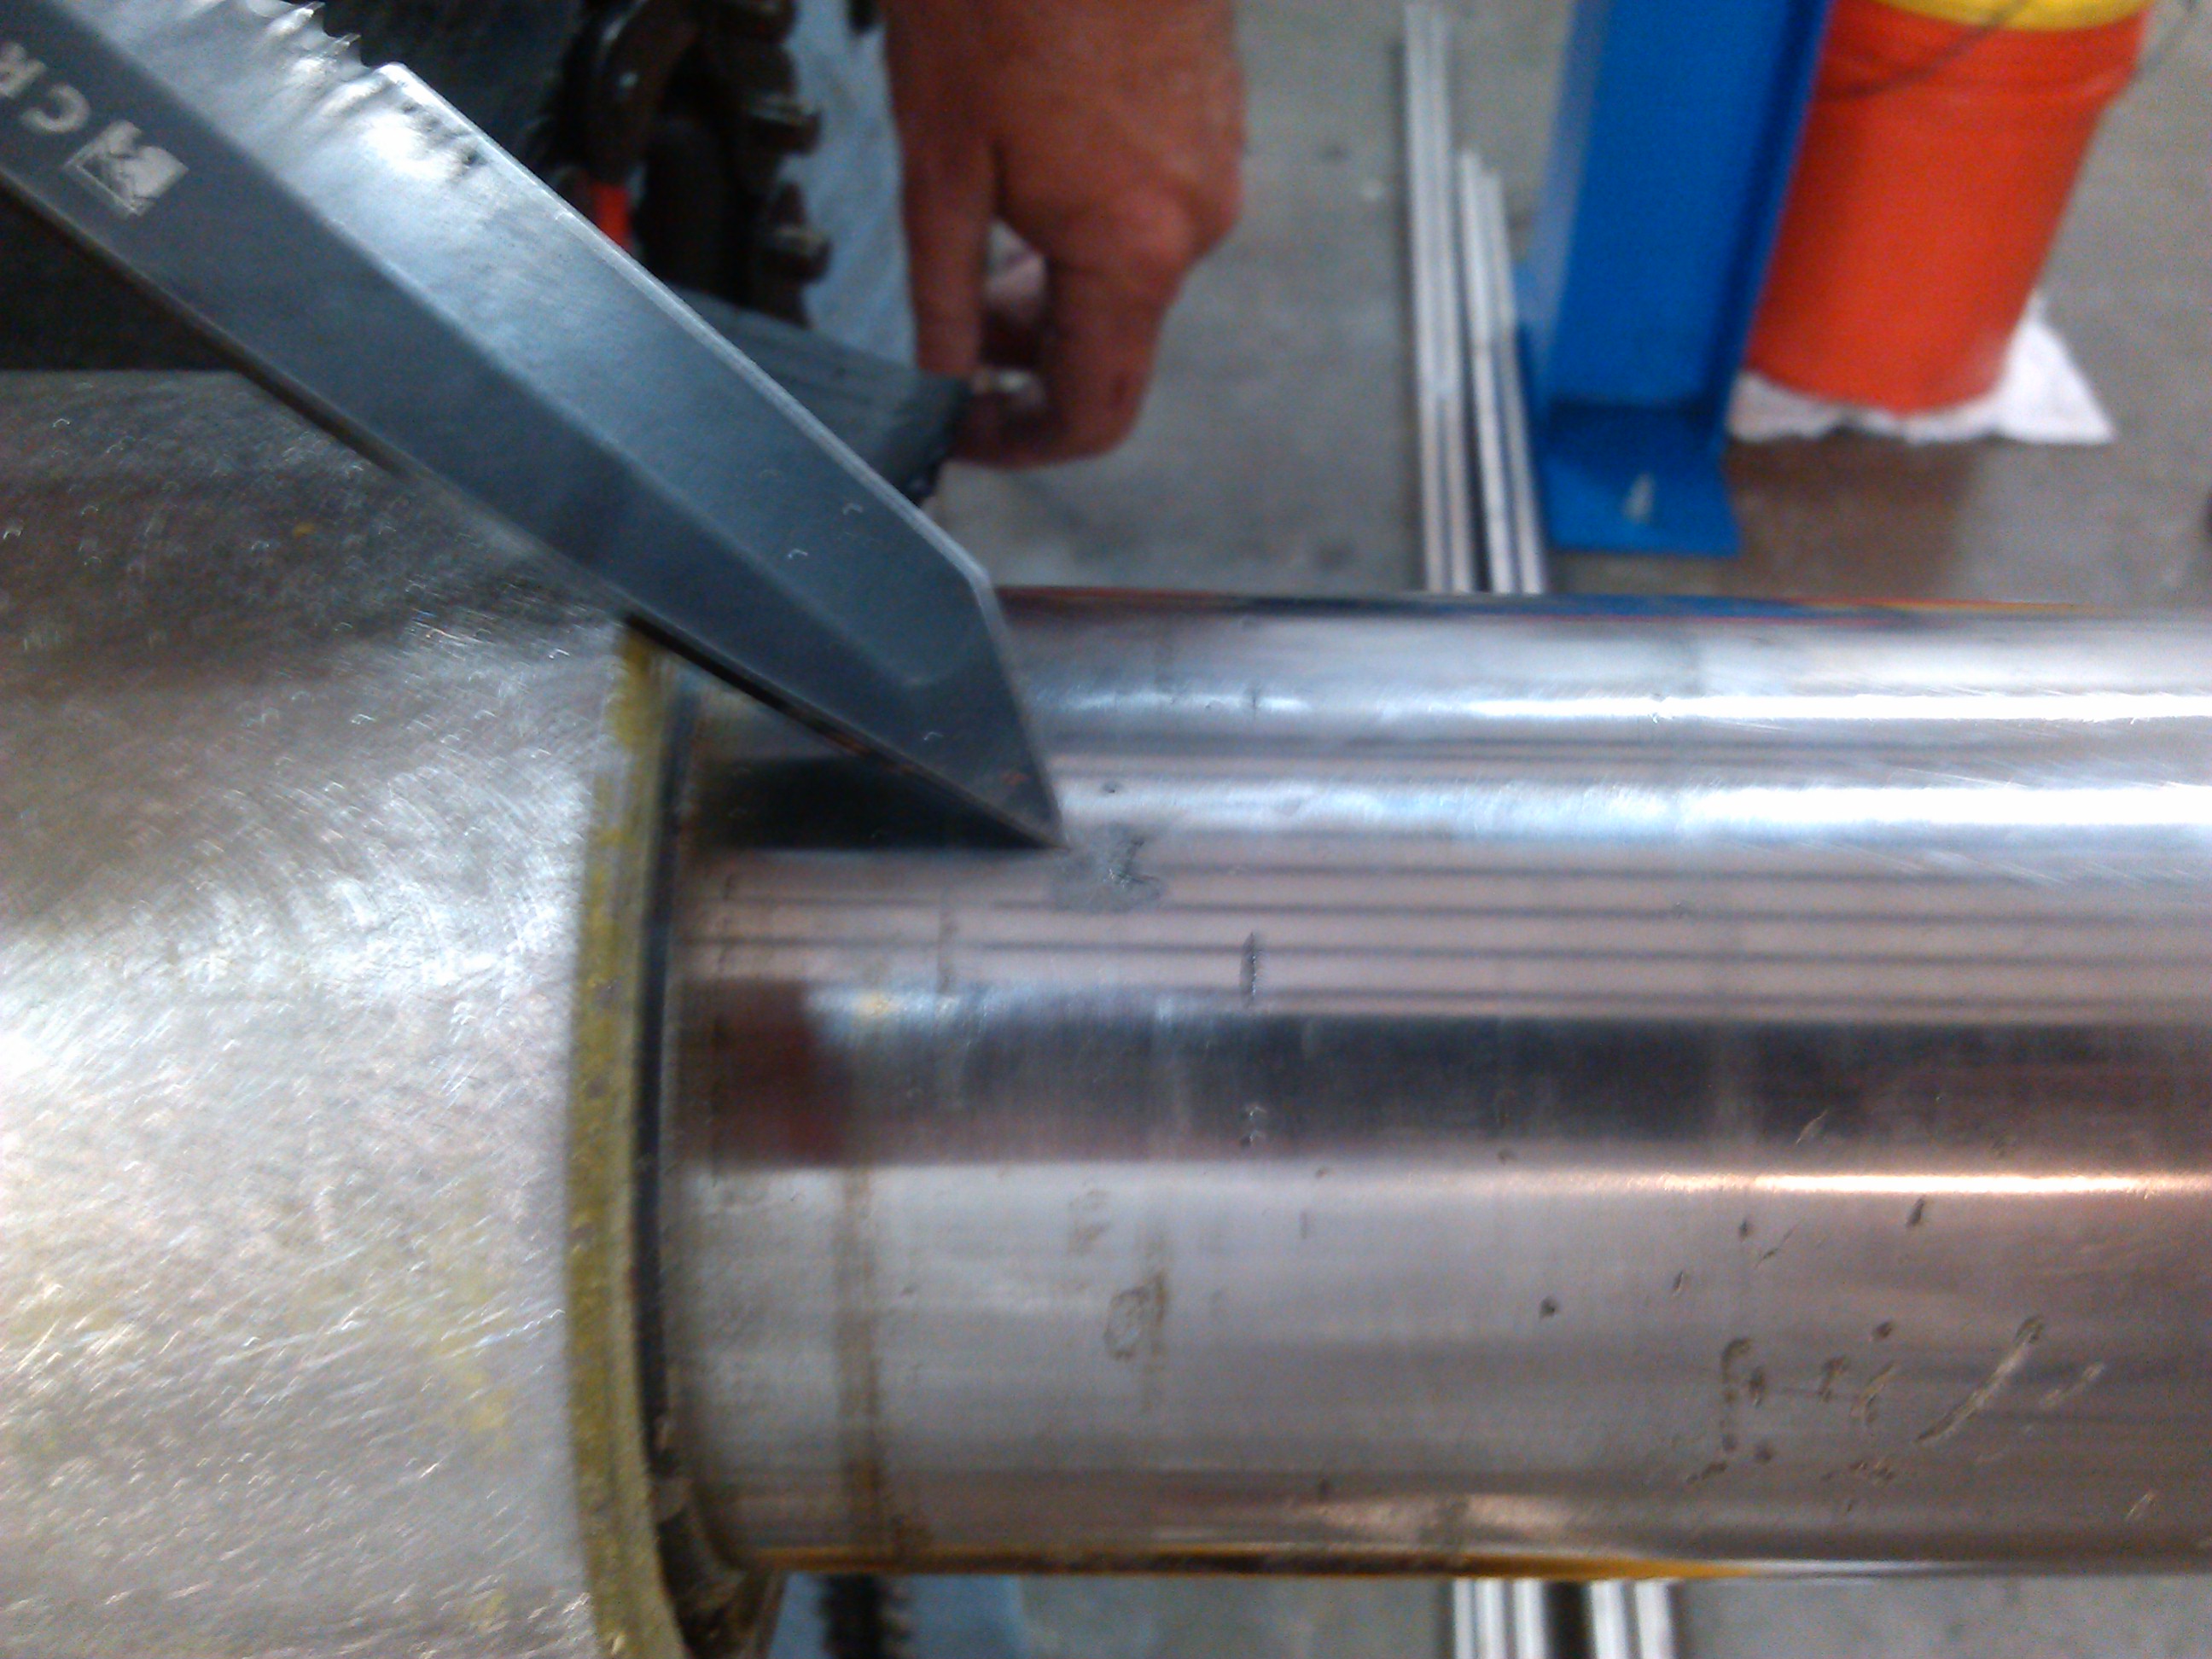
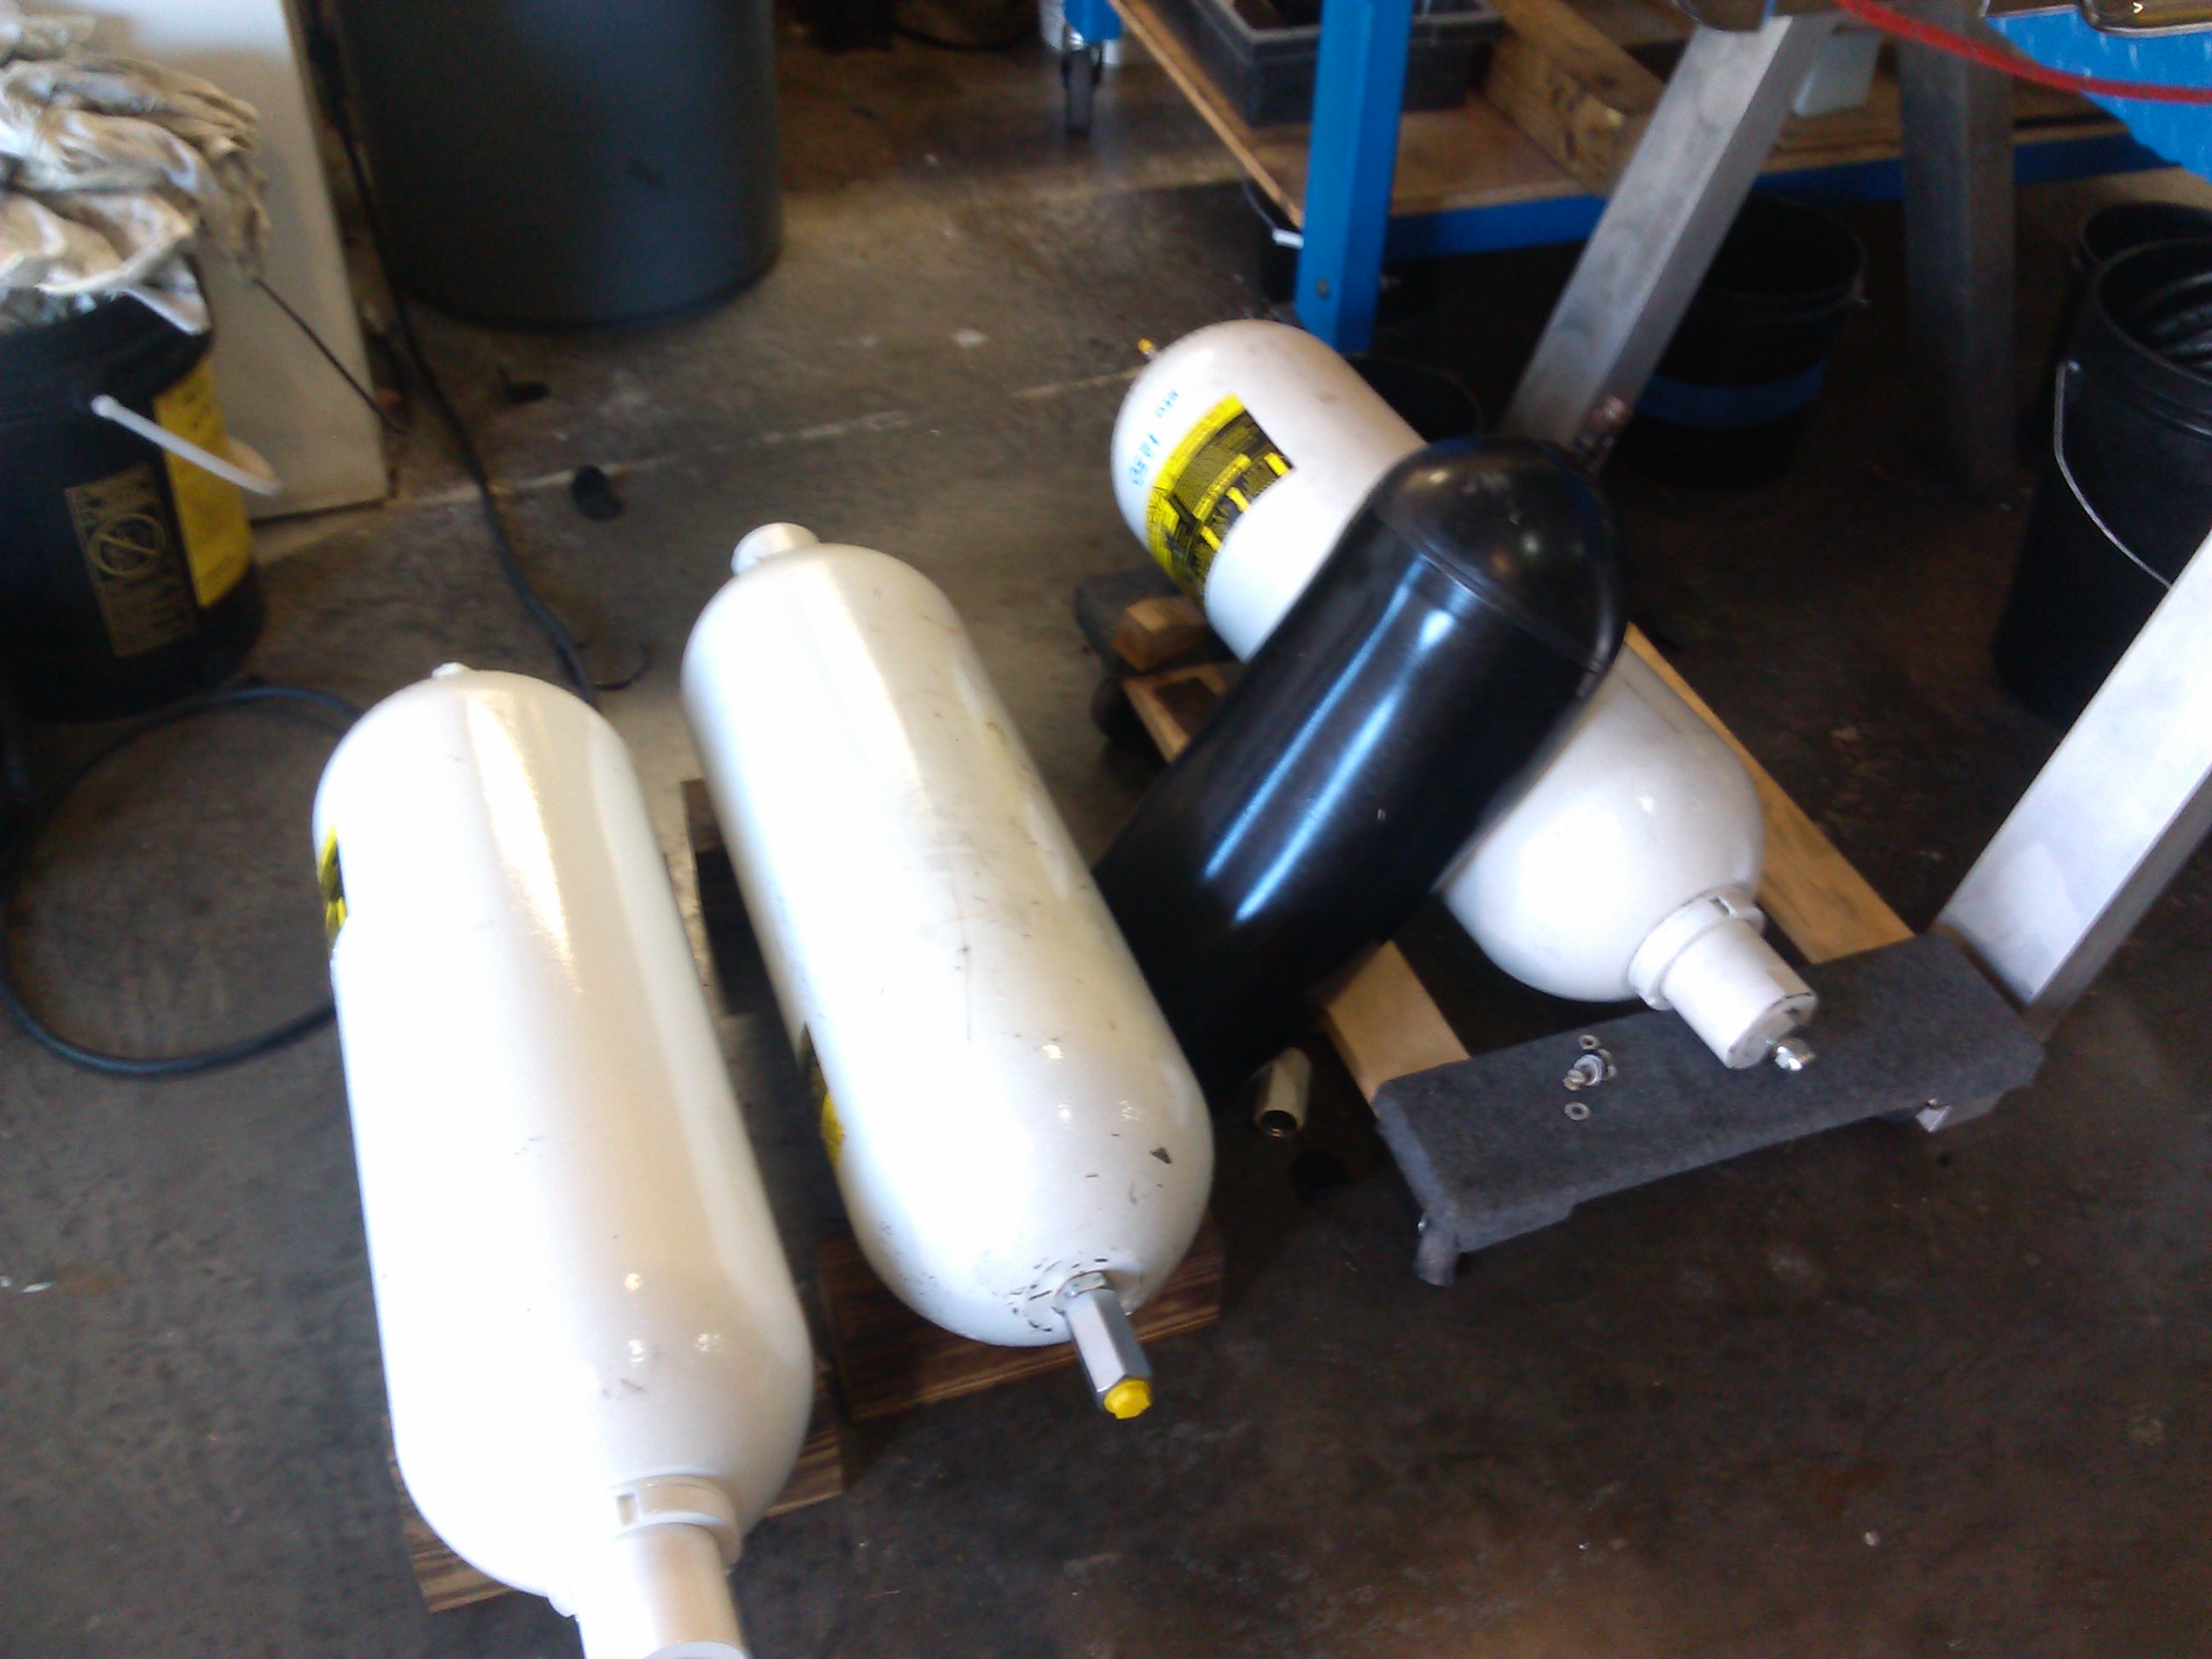
The process involves draining the hydraulic fluid, removing the hydraulic tank from the engine room and removing the heat exchanger from the tank so it can be descaled. The process of descaling consist of running biodegradable acid through the inside and outside of the coils and flushing it with fresh water to remove any non limescale deposits and wash of the descaling liquid residues.
Once that process is complete, we pressure test the unit, re-assemble and reinstall it and add new hydraulic fluid.
Our experience with NAIAD Stabilizer systems allows us to deliver end-to-end service on the entire system.