
BCS Trim Tab
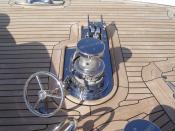
One of the more important features on any Super Yacht is the trim tab system for stability, speed and ride comfort in any sea conditions.
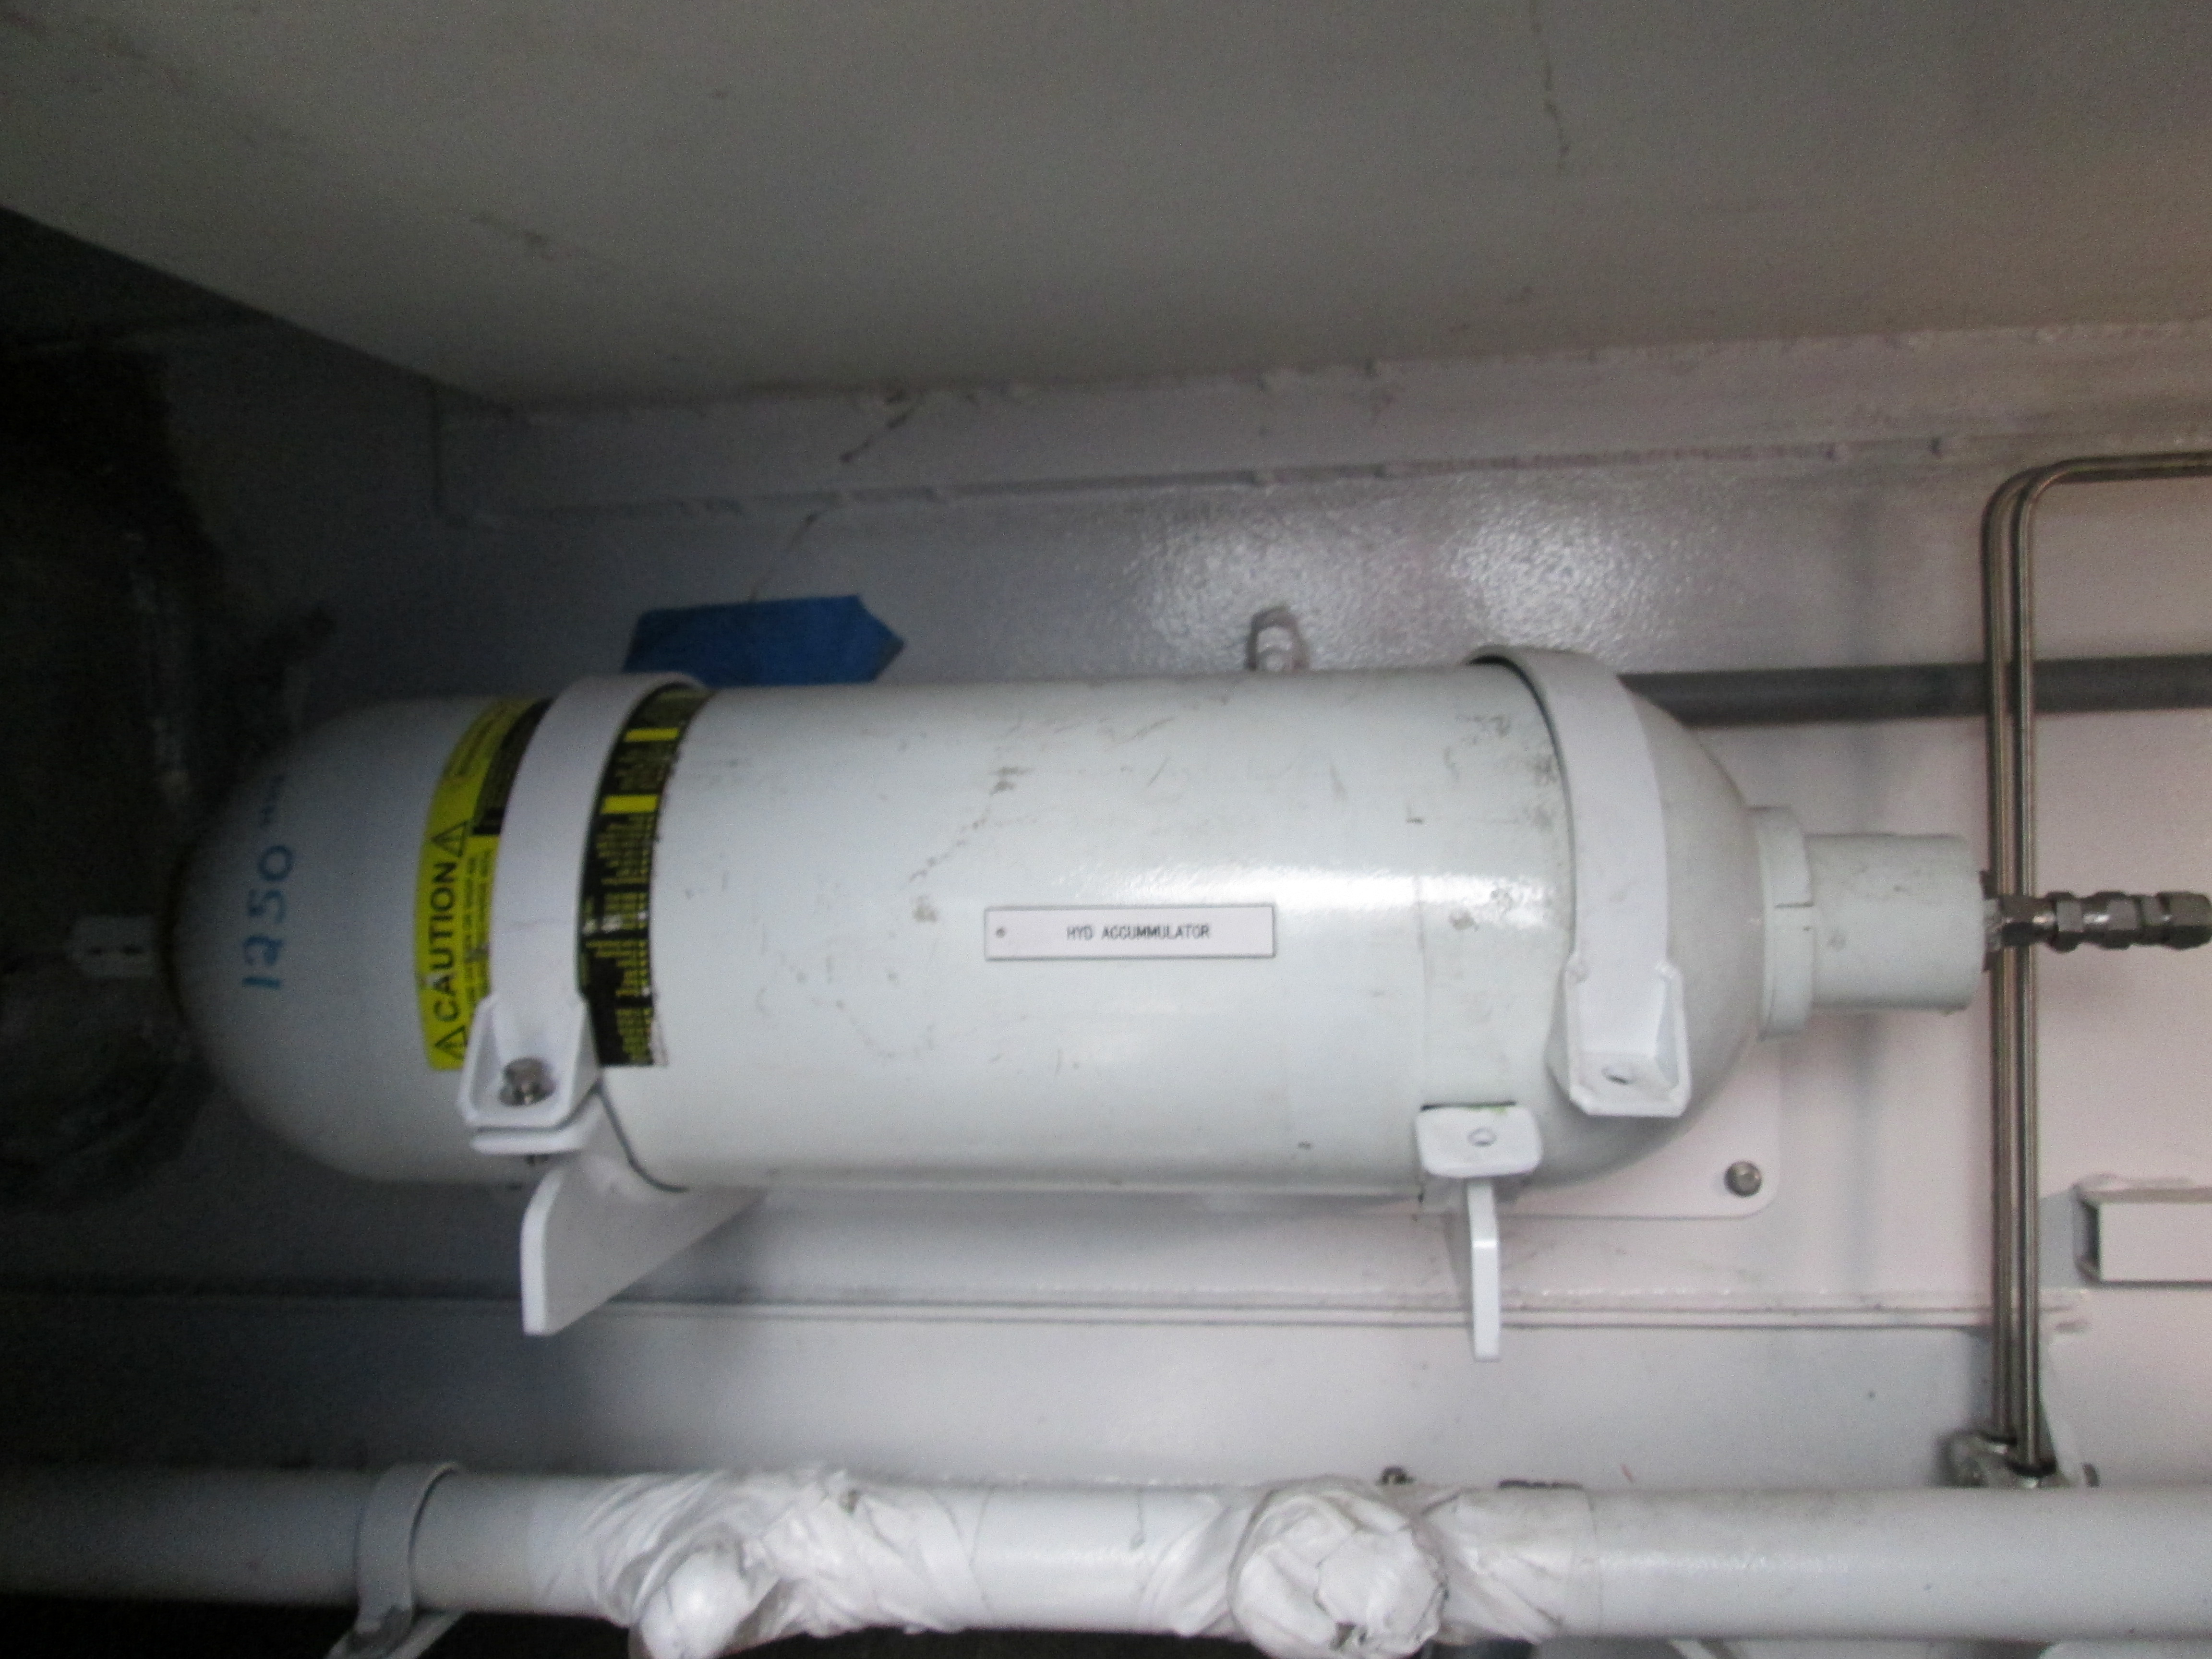
The working principle of a trim tab system is simple. By pushing one of the buttons on the control panel, the electro-hydraulic power unit receives an electric impulse which starts the electric motor. In turn, the latter makes the hydraulic pump start, being connected to it by means of a coupling. As the pump starts to turn, it sends an oil flow towards the side of the hydraulic cylinder corresponding to the desired movement (up or down), making the tab raise or go down. By pushing the button on the other side, the cylinder moves in the opposite direction.
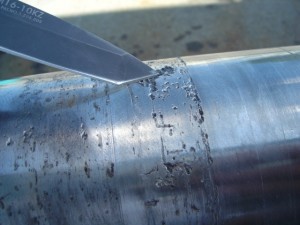
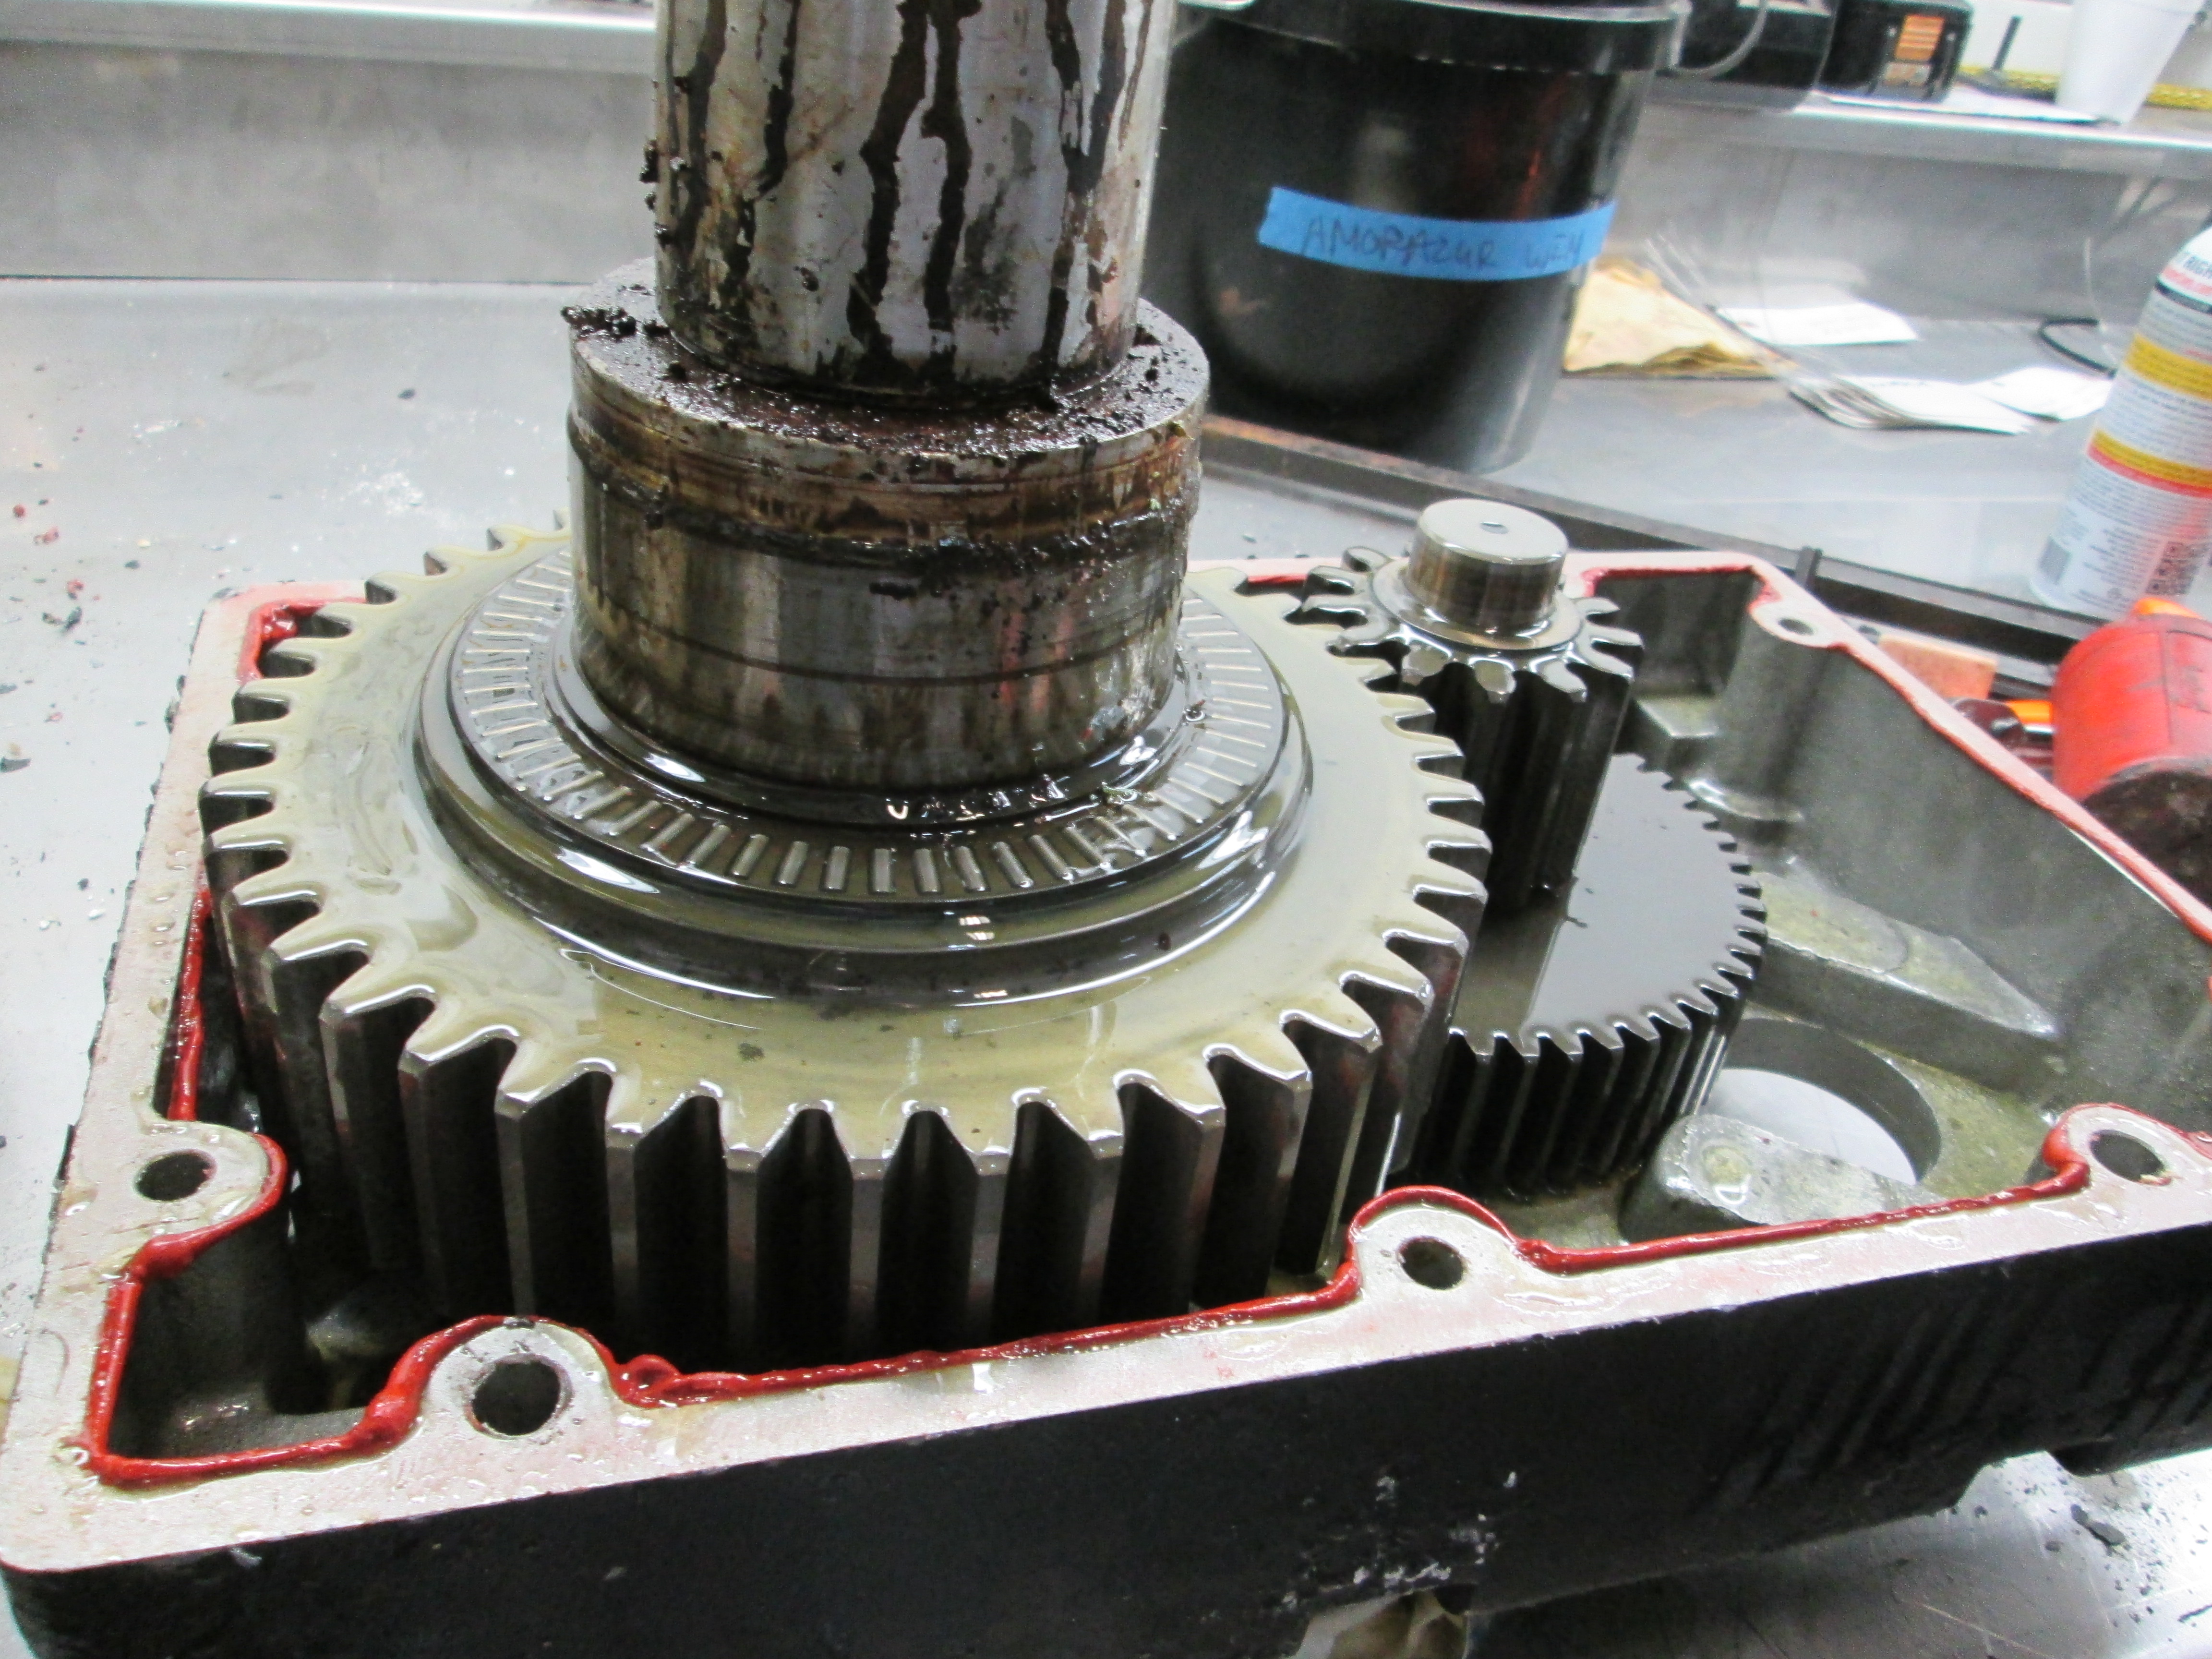
As with any marine systems that come in contact with salt water, the trim tab system is subject to pitting and crevice corrosion.
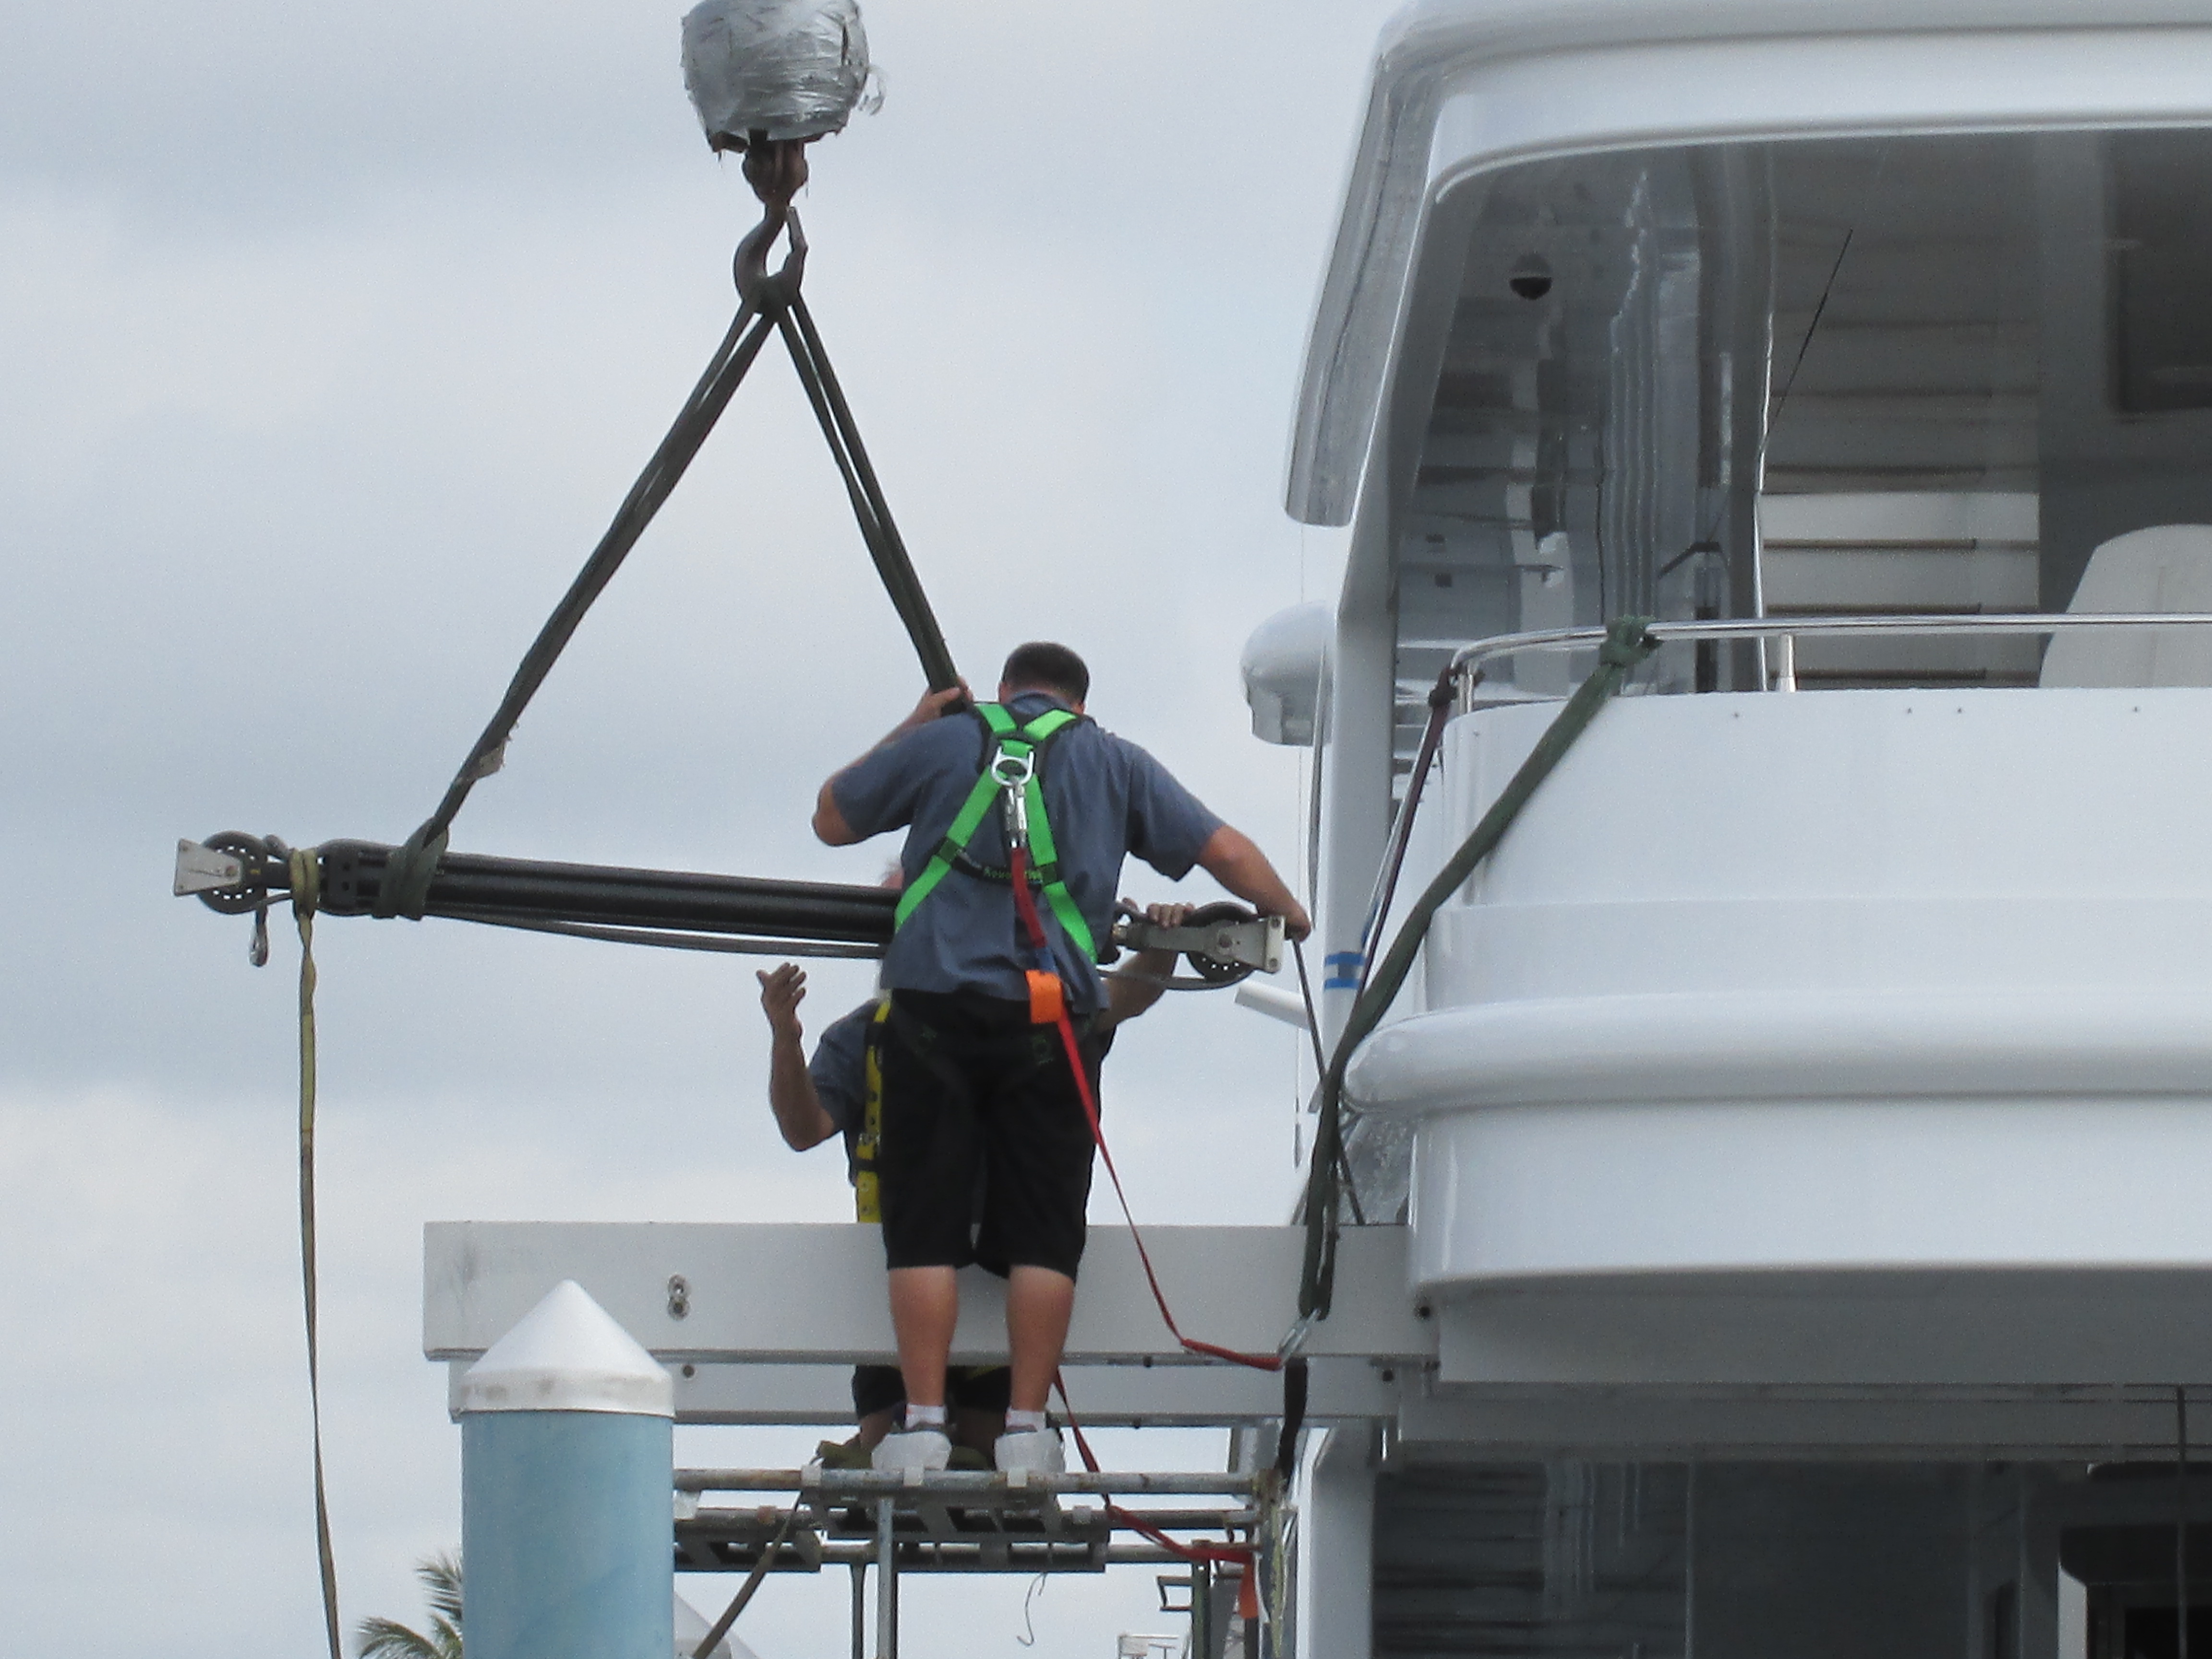
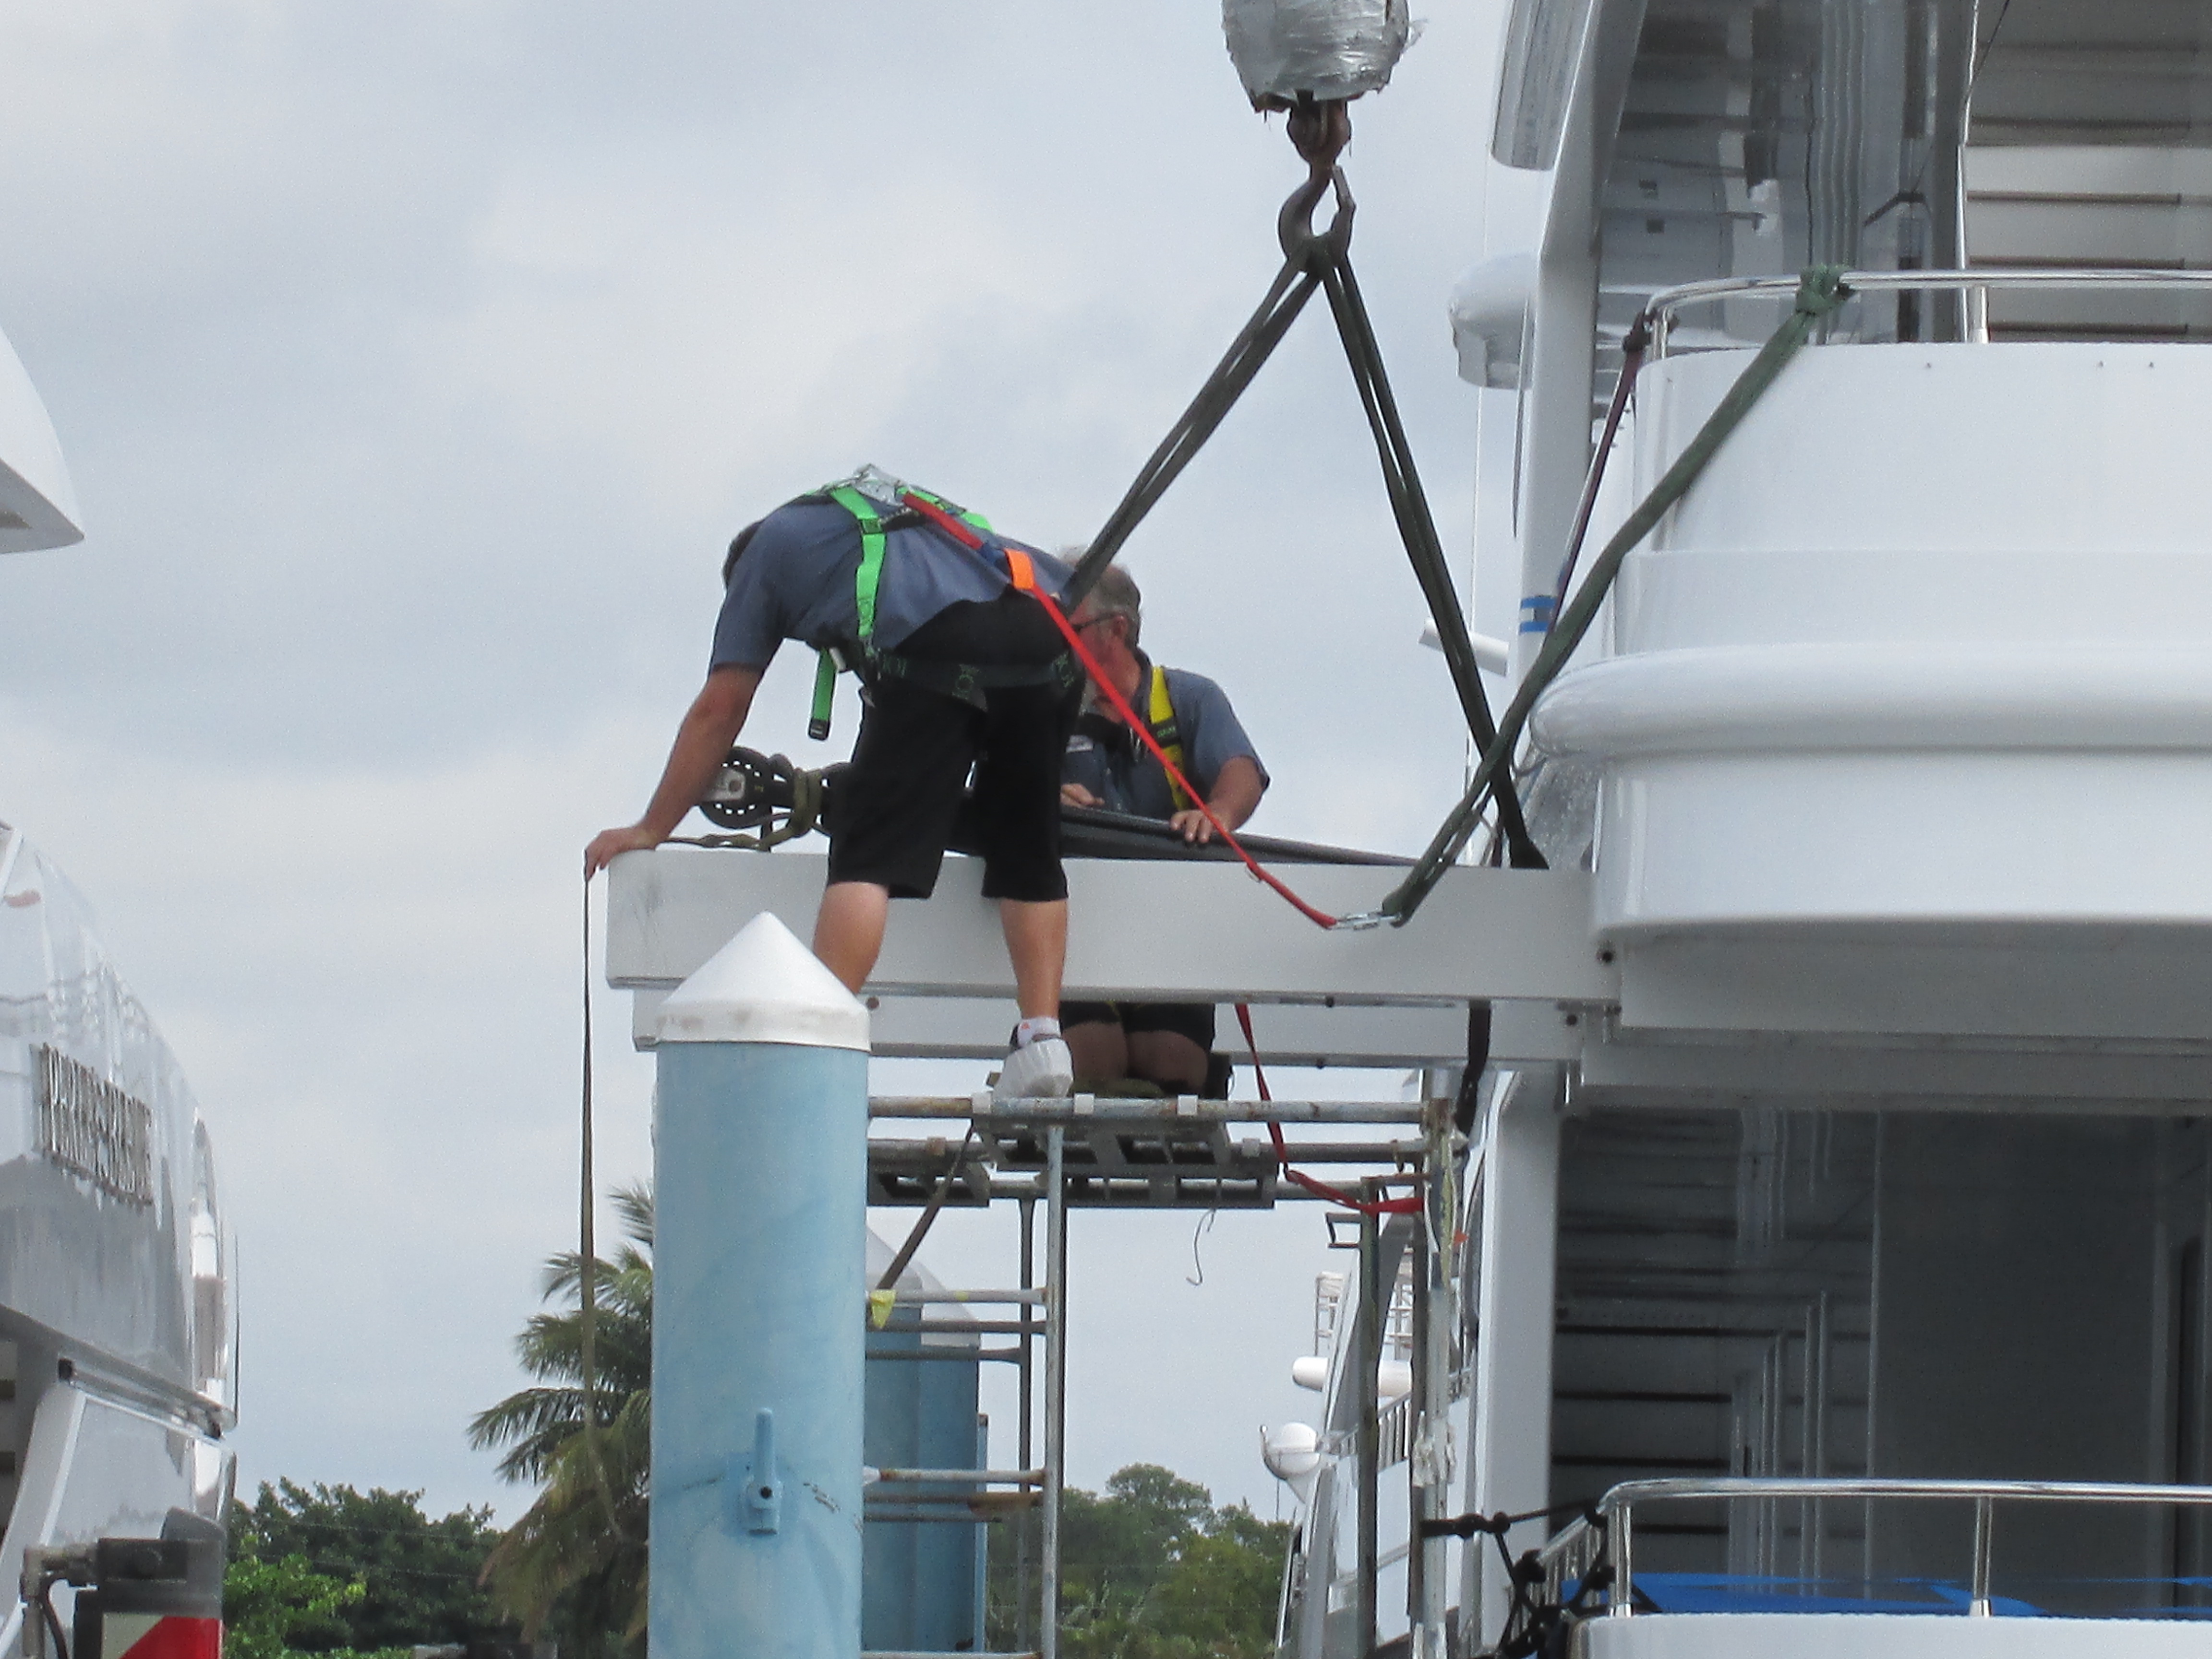
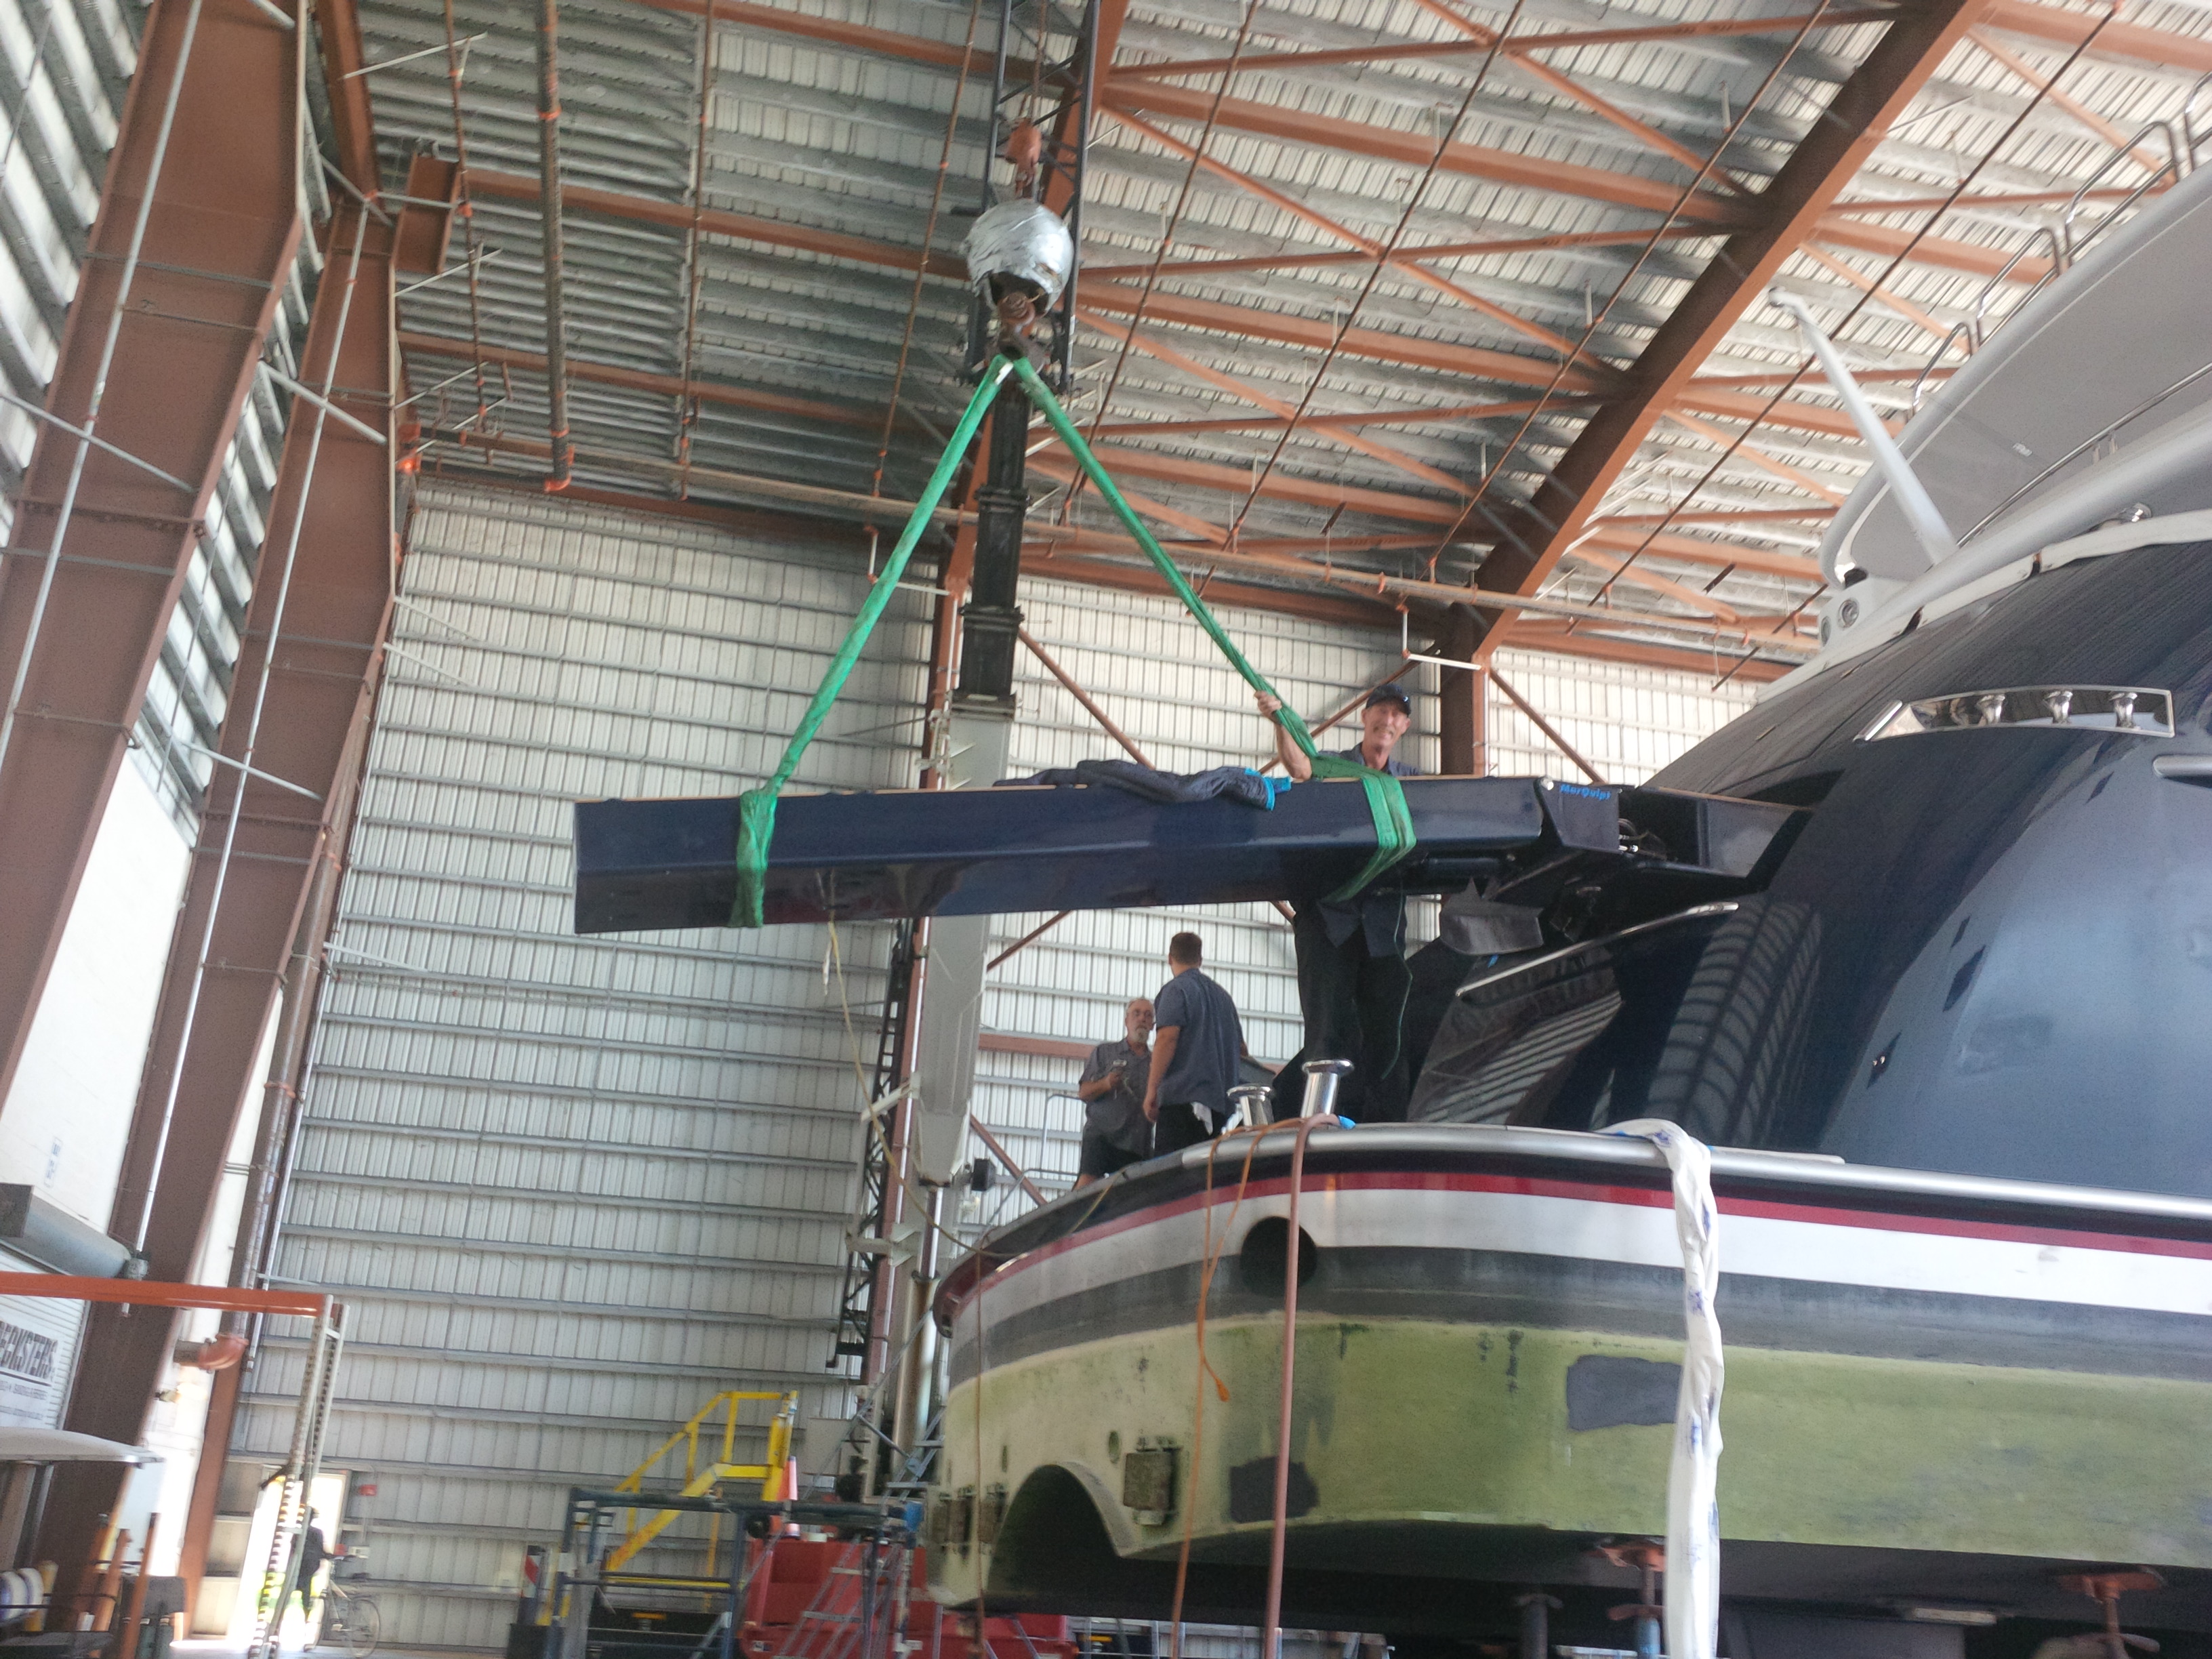
We recently were hired to rebuild the BCS Trim Tabs on a 100 foot Azmit Yacht. The BCS Trim Tabs on this particularly vessel were not retracted in the up position and were left in the extended position too long contributing to significant crevice corrosion and pitting. When the cylinder is extended the rod is sitting in salt water – when retracted it is safely inside the cylinder in hydraulic fluid.

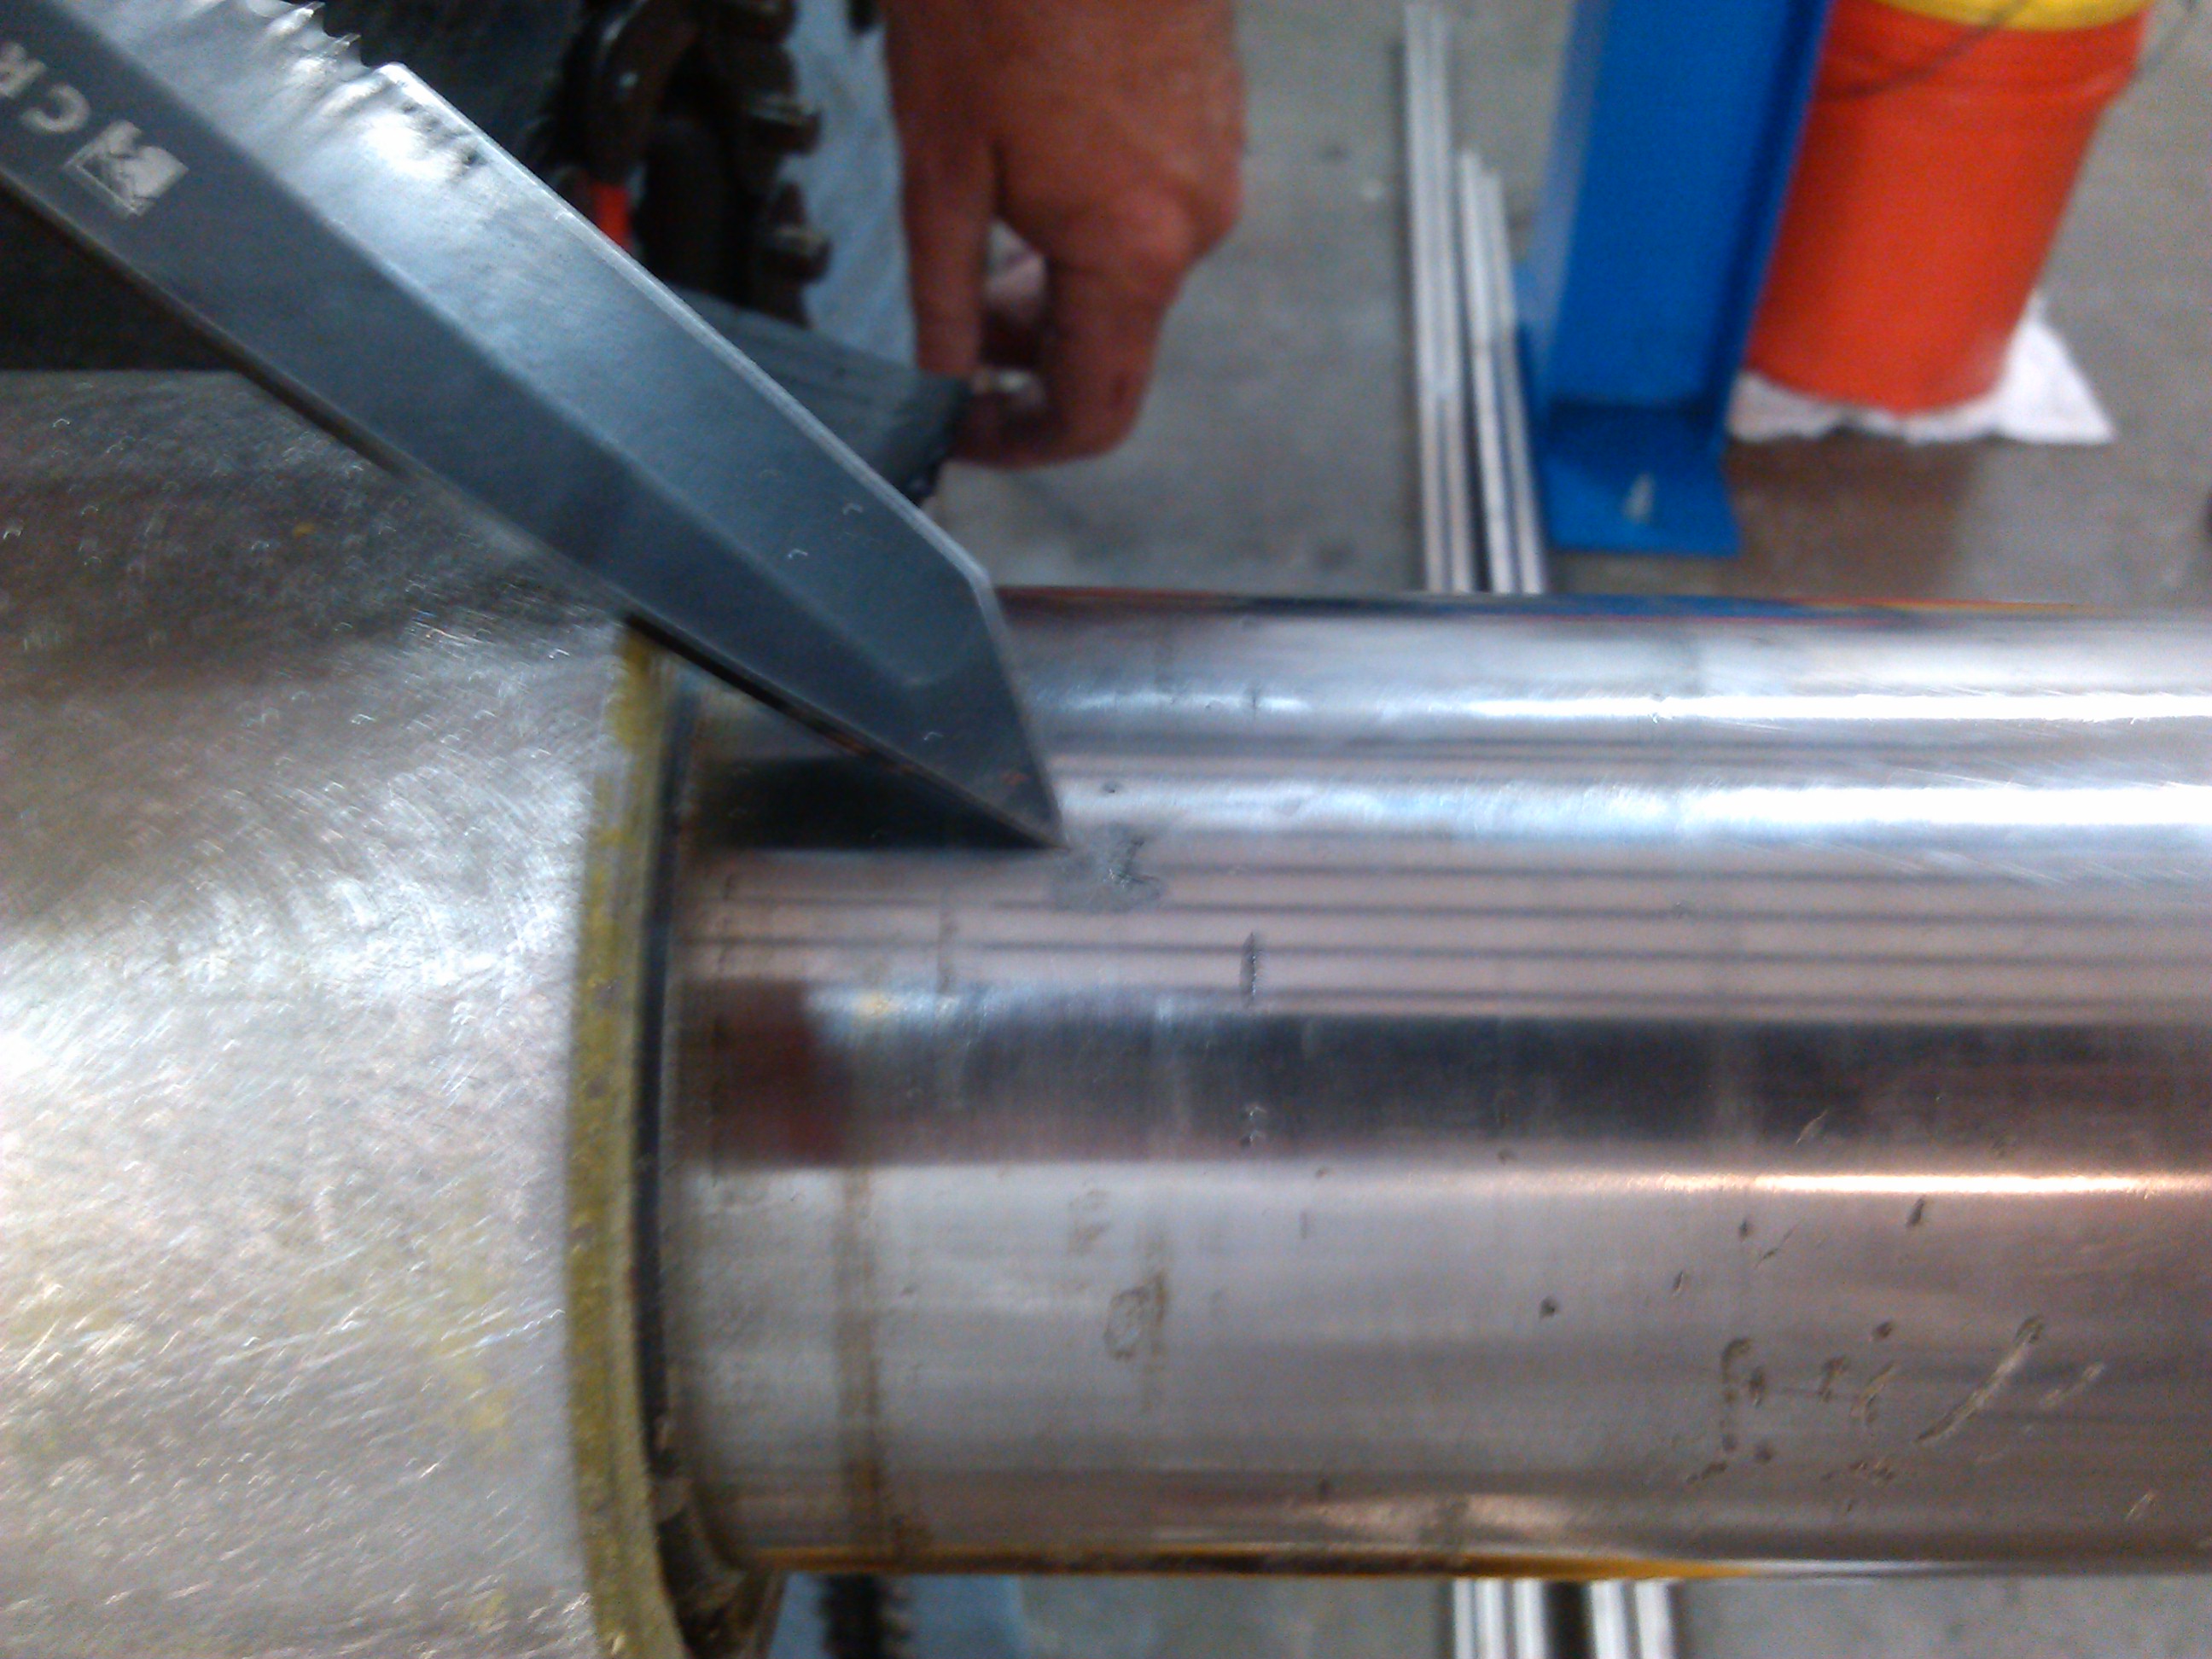
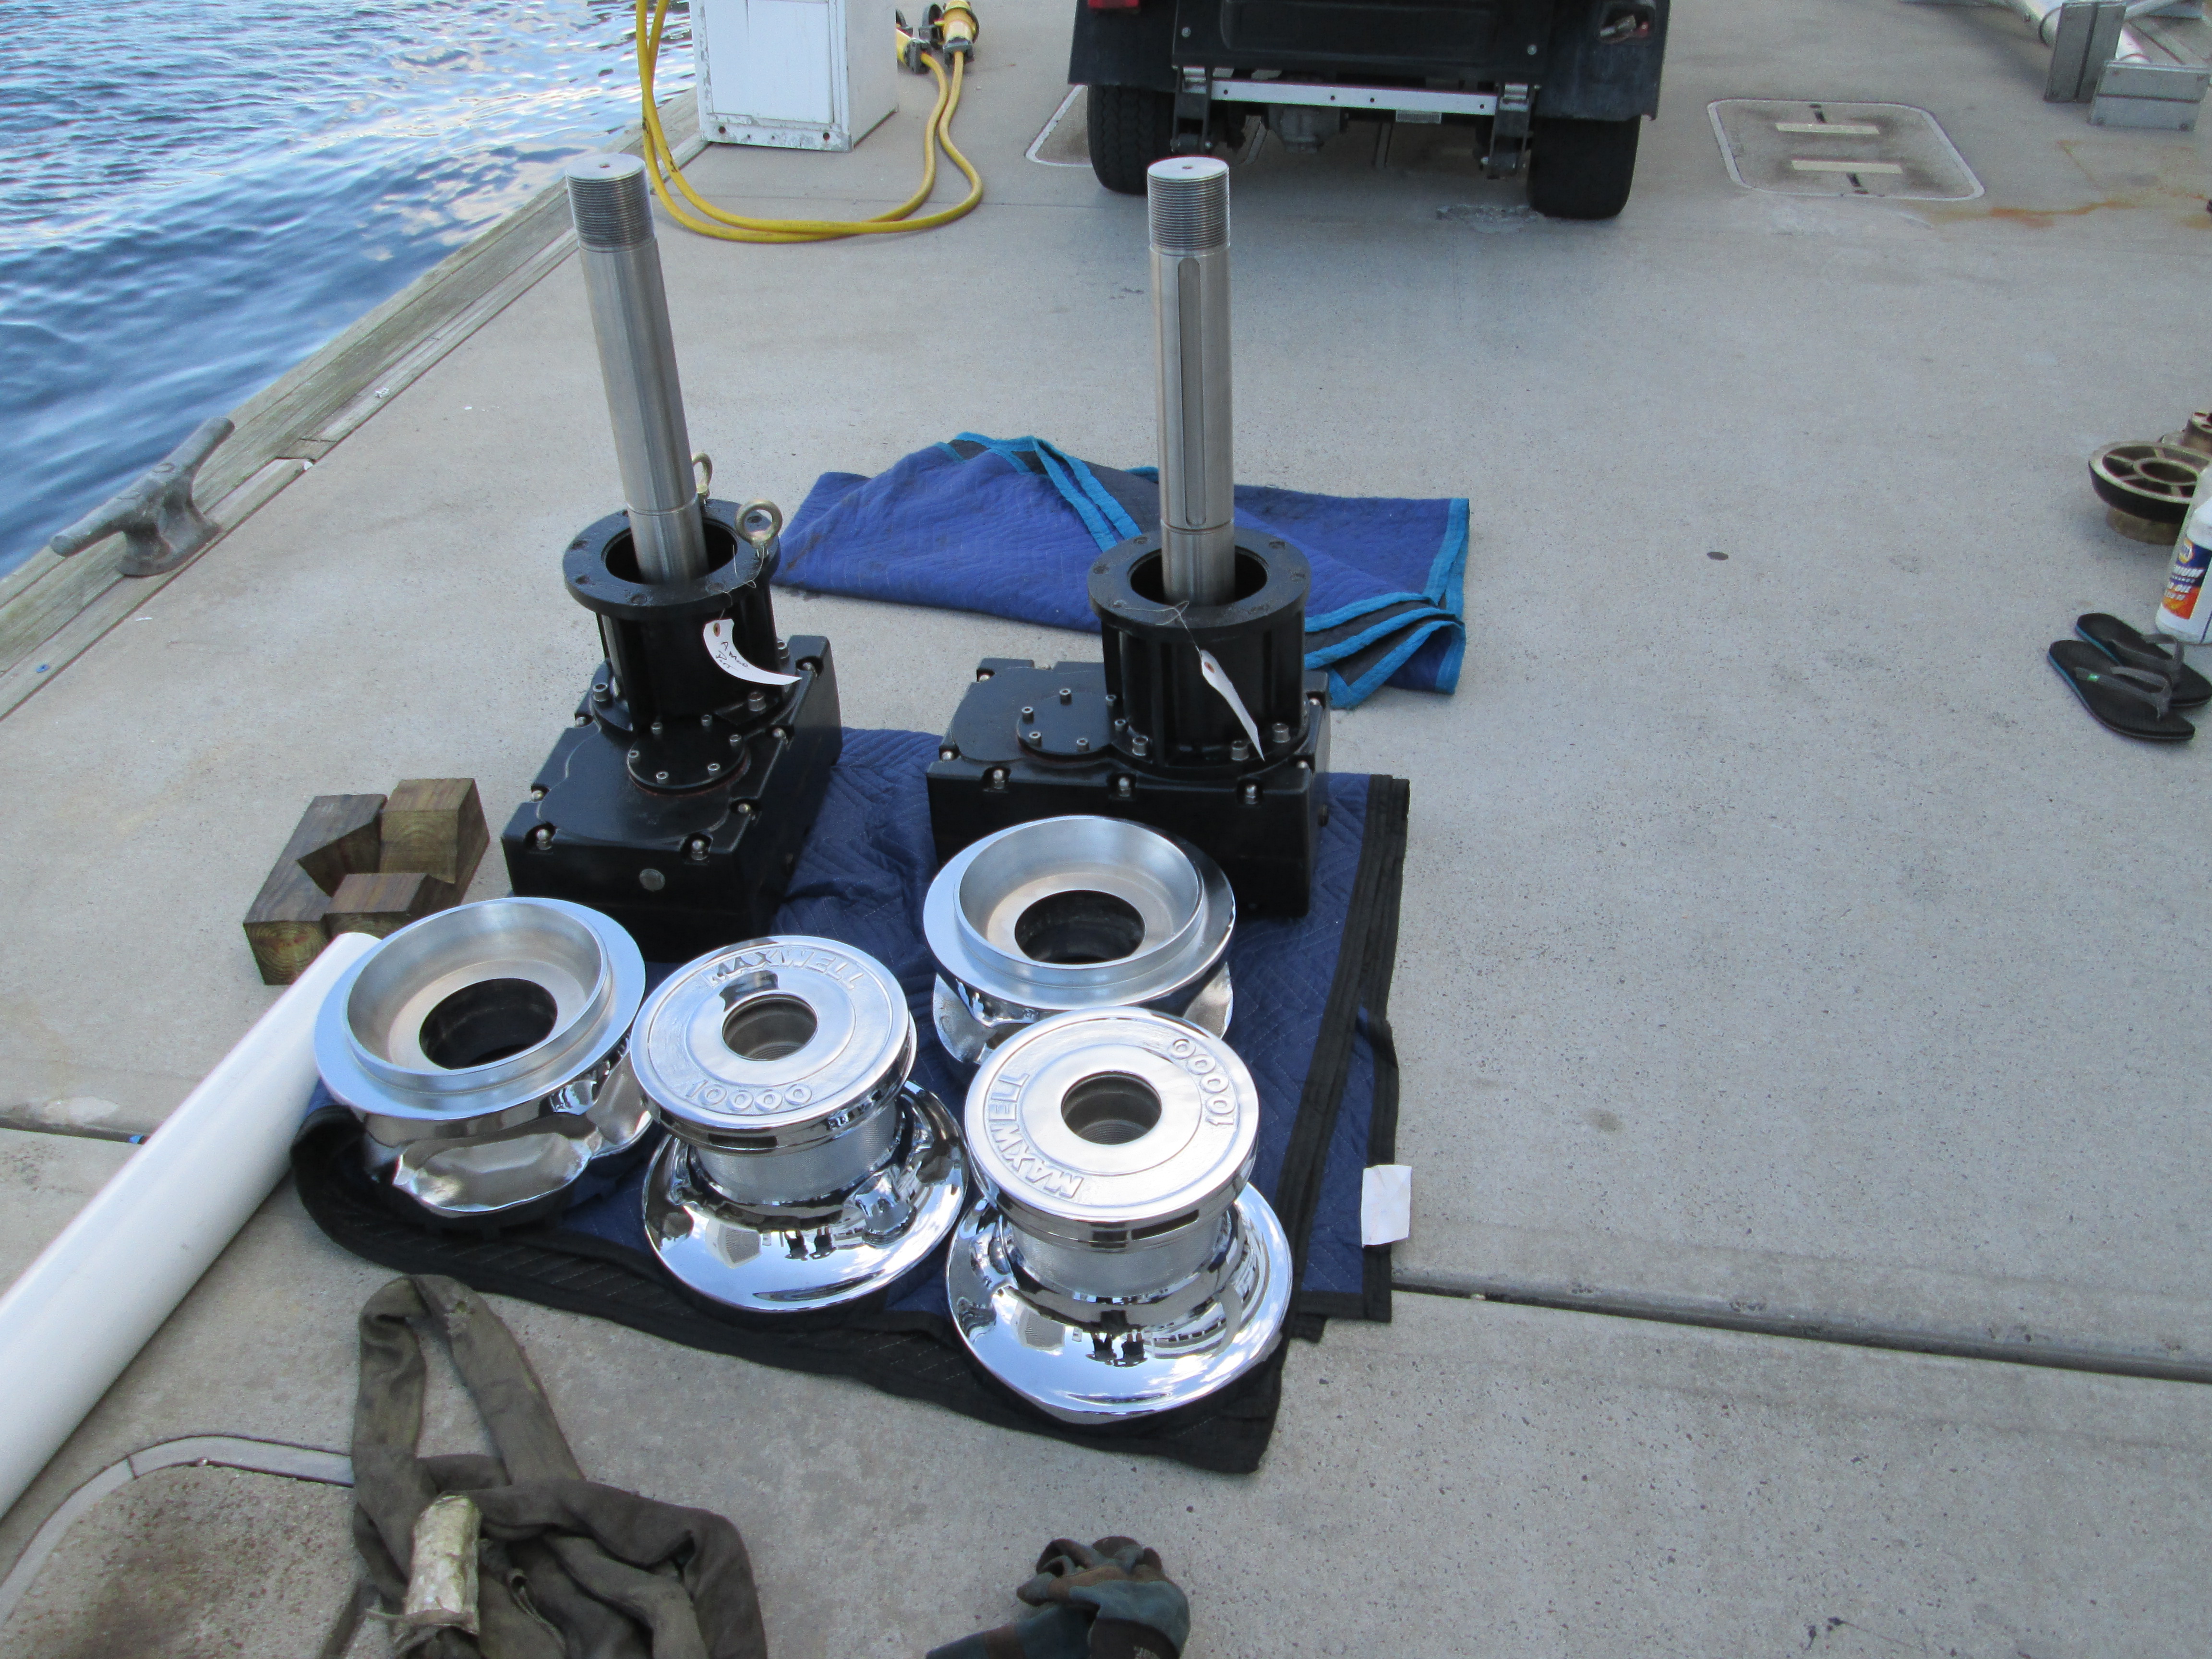
Crevice corrosion and pitting on BCS trim tab shaft
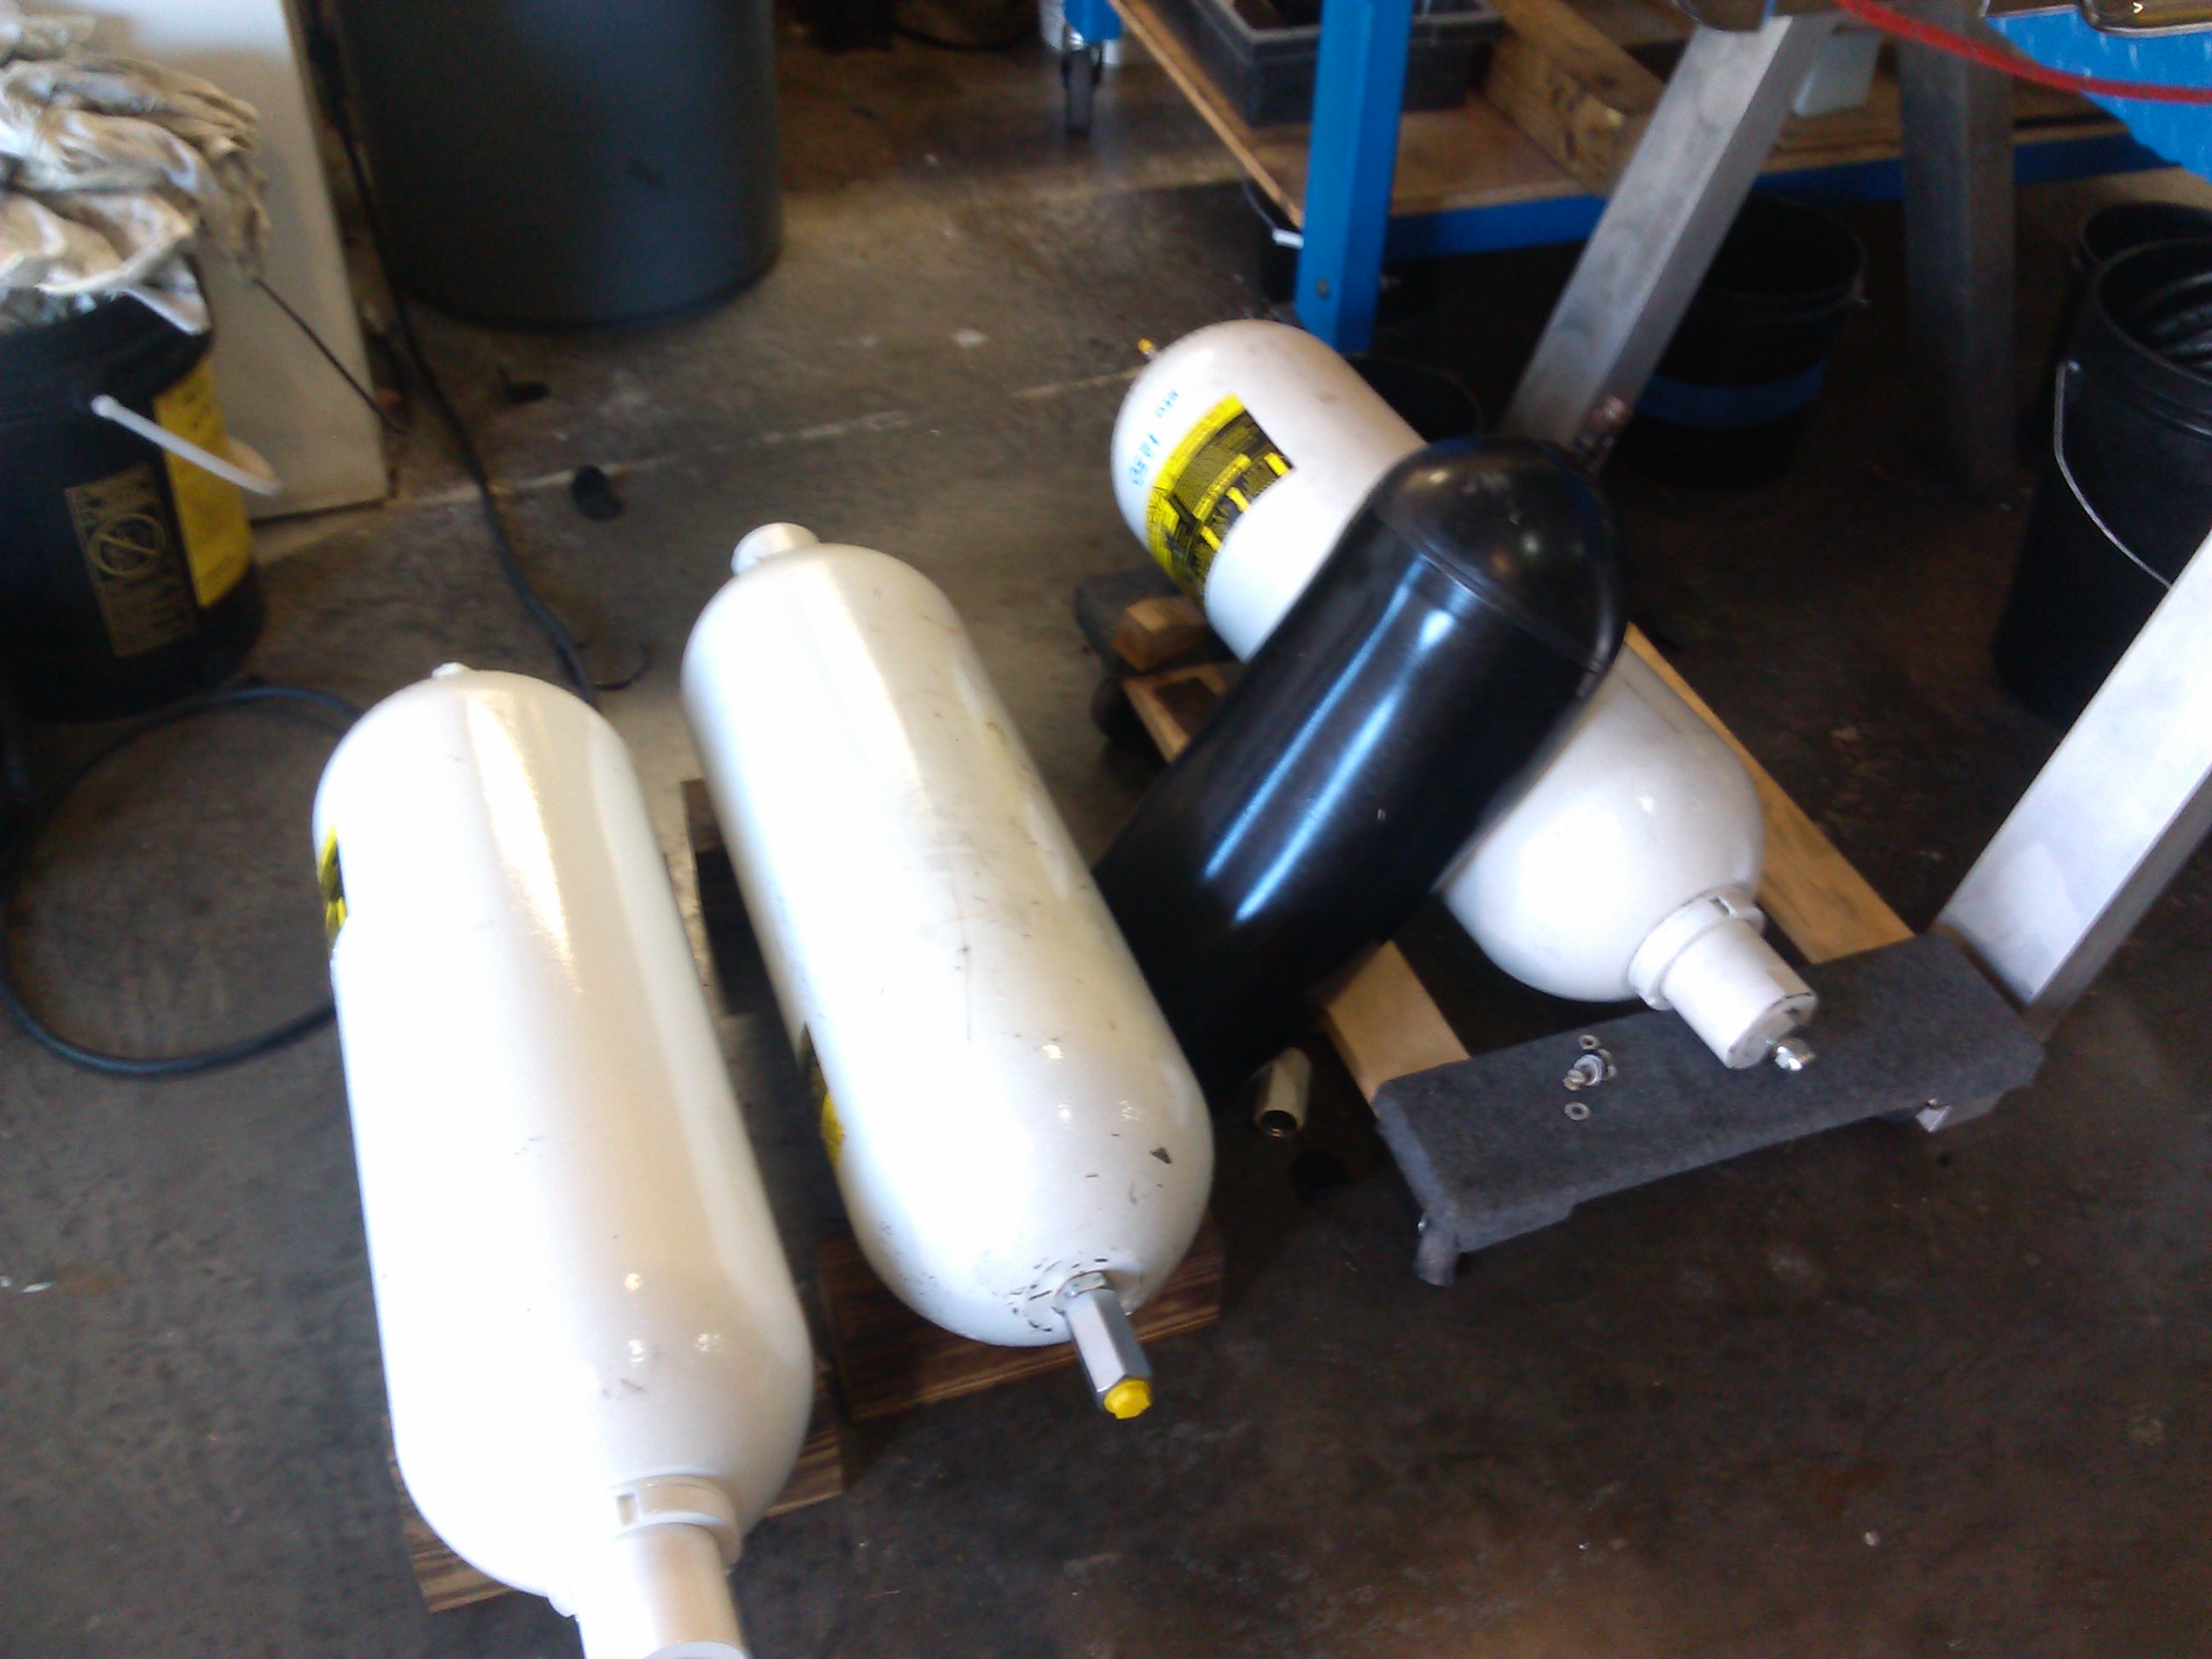
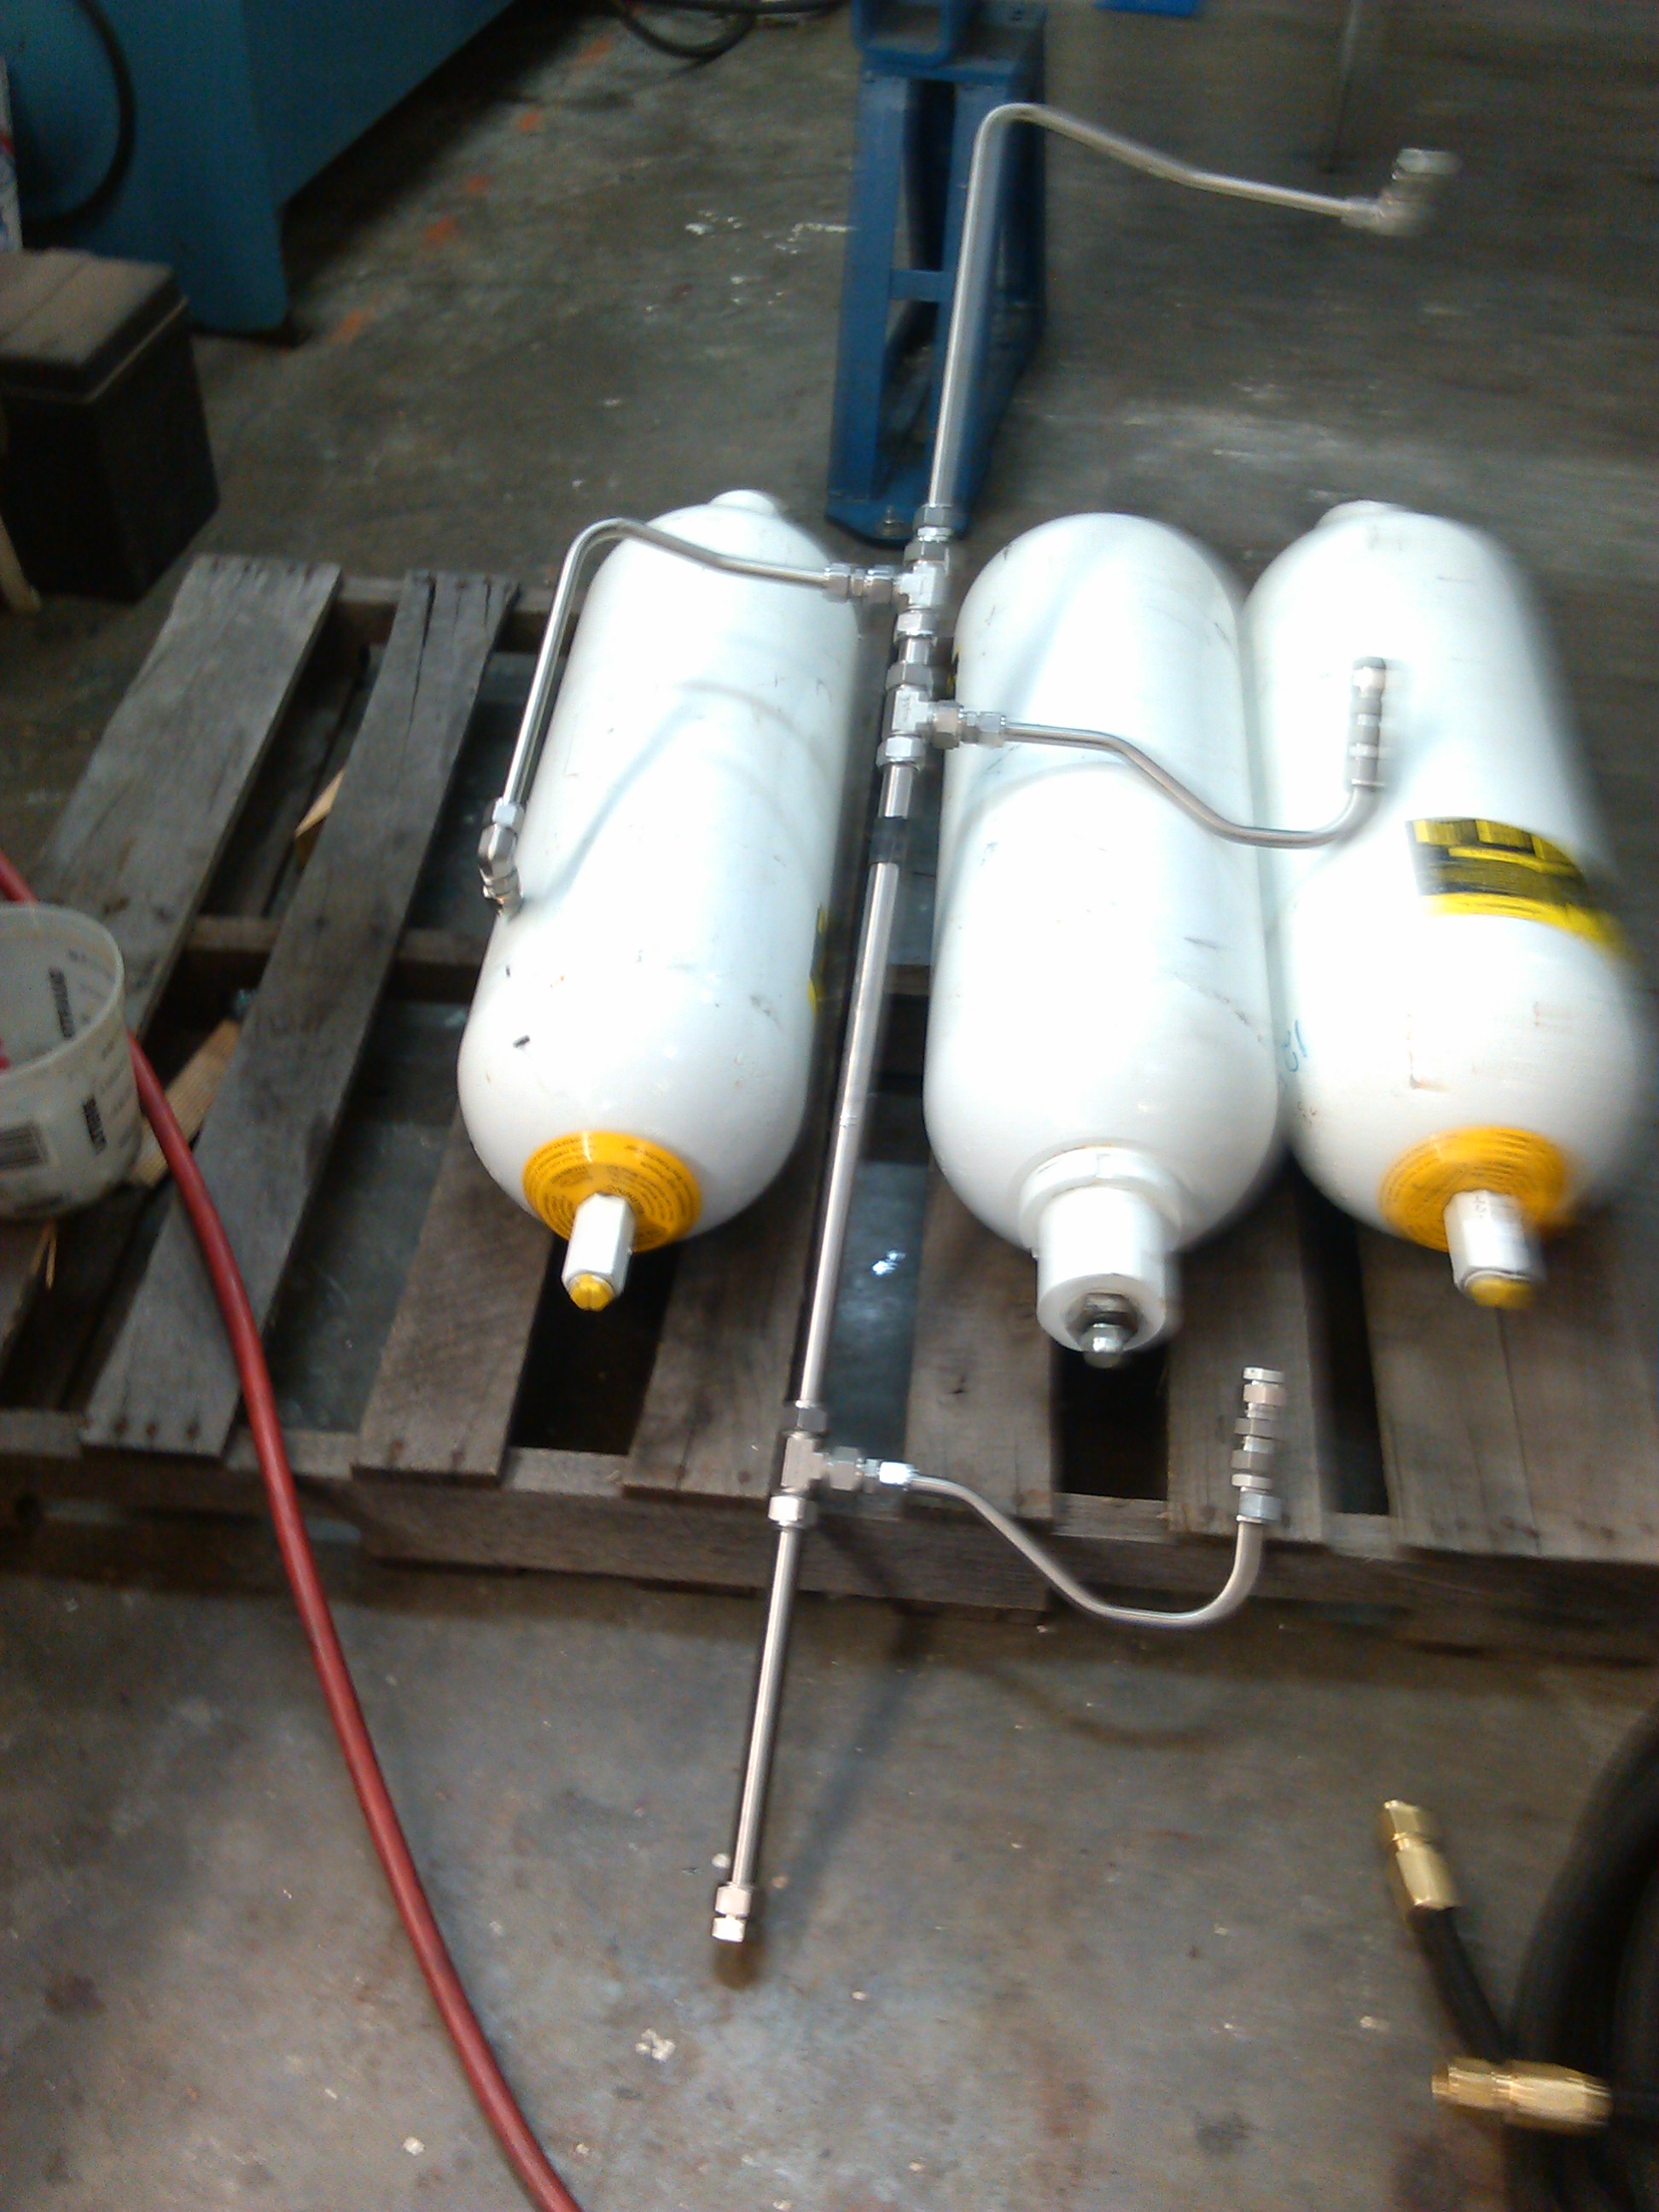
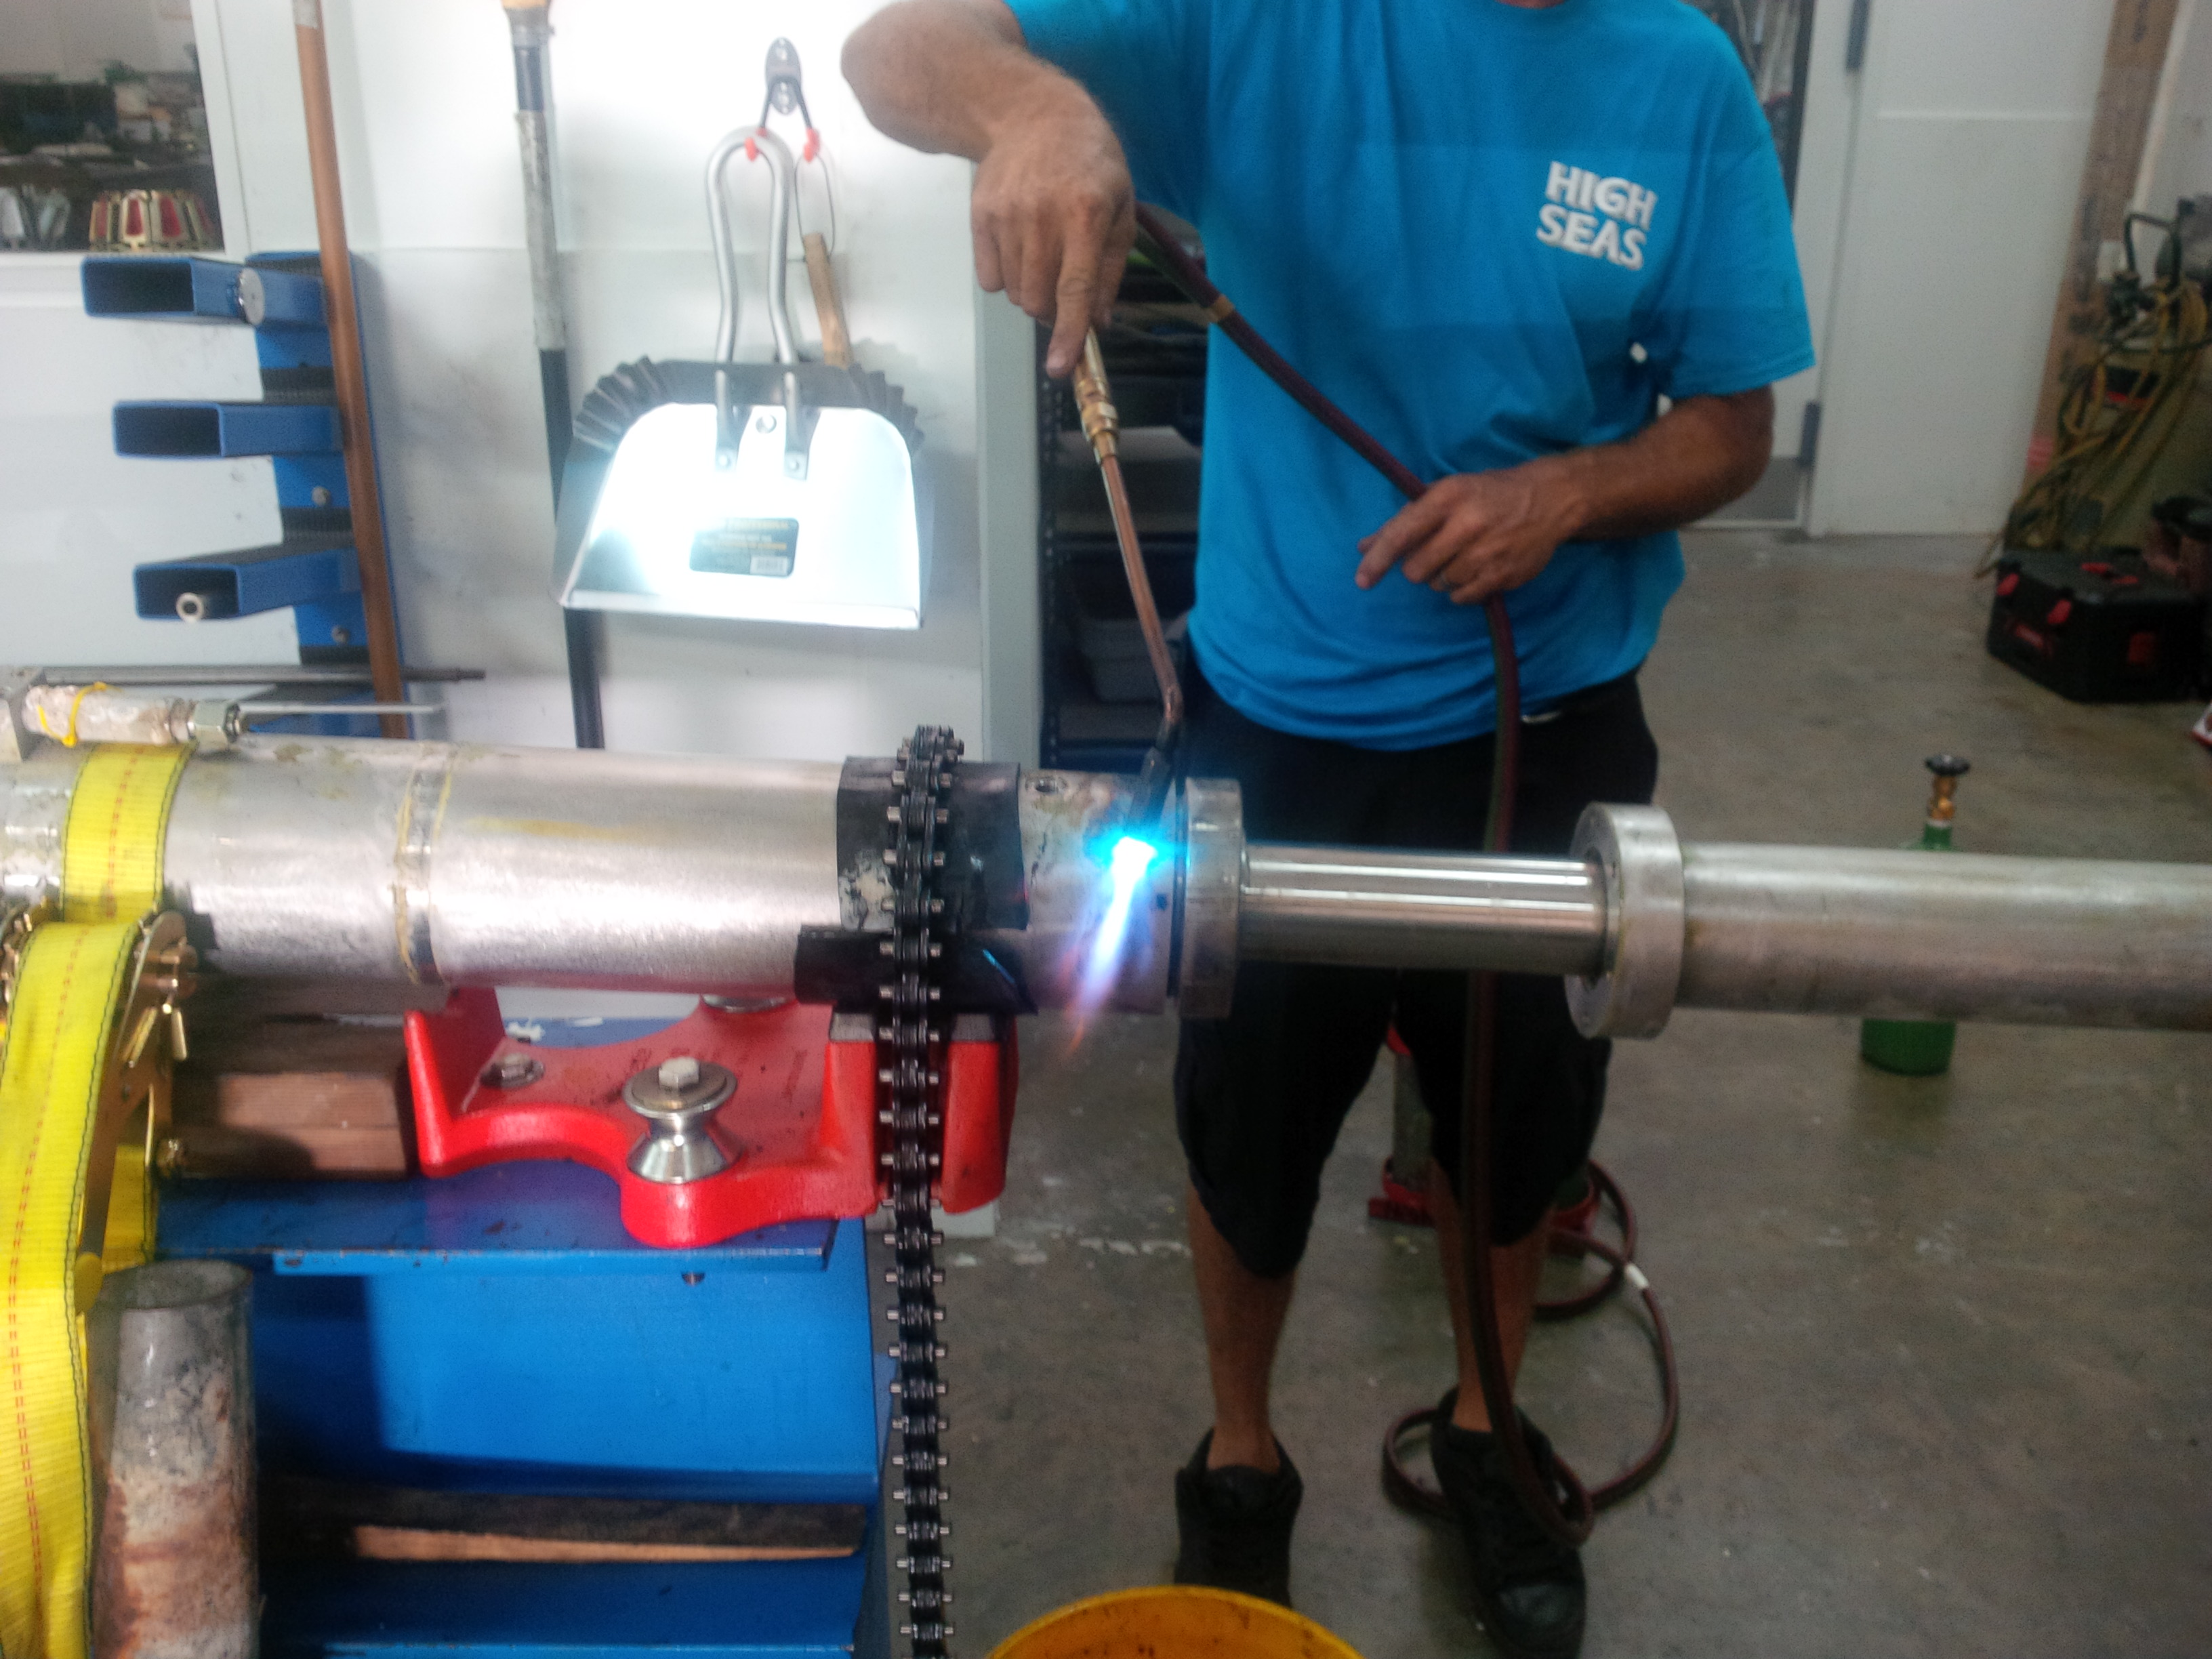
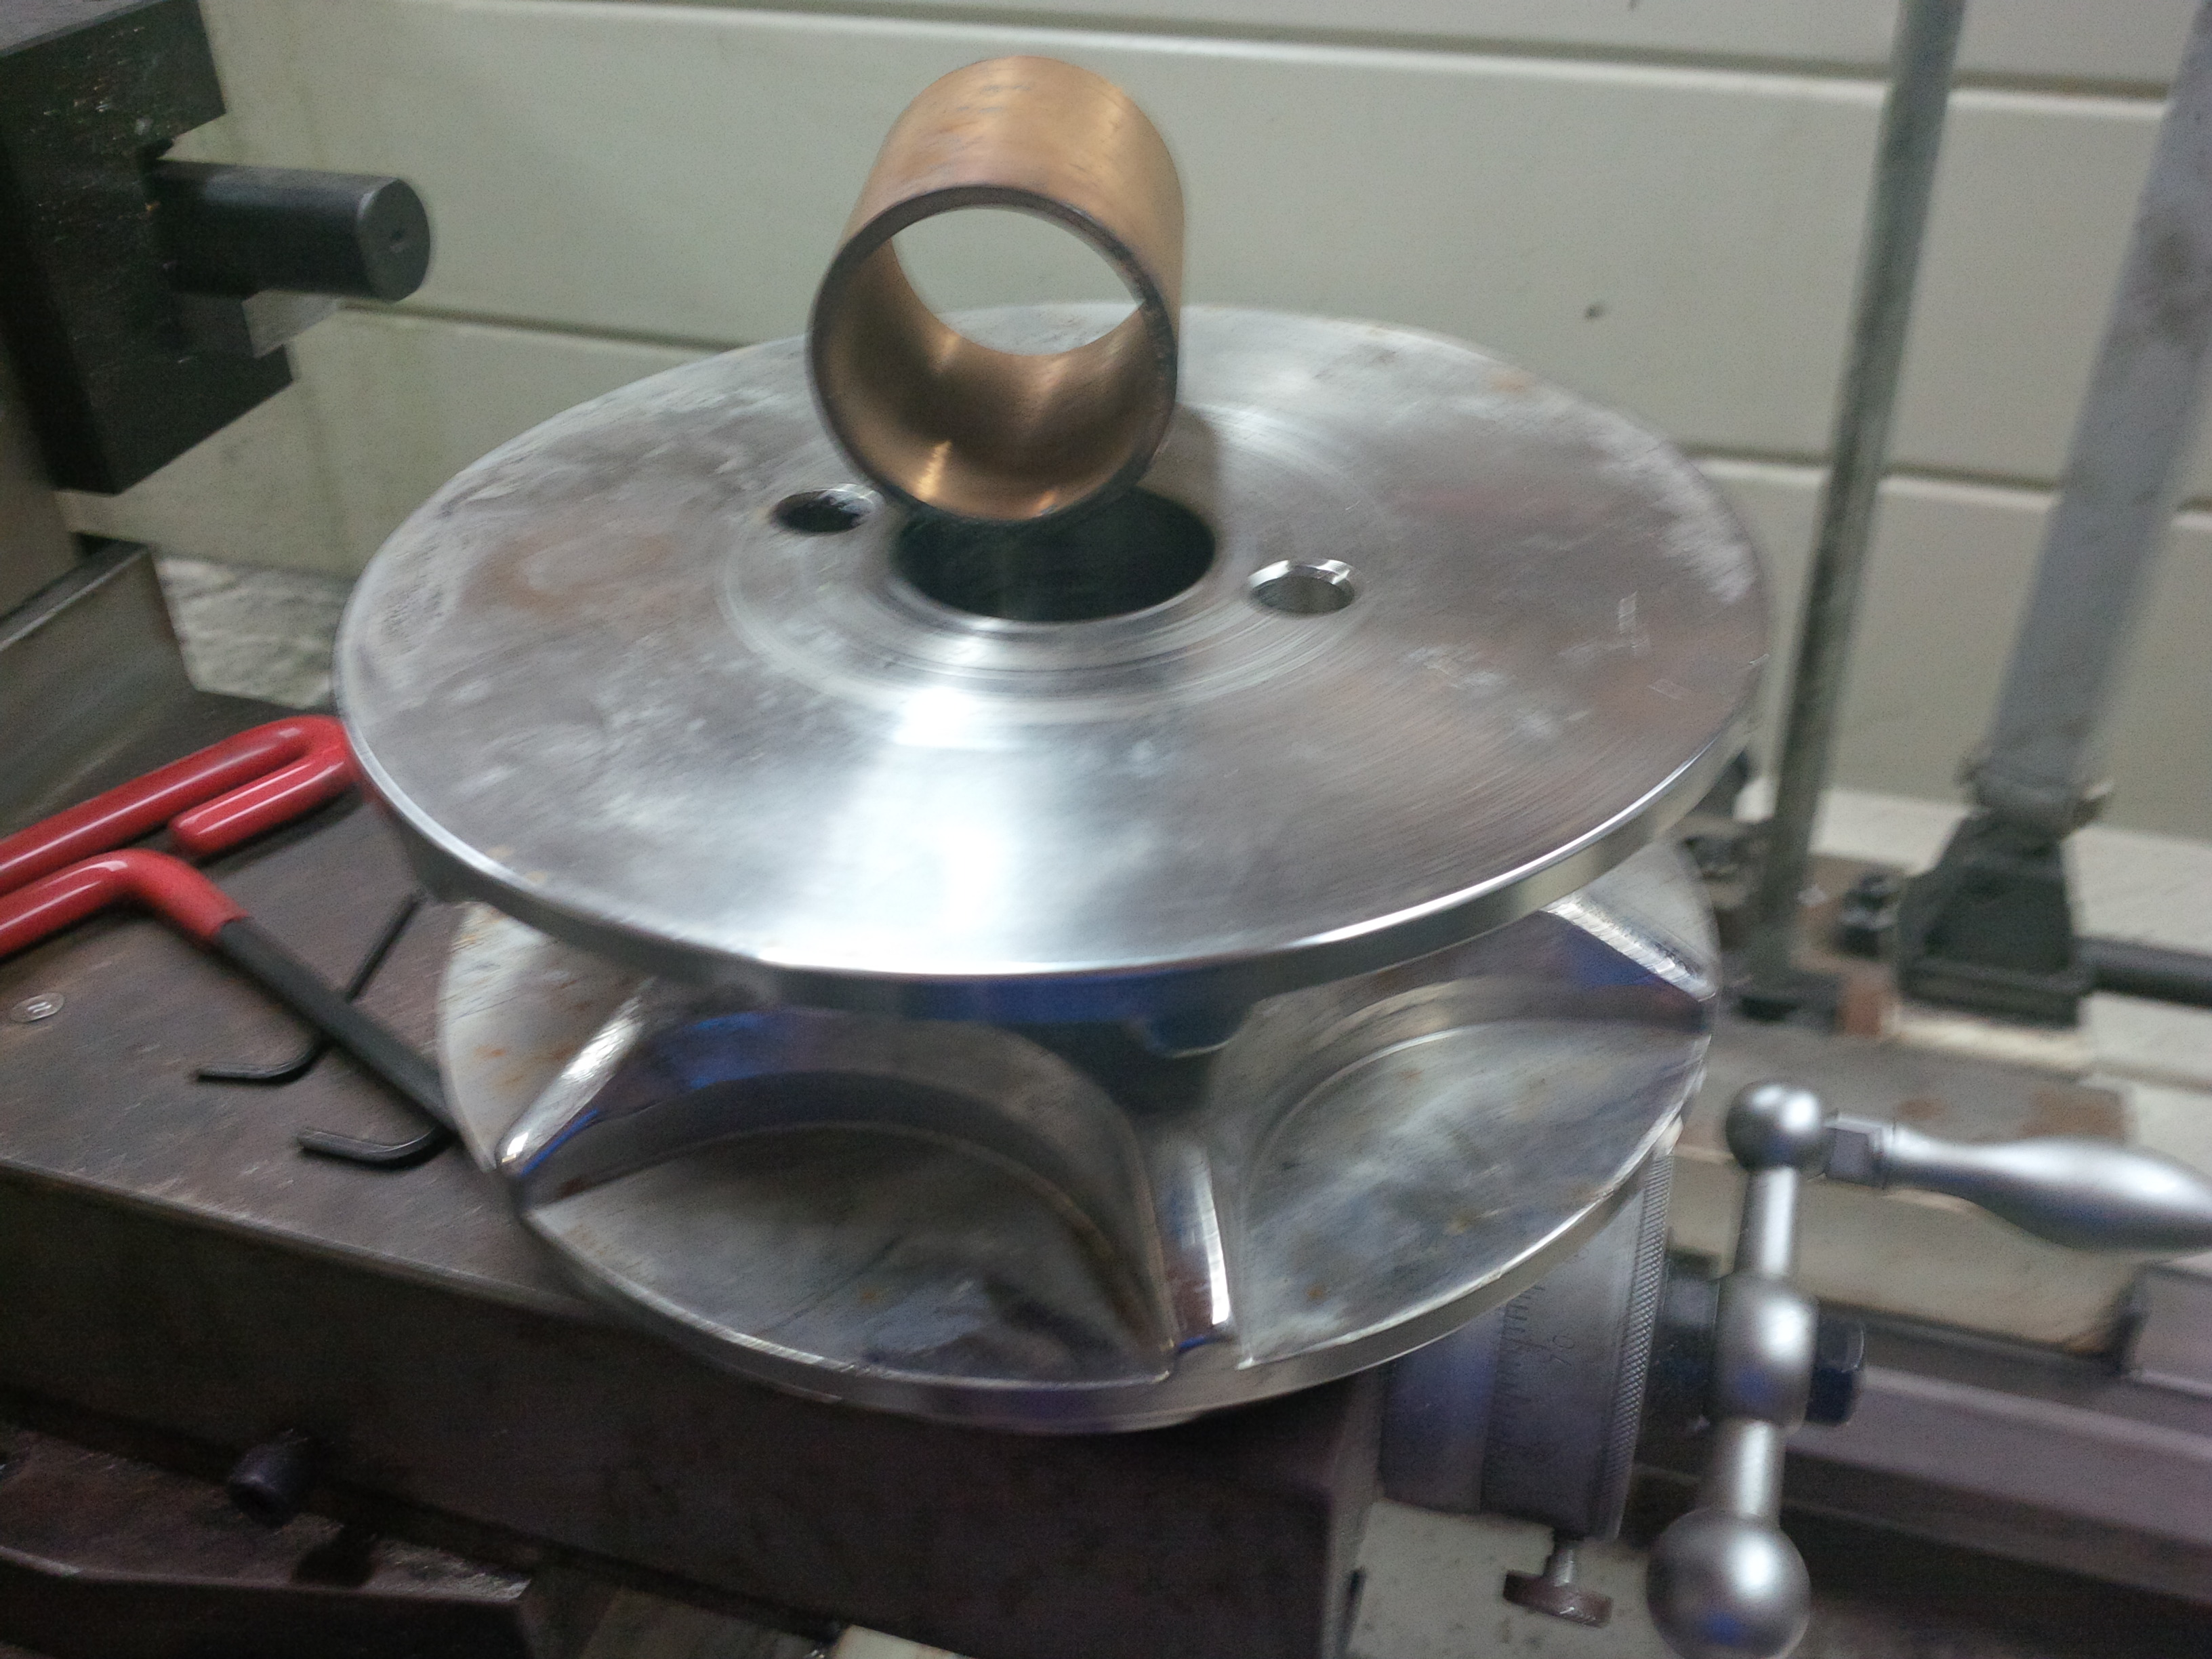
As part of the job, we fabricated new stainless steel rods in our machine shop, Straight Line Marine and rebuilt the BCS cylinders at High Seas Hydraulics.
After final assembly and installation back in the boat, the yacht is good to go for many more years of smooth sailing.